

Ok, so I’ve long pondered what it would be like if clothes could fit even if you gain or lose some weight. Years ago, I had a friend who also loved that concept. And we came up with this idea for a shirt! It is open in the back and has a piece of elastic in back along the bustline, for stretch. What is it about knit tops that make them so comfortable? I mean, I seriously just touch the tops in my closet each morning and always gravitate to stretchy tops. Well, this shirt combines the beauty of flannel and denim with a bit of stretch, to make it gorgeous as well as cozy!
Materials:
About 1/2 yard to a yard of flannel in one or two prints
An old pair of jeans
Muslin for lining
A bit of elastic banding
Basic sewing kit and sewing machine
Wide lace for straps

Step One: Sew some patchwork! You can get super creative, using traditional patchwork or improv. I used squares here, but I plan on sewing some scrappy tops too.

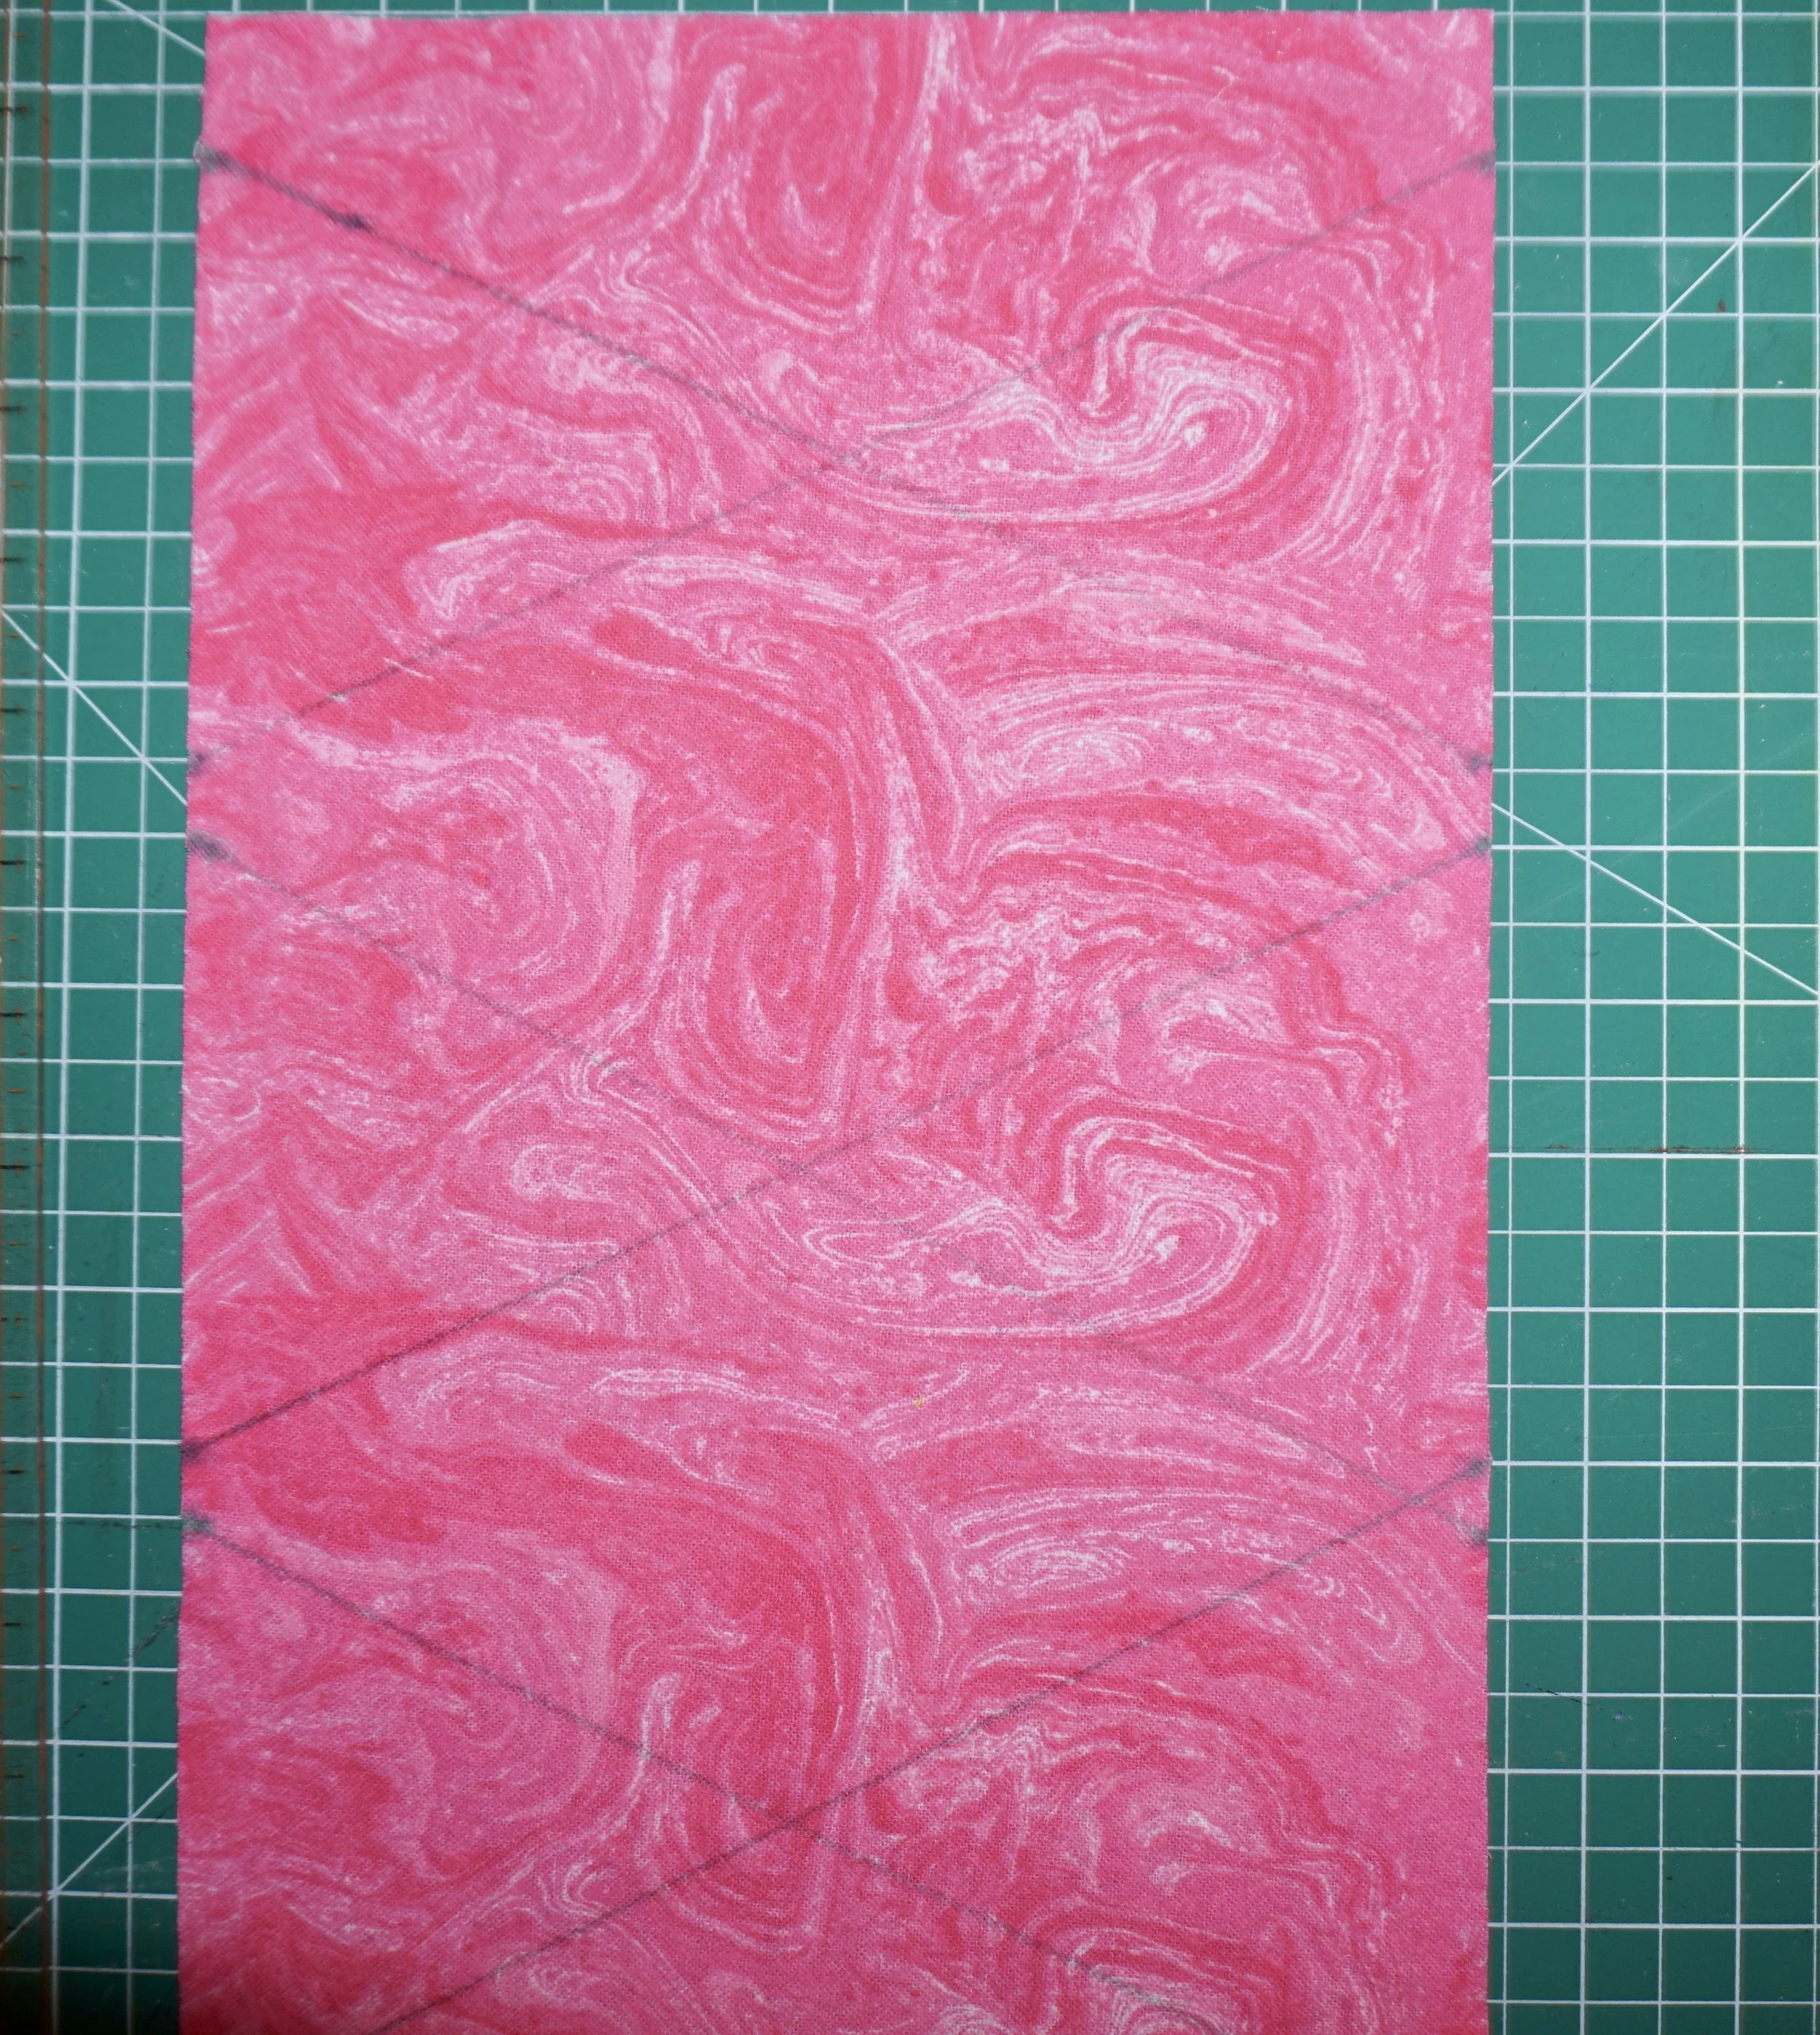
Step Two: Cut out pockets from an old pair of jeans. Try to get them centered, leaving enough room to stitch onto your top. Add patchwork pieces to make the panels long enough for the top. What I did was stack both pieces together for the final cutting…just to be sure they were the same size. It is tricky cutting ‘round the pockets. Just press your ruler firmly along the cutting line and go slow with the rotary cutter.

Step Three: Here are the patchwork pocket panels, sewn onto the checkerboard pieces. I created two…and reversed the sides I sewed the pocket panels on so that they both were placed toward the middle…with patchwork panels to go around the back of the top.
Step Four: Get out a sharpie and draw some lines. I first measured an inch down from the top and made dots along the sides, then made another dot on each side a half inch down from those markings. Then create dots all along the sides where you want the lace to go. I messed up and accidentally drew my lines a little off, but as you can tell it isn’t all too obvious!

Step Five: Sew lace or ribbon in a corset style manner onto the front middle panel. Then attach that panel to the other two, with pocket panels on left and right of the middle panel.

Step Six: Add wide lace or ribbon for straps. I did a halter top strap, however regular straps would be excellent for this too!

Step Seven…be sure to leave an opening to be able to flip the top right side out after adding lining! Also leave an opening at either side of the back near the top for a piece of elastic. Flip right side out, then add the elastic and stitch the openings shut.
Play with this idea! The thing with a top like this is you can be super creative with the patchwork…from colors to layout of pieces. And the top itself is really simplistic in design. Never be afraid to experiment with your fabrics. What do you think of making clothes that fit at various sizes?