This is a super quick altered slip, that turns lingerie into something you can rock anytime. The initial inspiration for this upcycle came from the book, “50 Nifty Thrifted Upcycled Fashions” by Cynthia Anderson. I went my own way with the project, because in the book you cover the entire slip with yardage of laces in different textures and colors. I wanted a more patchy look, so I ordered a package of lace pieces from a shop on Etsy. This slip was thrifted, and the lace edging fell off when I washed it! UGH! So I removed parts of the trim, hit all the edges with a zig zag stitch to stop it from unraveling and then added some sky blue quilt trim from my stash. You could easily try this with a tank top or camisole and it would turn out even better! I’m a little disappointed with how the slip fits overall, but love the concept behind the project! It’s amazing what a few scraps of lace can do to freshen up the vibe of your look!
Sewing
Sew Harem Pants
I’ve wanted to try this project for years! Recently after sewing pants without a pattern, I got the courage to try and make some harem pants. The trickiest part to these pants is getting the pattern right, but you can adjust the pants a bit if they wind up not big enough after you get the initial pattern created.
Materials to make the pattern:
Watercolor paper, newsprint or some other junk paper
Tape
Ruler and marker
Ok, so I taped three pieces of cheap watercolor paper together, but the tape wouldn’t stick! I was trying to make a pattern that I can use over and over, so I wound up using watercolor paper and packing tape. The paper is thick enough that I can store it and then get it back out for multiple uses!
First, measure your low hip measurement, and then add eight inches to that measurement. Divide that number by 4. This will be the top horizontal measurement on the pattern. Mark where the measurement is, and draw a vertical line down the pattern on the right side. Cut out your paper so that the horizontal width of the pattern equals this measurement.
Next, measure from your waist where you like pants to sit down to just below your knee. If you botch this measurement, you can always add a band at the top of the pants later so that the pants have drape. This will be the vertical measurement along the left side. Make a dot on the pattern at the end of that measurement.
Figure out the length of the leg portion by measuring from your knee to the ground. Also, figure out how wide you want the legs opening to be so that the pants fit your lower legs. Make a dot at the width of the leg opening. Remember that the measurement is a half measurement, because the pattern is only for one half of the front or back of the pants. You can always adjust the length once the pants are finished, so add a bit to that measurement to make the legs long enough. Now, starting at the dot you made in the last step where the bottom of the knee hits, draw a line that is straight at first, but that curves down to the bottom measurement. My line was curved at first and then was a straight line going down.
The right line of the pattern will be the side you place on the fold of the fabric, so write “cut two on fold” along that line! You will be cutting out two of the pattern shapes onto folded fabric, so that the fold of the fabric is along the long side of the pattern.
Materials to make the pants:
Stretchy fabric like knit or other stretch fabric
Elastic
Basic sewing kit
Lay out your fabric, and fold it. Then place the pattern onto the fabric so that the fold line is on the fold of the fabric, and trace. Cut out the shape, then do it again!
Now you have two pieces of fabric. Sew the vertical edges of one piece of fabric to the other piece. Those vertical lines will be the front and back center of the pants. Then sew starting at one leg, along the curved area and then down the other leg. Try on the pants! This step is important to make sure they fit right! Mine wound up being too short, so the drape of the middle was not low enough. I added an 8 inch wide strip of fabric along the waistband of the pants. I also had to cut off some of the length on the leg to suit my preferences.
Add elastic to the waist! I used wide elastic and made a casing with the knit fabric, but sewing the knit straight was a challenge. If you have a wide elastic, you could just sew it on as is without doing a casing.
Sew a Simple Leafy Reversible Table Mat
Apologies to Mom, because this is one of her birthday gifts for her upcoming December birthday! I have been waiting to share it on the blog, but turns out I’m not going to see her until late Winter.
This simple table mat came together in a few sittings! I just thought a quick tutorial was in order, because holidays are fast approaching! This mat is the perfect hostess or mother-in-law gift…especially for those women who seem to have everything.
Materials
Two fabrics, one green and one brown
Neutral color binding, preferably in a stretch knit
Batting
Basic sewing kit
paper, scissors and marker for template
Step One: Create a leaf template. Aim to make the leaf approximately half of the measurement of the finished table mat.
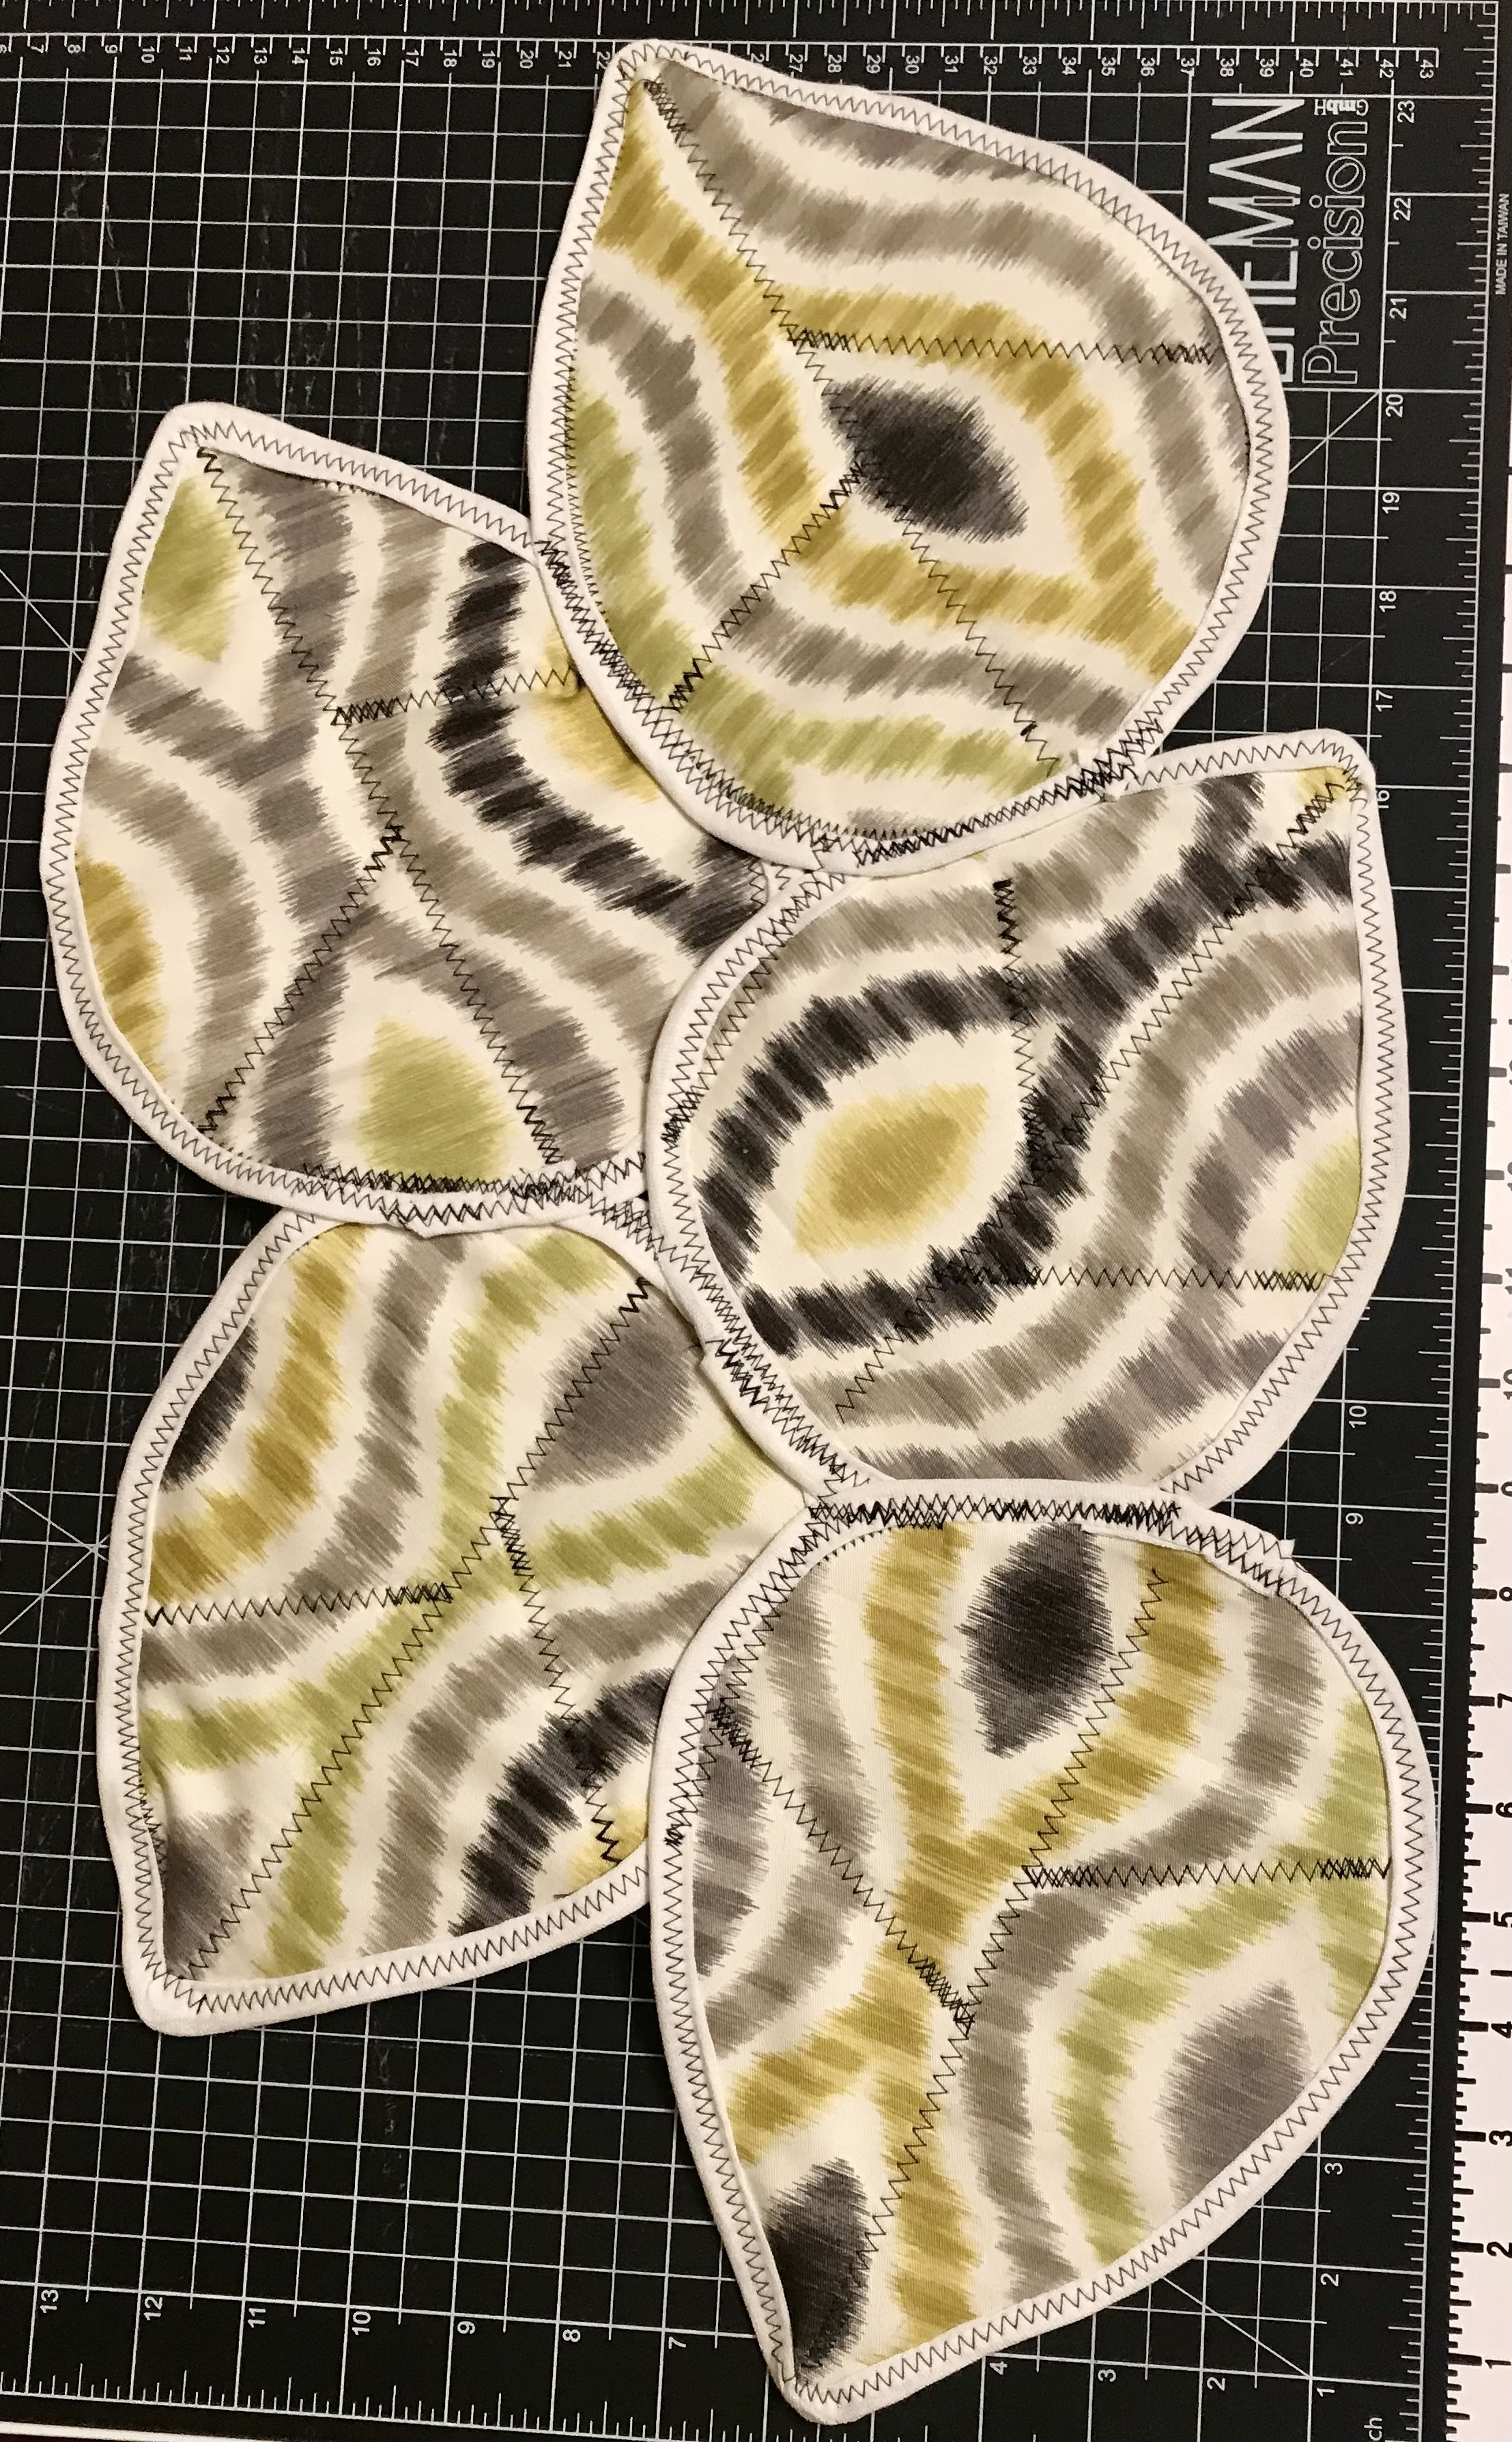
Step Two: Trace the template onto the green fabric. I did five leaves, but you could easily do only three or add more for a larger mat. Then cut out the fabric leaves.
Step Three: Sew the leaves onto batting with a wide zig zag stitch. Then cut around the leaves to remove excess batting.
Step Four: Sew those leaves onto the brown backing fabric, with right sides facing out. Cut around the leaves again, and be sure to round out the tip a little for the next step!
Step Five: Attach binding around each leaf. Then, sew the leaves together in a pleasing design.
So easy! Make one or make a bunch! Check your list then check it twice for all those women on your list!
Three Tips for Working With Vintage Linens
I know a lot of eco seamsters use organic cotton and other eco friendly materials in their sewing projects, but I still love vintage and thrifted first over brand new. I recently picked up some vintage sheets, and this gorgeous embroidered tablecloth all from the 60’s, and what I love most about them is all the potential they hold! Vintage sheets and tablecloths are great for backing quilts, but they can also be used to sew dresses, skirts, tops and more! Home decor projects like curtains and pillows would also be a great use of these vintage treasures. They are especially good for quilt backing, because the fact that they are already big enough to cover a bed means that you don’t typically have to sew more than one piece together to create the quilt back.
Here are a few tips for working with pre loved linens!
Vintage tablecloths and sheets come in all different types, and they often get a lot of wear and tear over the years. The tablecloth I bought has stains and a lot of them have holes or tears. Make sure to read the fine print or ask questions first before buying, so you know what you are going to receive. If shopping in a local thrift store, be sure to open up the linens and inspect them before buying. You can always use applique to cover stains or mend holes, so search with an open mind to see what ideas you can come up with!
Wash vintage sheets and tablecloths in a very basic detergent. I got All unscented and clear, with stain fighters. I do not hand wash anything, I always just throw vintage linens in the machine on gentle and hope for the best! Dry everything on low, or air dry if you have a clothes line. Hand embroidered pieces might need a touch of delicacy when it comes to washing. Consider what you will be making with the fabric before washing, because some items are just a pain to wash by hand.
When you are looking for vintage linens, it pays to think about it like yardage! The sixties tablecloth I purchased was about $25, but it also has hand embroidery all over the edges. I found another table cloth that was much smaller, and that seller also wanted close to twenty bucks! But when I looked at the size, it was only a little bigger than a yard of fabric. Even though a linen is old doesn’t necessarily mean it is worth a ton of money! So compare the size of the linen in question to the measurement of a yard to make sure you are getting your money’s worth.
I can’t wait to get these beautiful linens in the wash and onto my sewing table! I hope these tips help you in your own quest for eco fabric!
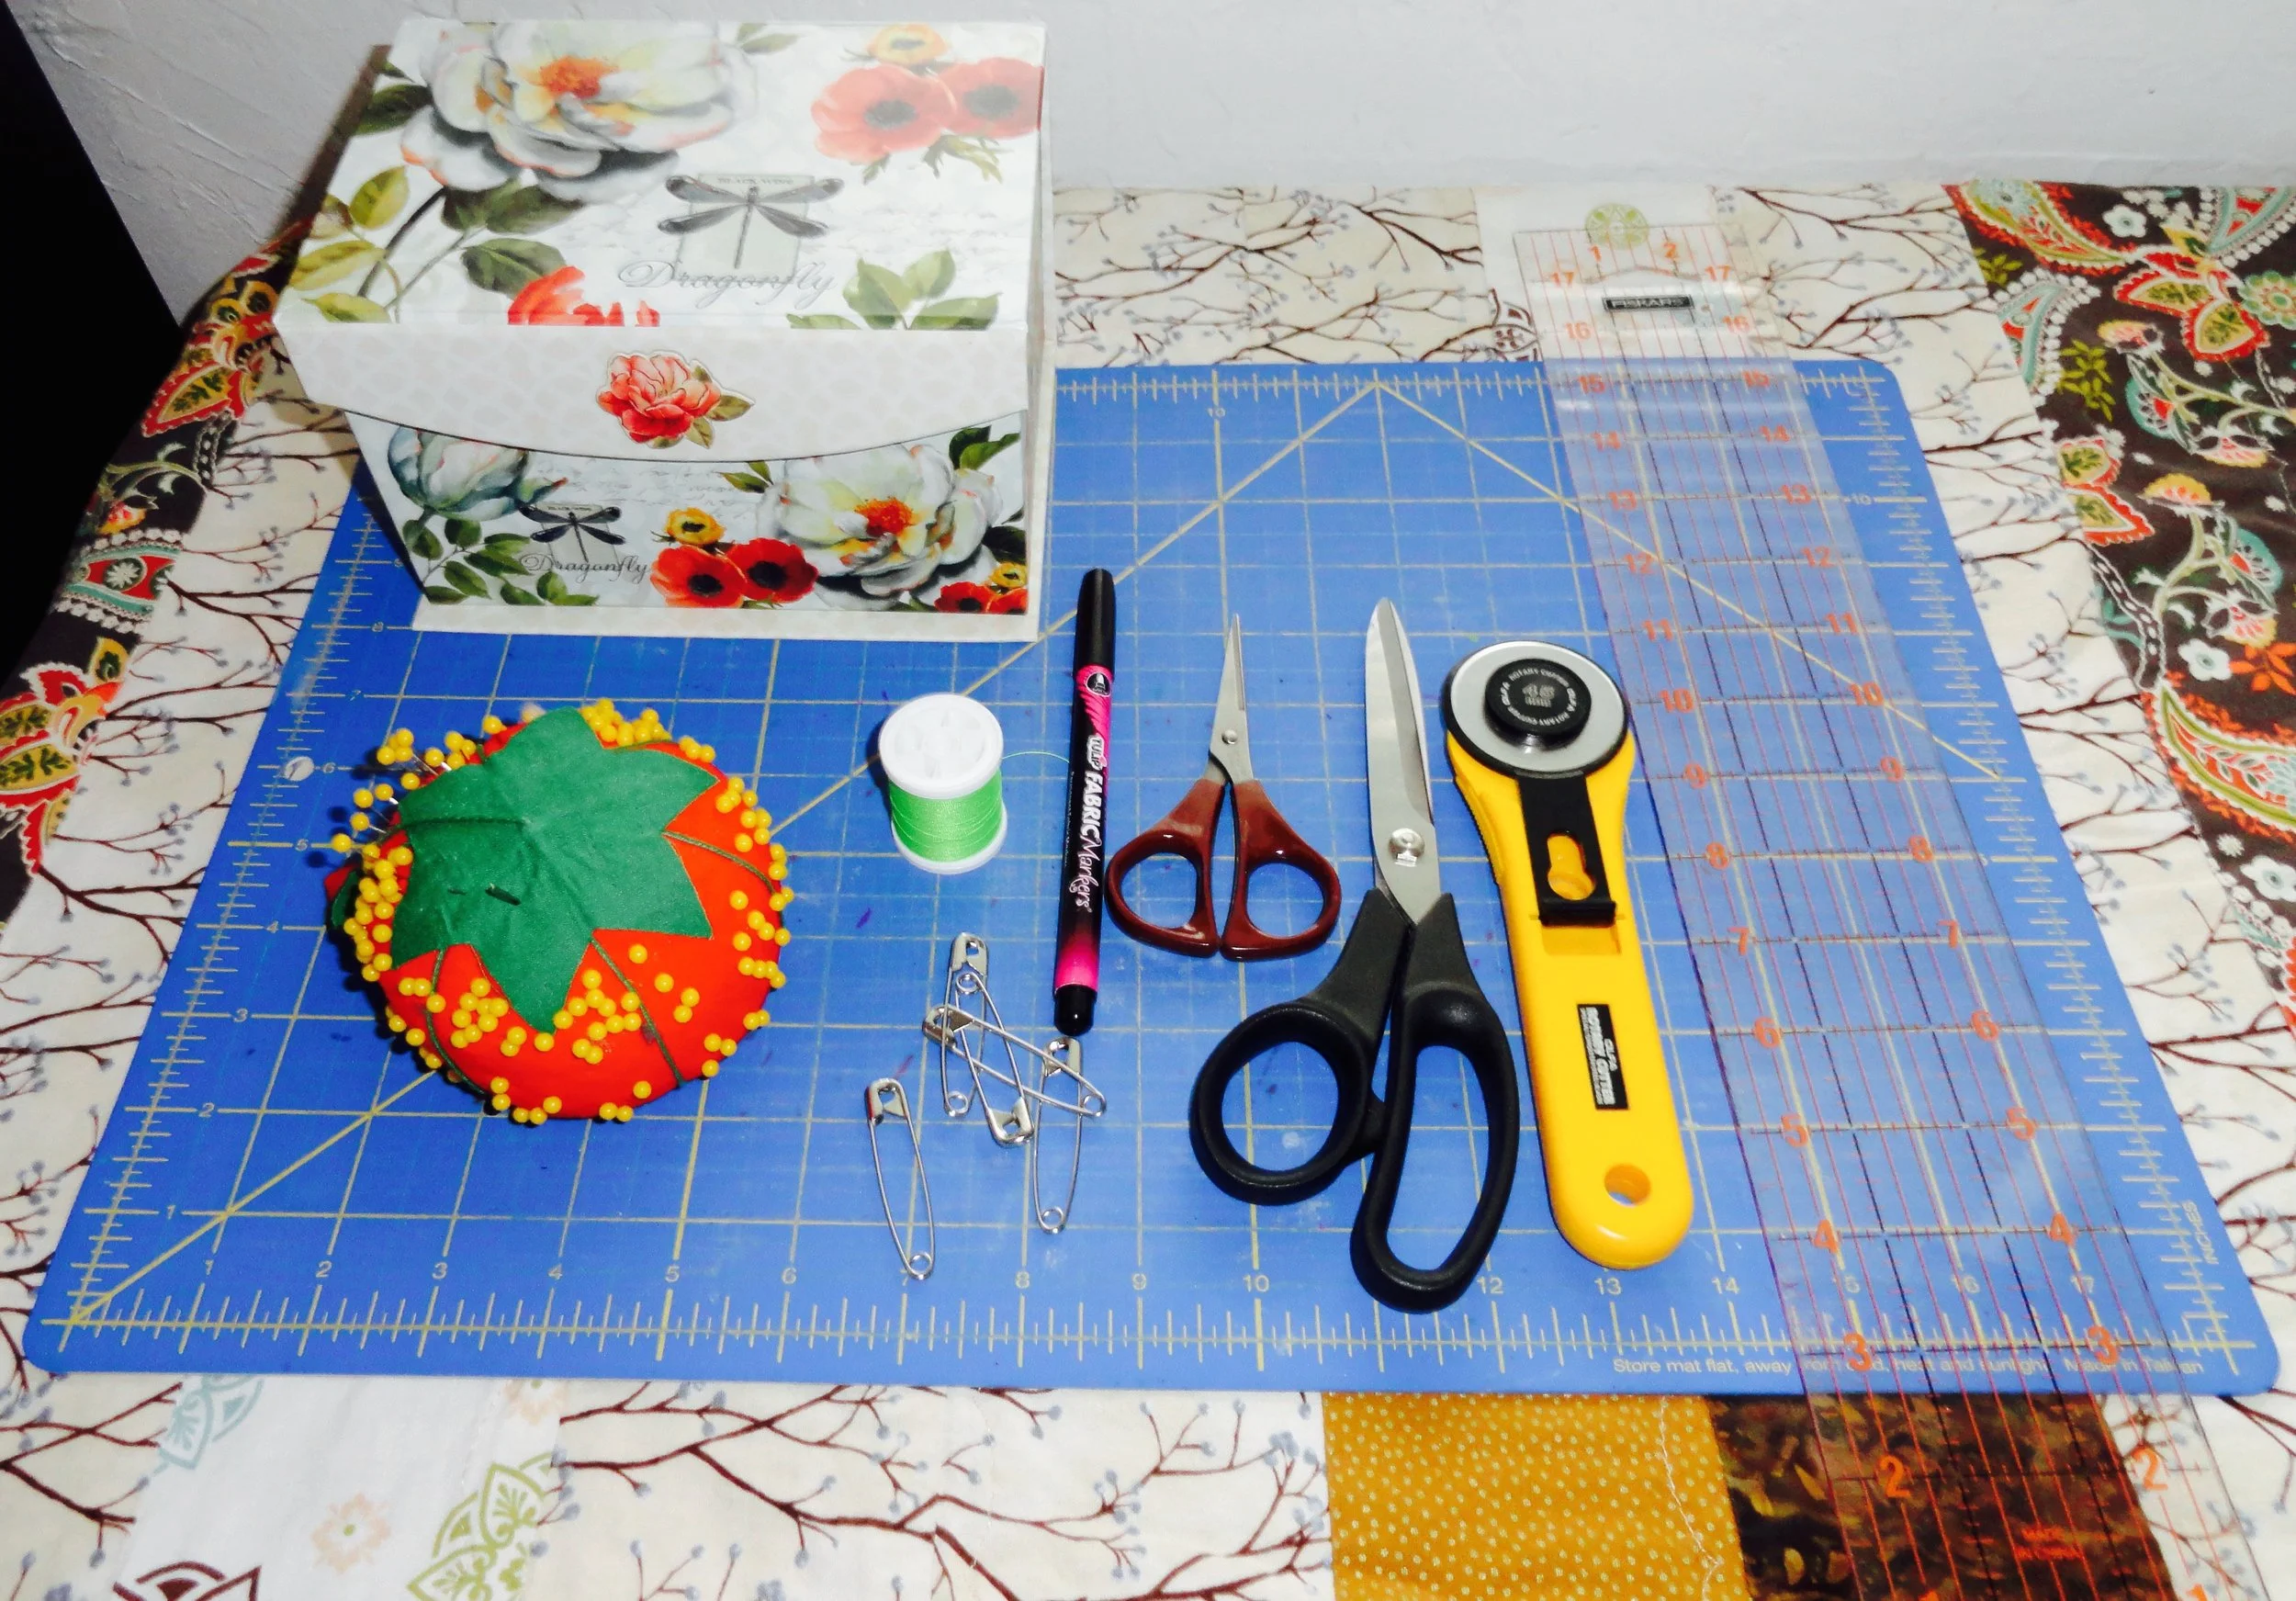
Basic Sewing Kit
Here's a short list of supplies to get you started sewing. One thing about sewing is that you will collect supplies as you go, so start with what you have and expand your collection of tools as you go along.
Read More