This stretchy tunic is perfect for Plus Sizes! The gathers make it super comfortable, and the form fitting top accentuates curves. The style of this dress is perfect for women with bellies and hips, as the skirting is oversized to float away from curves you don’t want to show. My motto for plus size dressing is to show off my favorite attributes and play down the aspects of my body that make me self-conscious.
*Scroll down to see the step by step in pics!
Crop Top to Tunic
Materials:
Basic sewing kit and sewing machine
Rotary cutter and mat
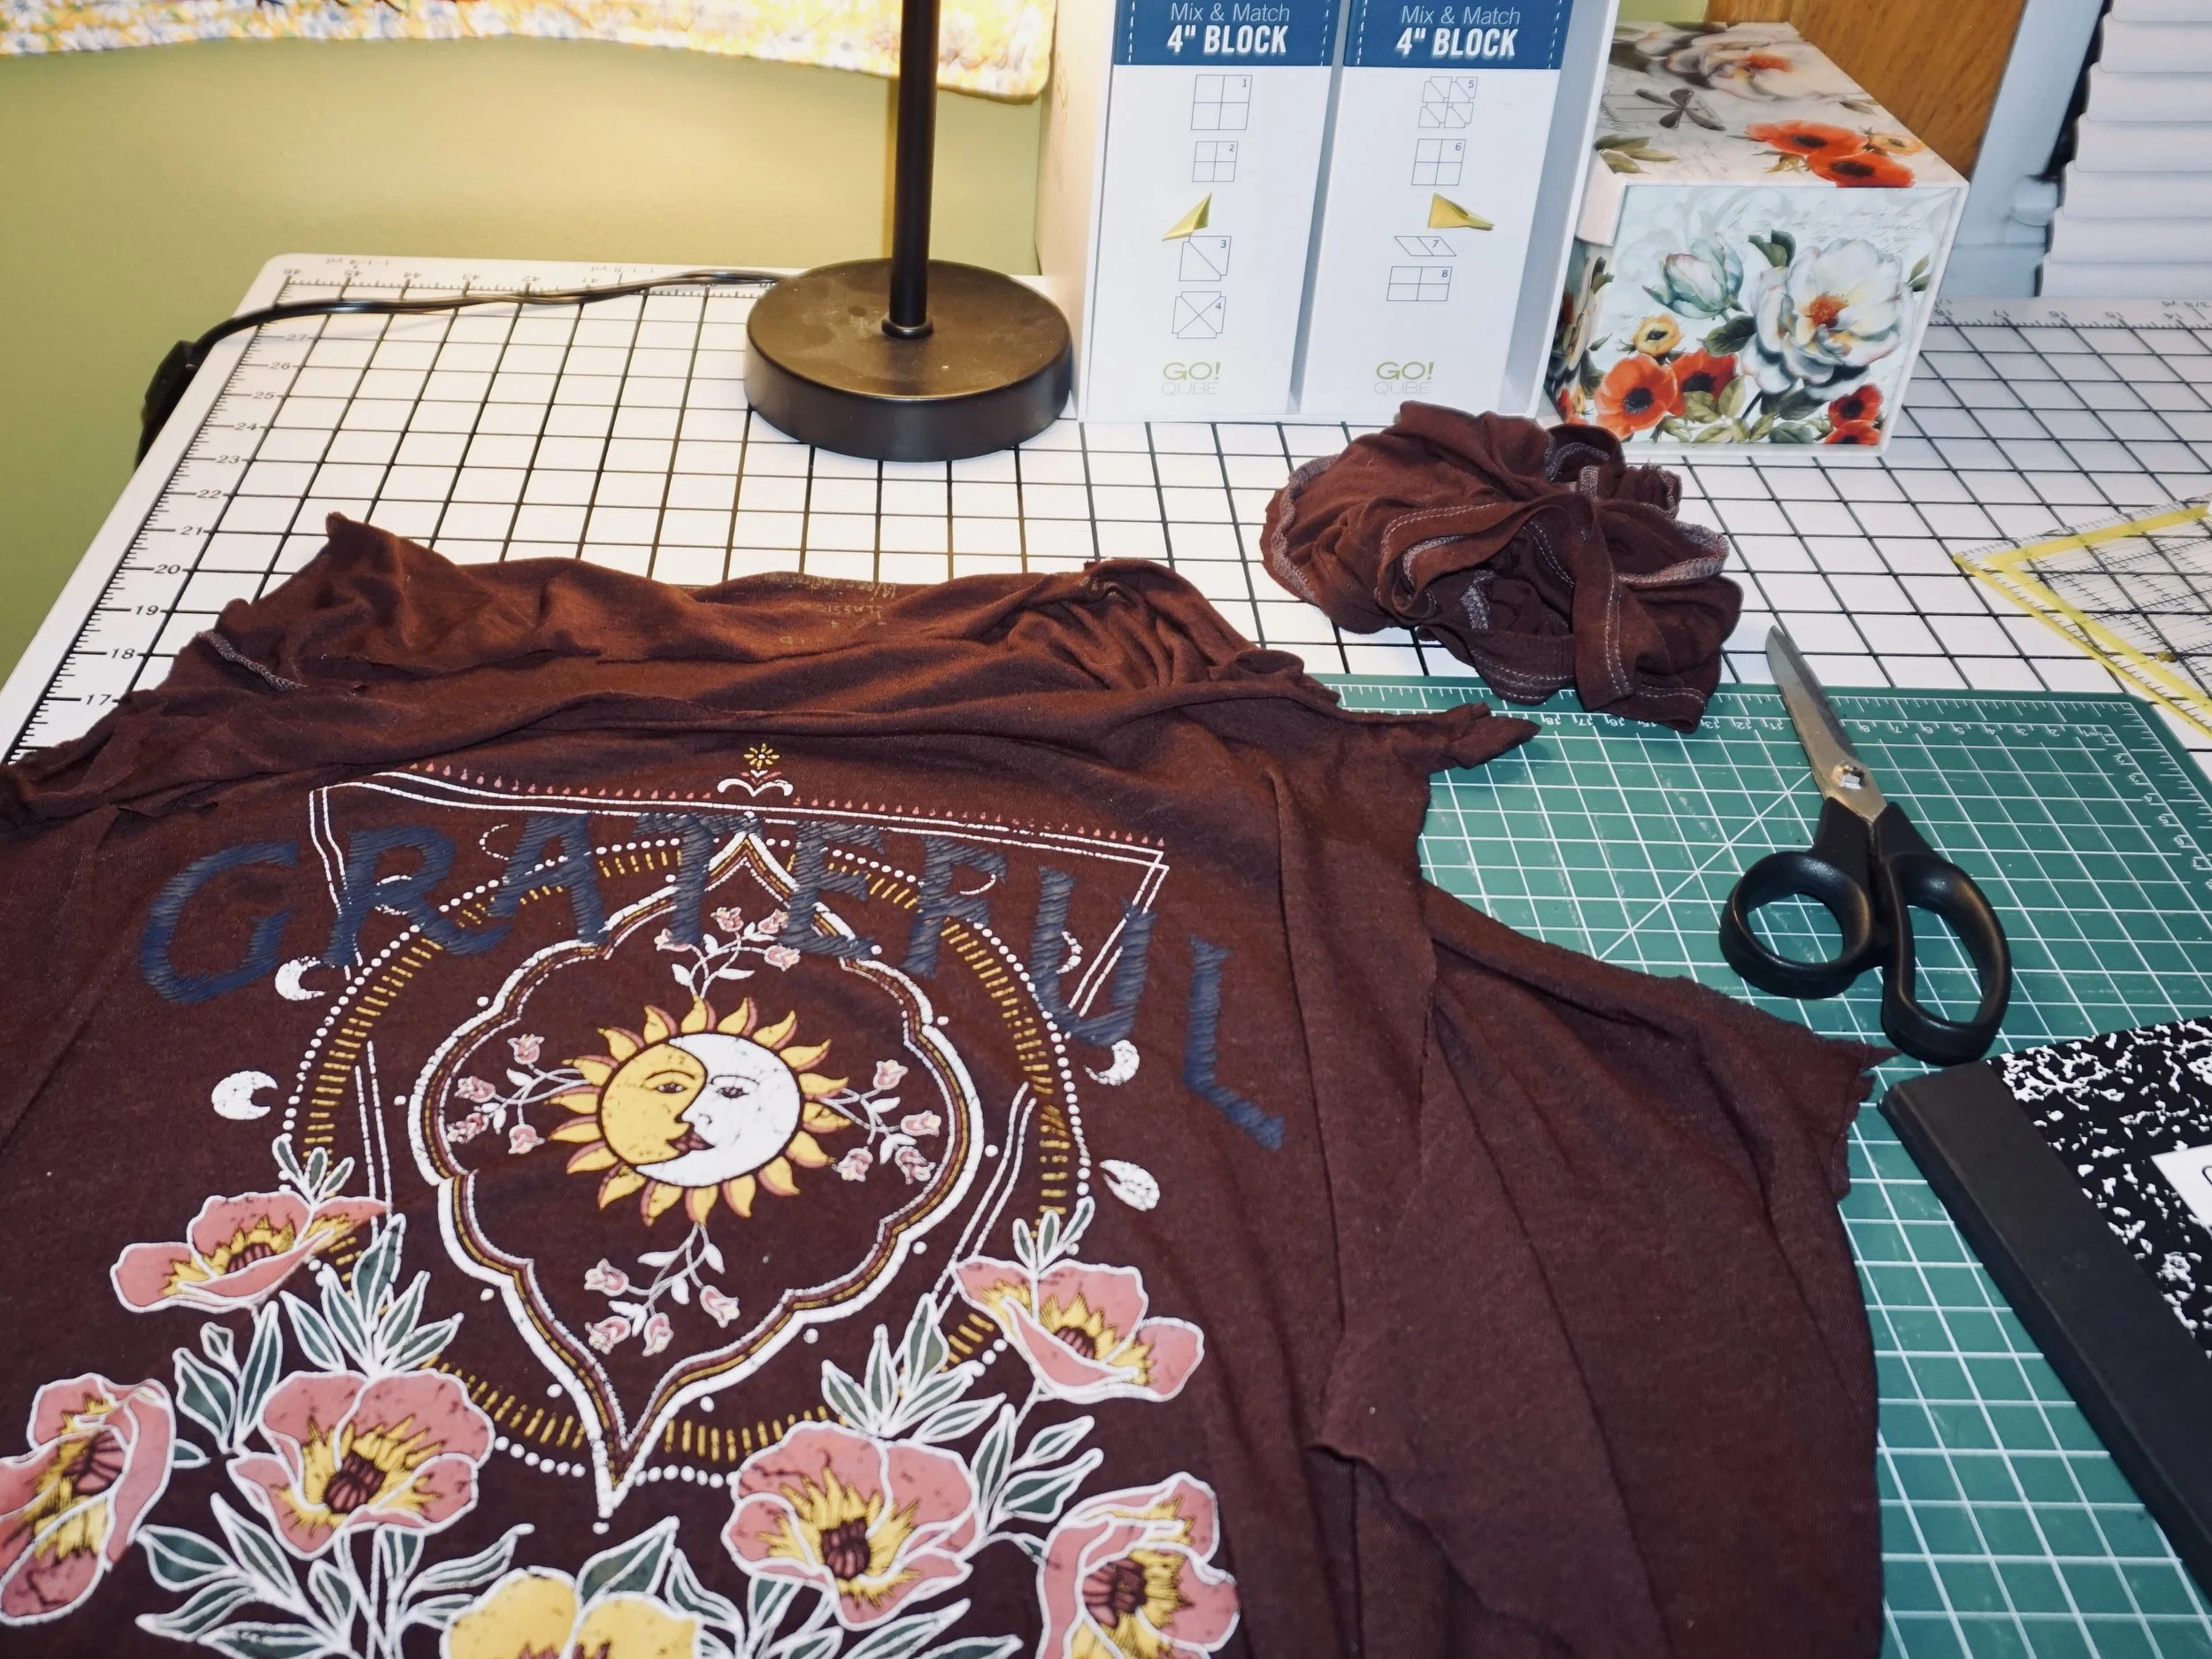
Two t shirts and a crop top, ideally stretch velvet
My crop top is made of stretch velvet, so I’m using two t shirts for the bottom part of the tunic. One has a decorative logo on the front and the other one has logos all over.
Using a pair of scissors, cut along the seams of the t shirt with the logo. Then create a rectangle panel, so the logo will be front and center of the tunic.
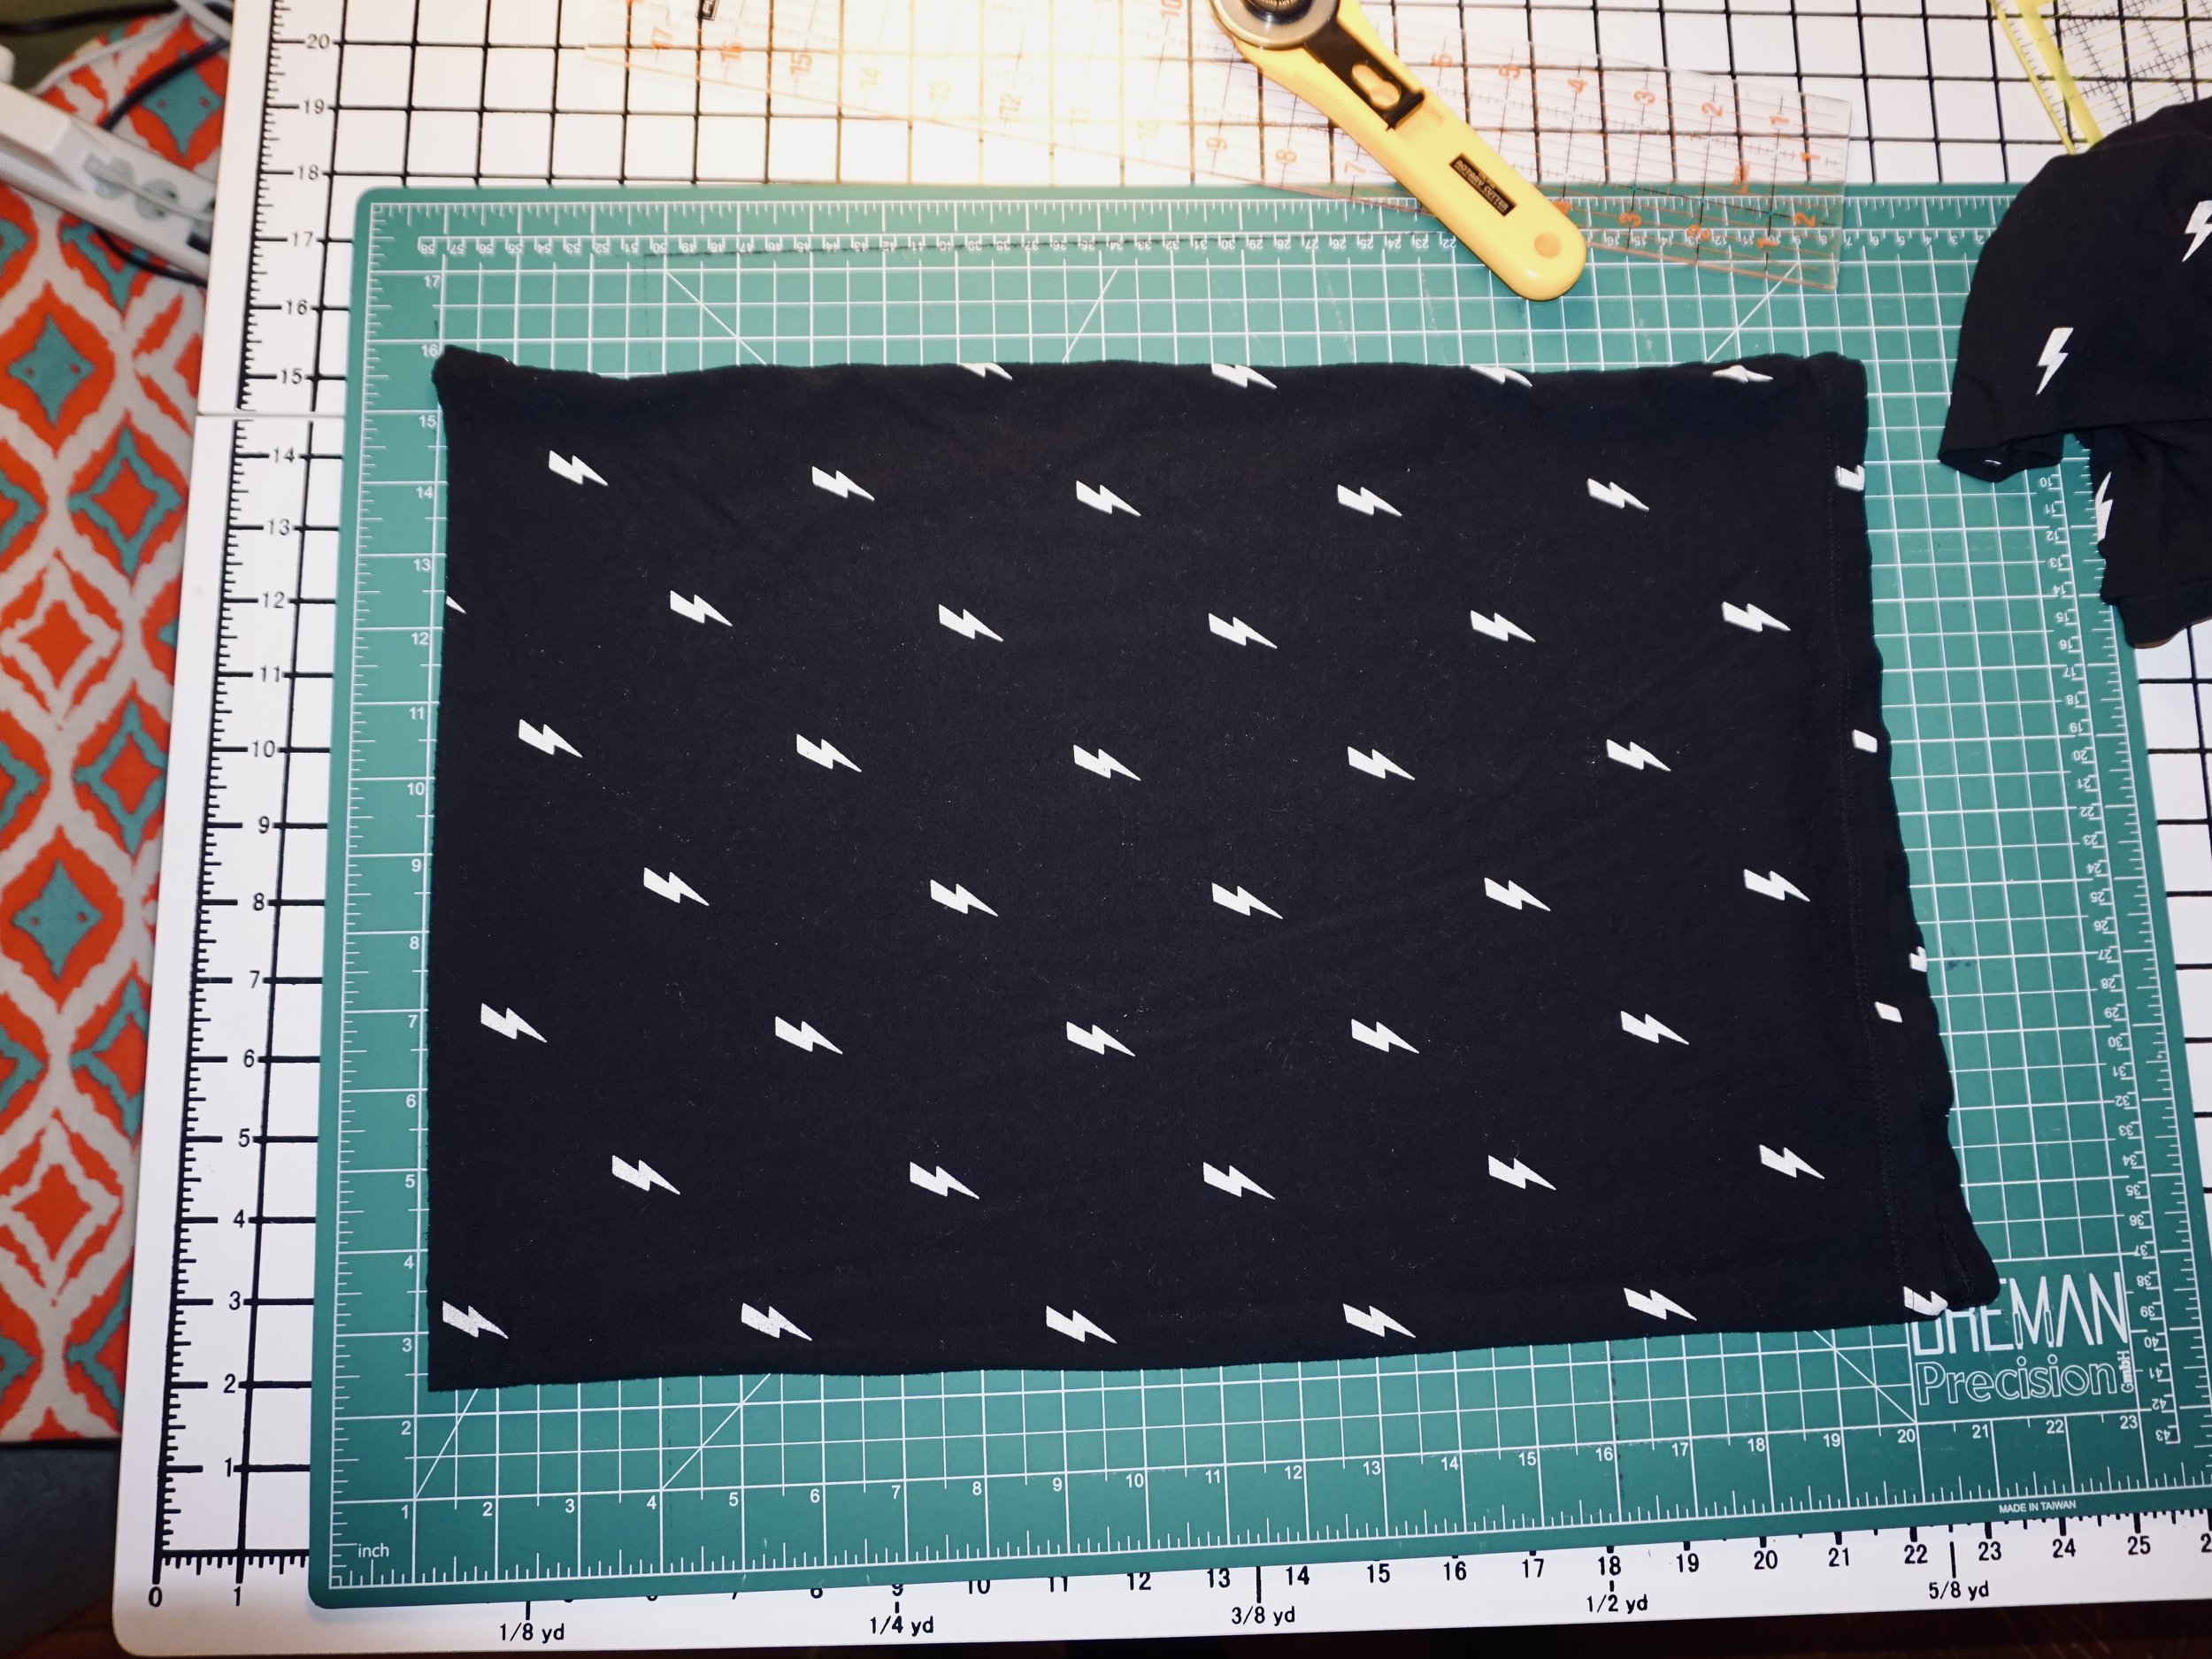
Grab the second t shirt, and using a ruler and rotary cutter, cut just below the armpits in a straight line. I folded mine seam to seam first and smoothed out wrinkles, then cut. Next, fold the front of the shirt in half so that the side seams are together with the front middle of the t shirt to the right. Using the ruler and rotary cutter, cut along the middle of the front. This will create an opening for the panel insert. Sew the panel into the second t shirt.
Next, grab the crop top and put safety pins on each side seam and in the middle front and back. Do the same thing with the t shirt tube you created in step 3. The pins are to help you line everything up when sewing.
Set your sewing machine to a narrow zig zag stitch, my machine is set to 4 for the length and 4 for the width. Start at a side seam and sew, while lining up the middle point pins. If you need to stretch one of the pieces to make the pins line up, do it as you sew. This will create gentle gathers in the tunic. Do the same for the back. If there is extra slack, try to get the extra material gathered evenly along the middle back.
Hem if desired by either cutting off the bottom edge or with a double fold and zig zag stitch. And you are done!