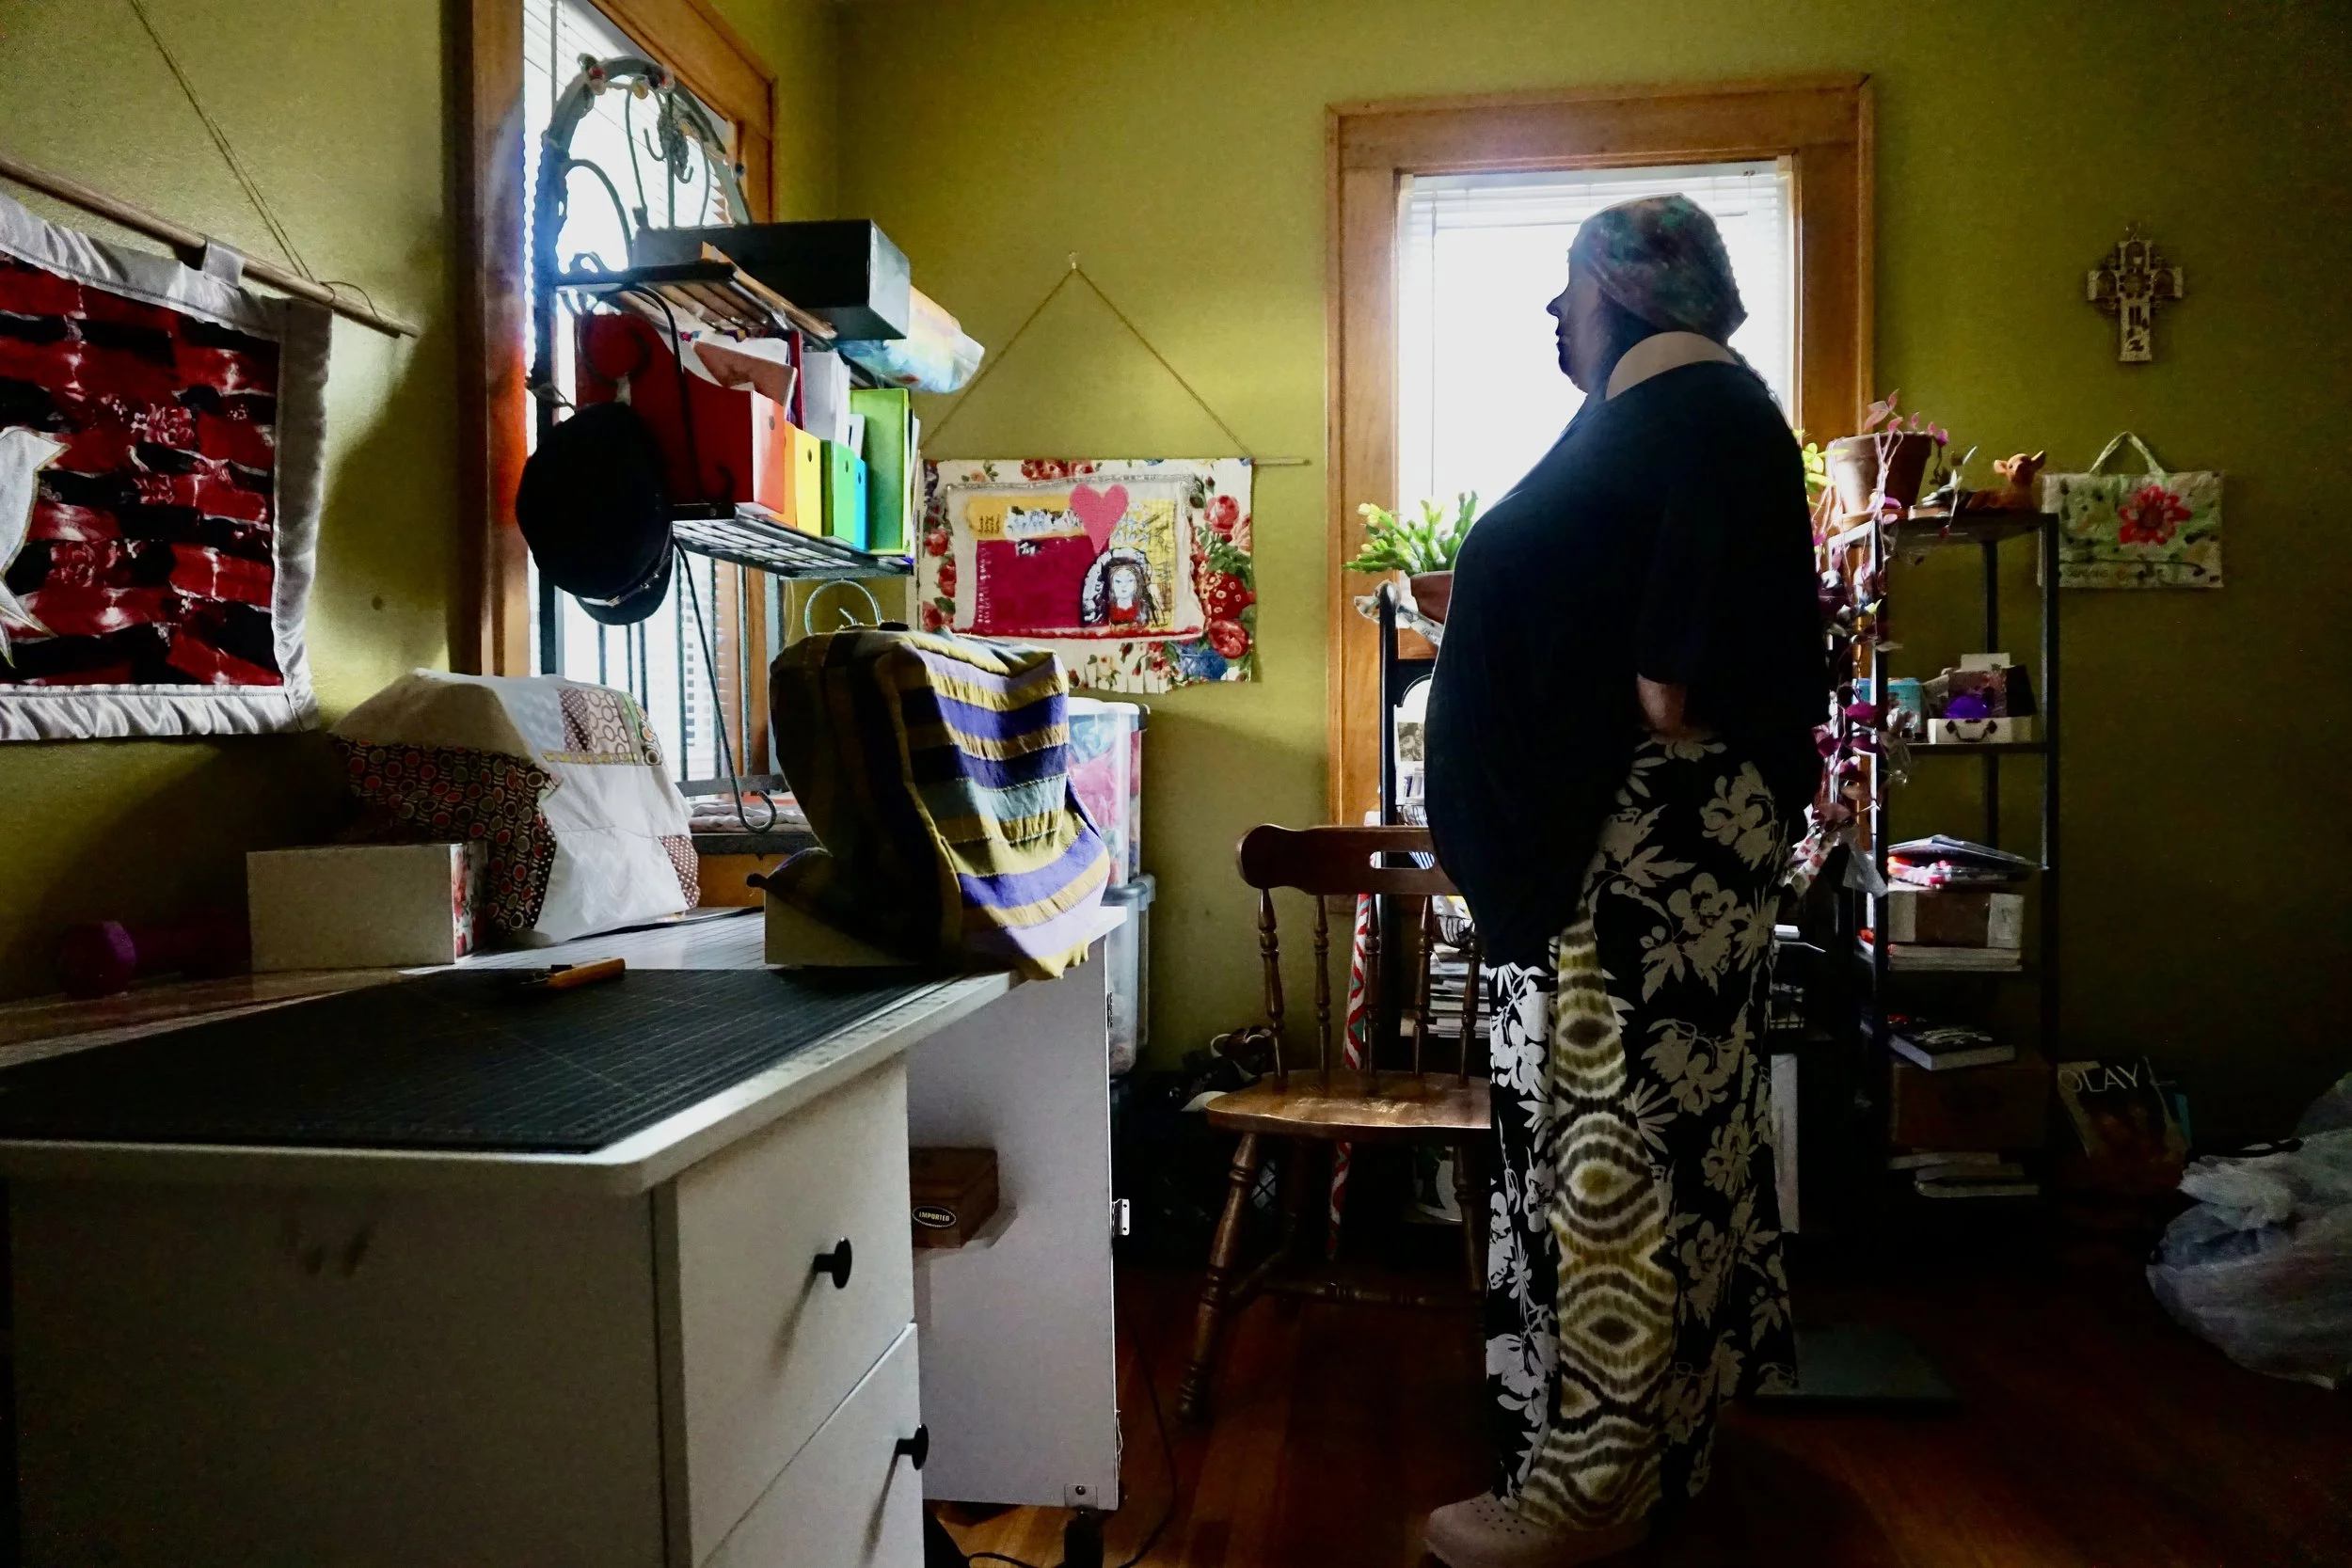
Summer will be here in 2 weeks in the USA, and I’m already starting to gear up with some upcycles! I’ve had this pair of pants for a few months now, but they were a little to snug across the belly and hips, so I decided to turn them into disco gold…Hawaiian style!
Bell bottoms are so much fun to make, and they are super easy. I got my start sewing bell bottoms back in 1999, at that time I was sewing them for people in my college town. Today I make them when pants are too tight or don’t fit how I want them to. If your pants are too small around the waist, you can add panels that go all the way up to the waist band. If you want more width through the hip and leg then start four to five inches down from the top.

I started the cut just to the right of the side seam, on the back panel of the pants. That way I could leave the pockets in place. I used my ruler and rotary cutter to cut the fabric.

Next I created panels of fabric that were 9 inches wide by the length of the pants, with an additional few inches at the bottom for hems.
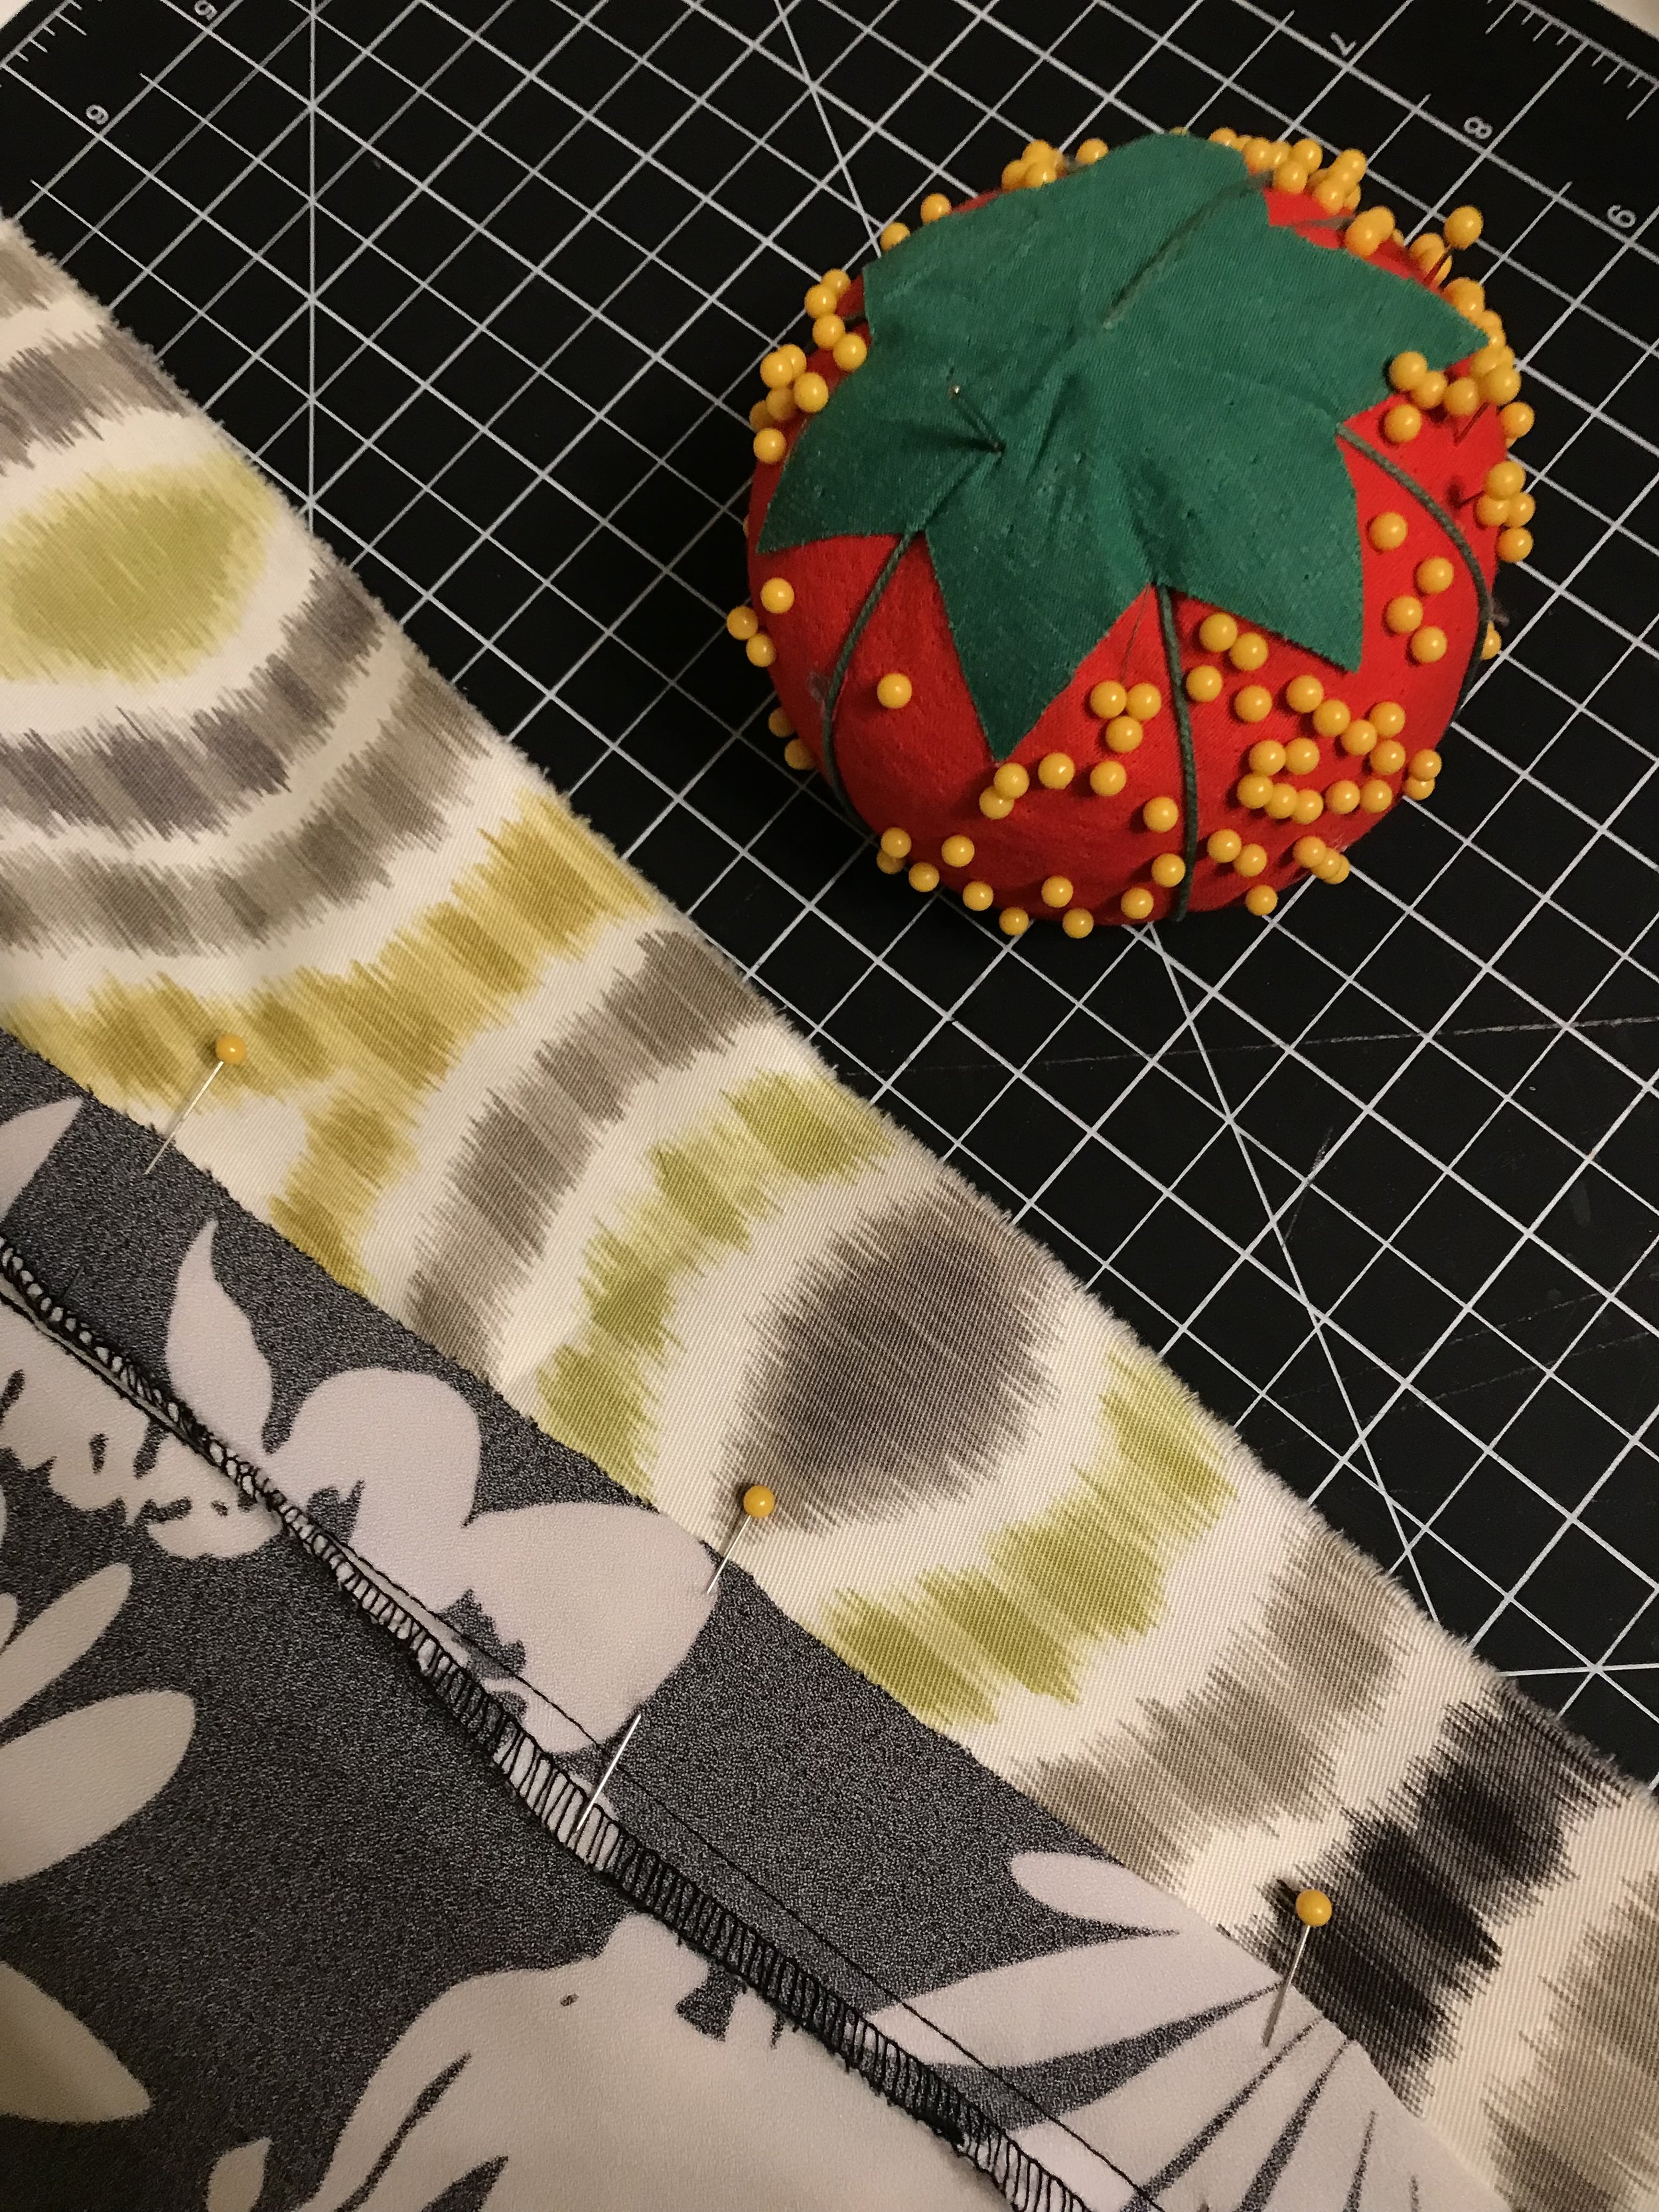
Next I found the middle of the first panel, and starting pinning at the top of the opening. As I worked my way down to the bottom hem I angled the pant leg out towards the side of the fabric panel. That way I could get the full width of the fabric into the bell bottom shape at the hem.

I sewed the first seam, with a quarter inch seam allowance. Then I trimmed off the excess fabric along the seam and finished the raw edge with a zig zag stitch. I did the same thing for the other seams.
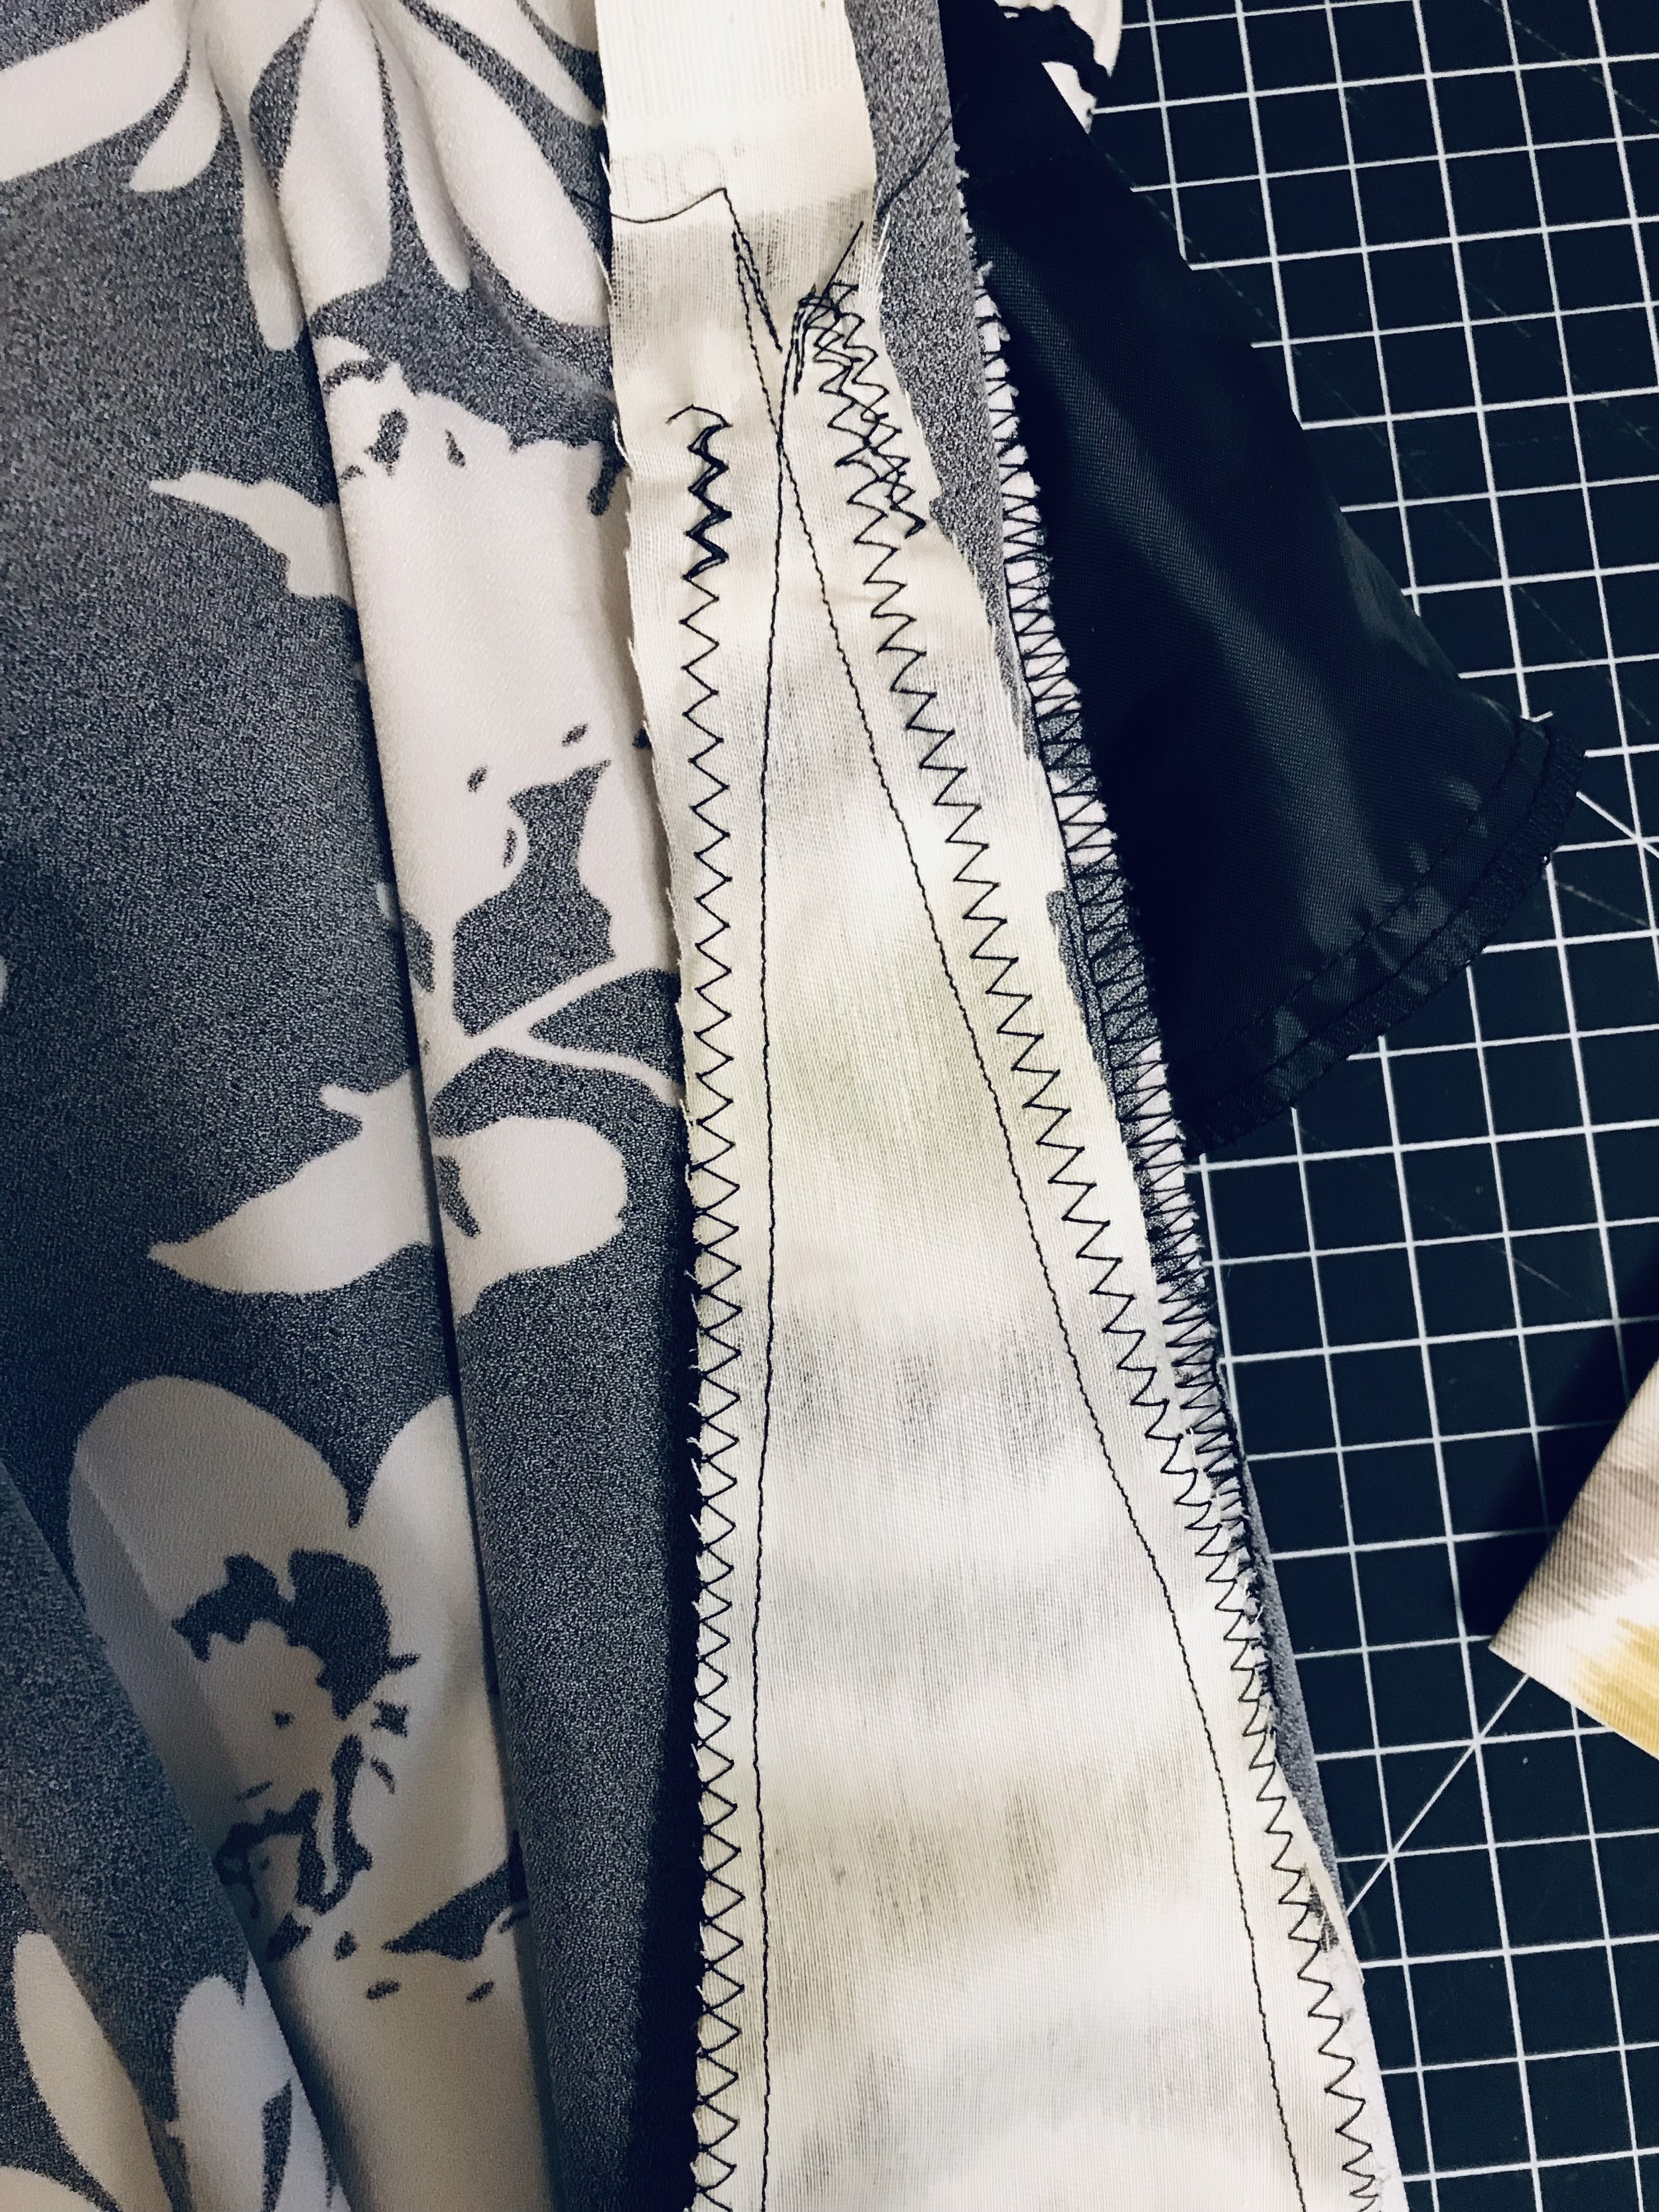
Here’s how the panel looked inside out, after being sewn.