
Alright!! The day has arrived! This sweatshirt has been hanging up in my closet for over two years now! I only wore it a couple of times, but the fit was not my favorite. So it was set aside to upcycle some day…you know how it goes. If you upcycle clothes, you understand the shift from the main wardrobe to the upcycle pile! The sweatshirt taunted me for years, because it wanted to become fabulous!
This project took slightly longer than I originally thought it would. I started it about three weeks ago, but then kept pausing to dream up the next steps. I could have stopped a week ago because the upcycle reached a point of edgy cool that was even better than expected. But I wanted to go all the way with this one, and add a slight steampunk twist!
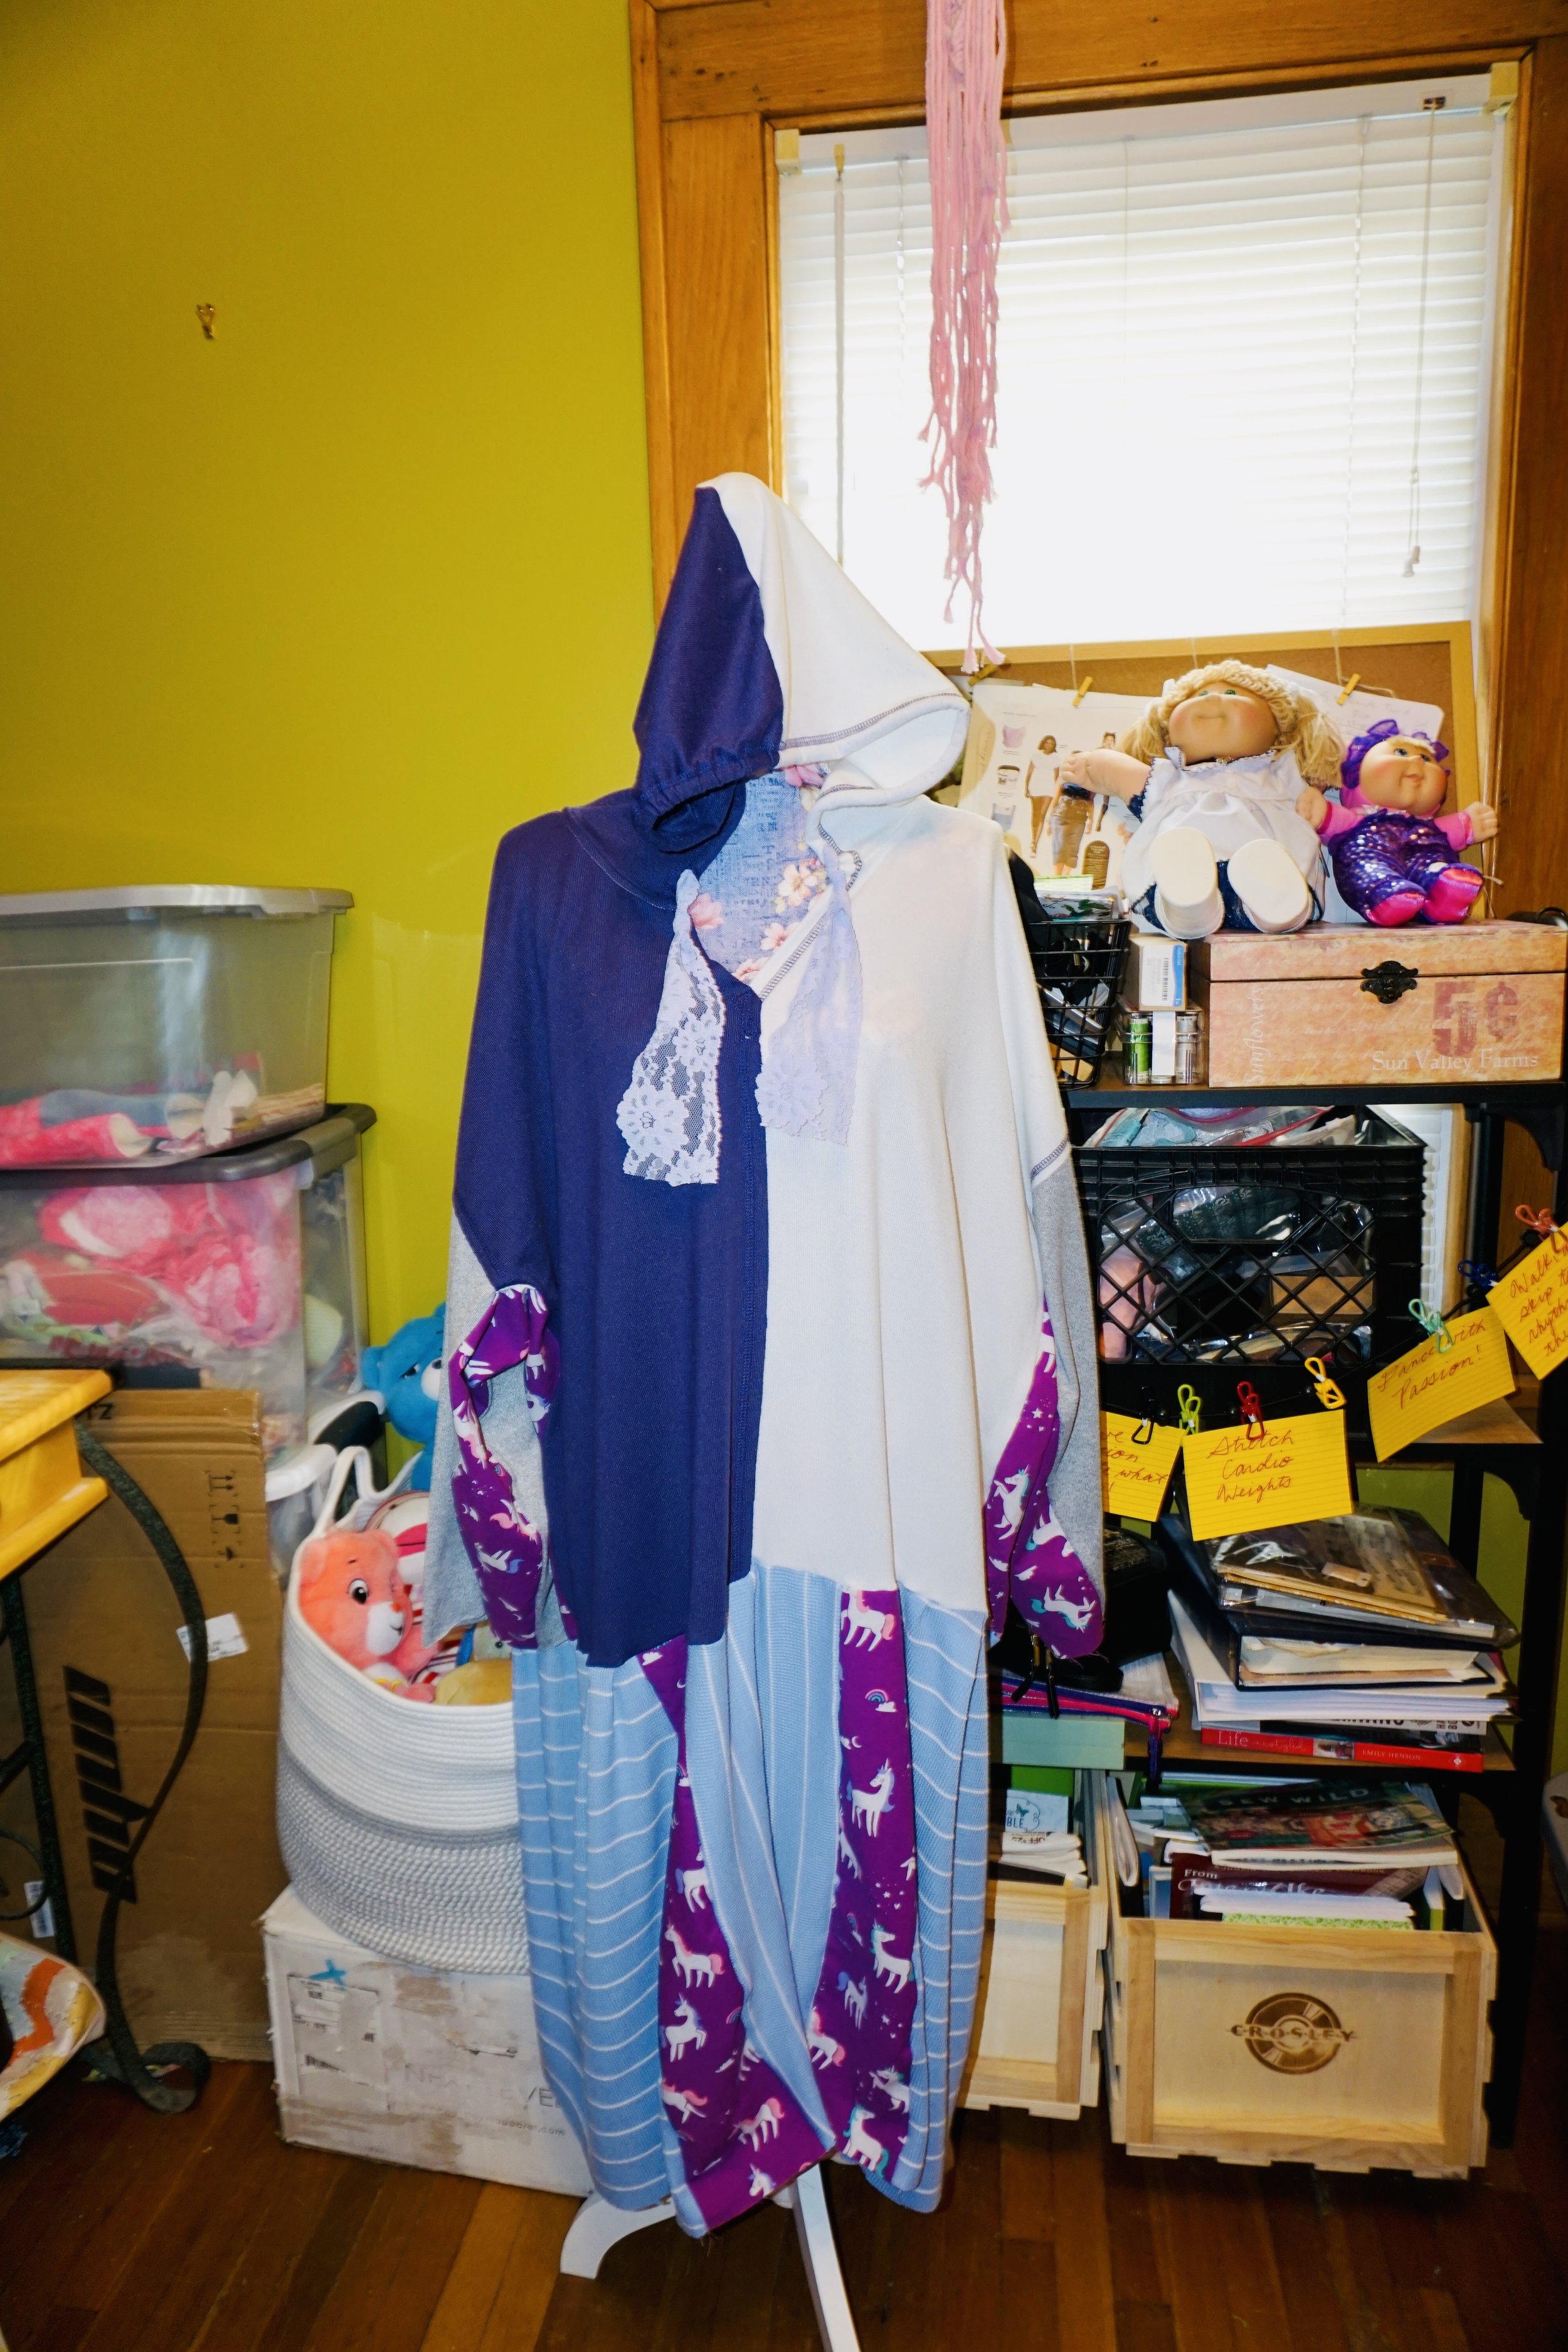
Kawaii Sweatshirt Dress Phase One: by Kathryn Sturges
I went for an analogous color palette on this one, with different shade of purple with white accents. You choose whatever colors you love, or that match your base sweatshirt. Always shop your own materials first. And audition fabrics by laying them against the sweatshirt till you love what you see. Go goth with black and shades of grey, or choose tones that match the sweatshirt. Or shoot for the rainbow and do an assortment of colors! You could also add appliques on the sweatshirt, for a super cute look! I added a pocket, and love how it looks.
If you want this to be Kawaii, think mega cute. Heart prints, stars, etc. I went with a Lisa Frank inspired unicorn print that I got in an epic destash from Etsy. Both fabrics and trim I used for this project were bought second hand.
Materials:
An old sweatshirt (or two)
A yard or two of stretch knit fabric
One yard of coordinating quilting cotton fabric with cute prints
lace
basic sewing kit

Choose an old sweatshirt to start with! If you have a sweatshirt that is slightly too small, this is the perfect project. If you love the look of my shirt, where each half is a different color, you can achieve the same effect by cutting two similar sized sweatshirts in half and then sewing them together! If you do decide to sew two sweatshirts together, you can have double fun and make two different upcycles!
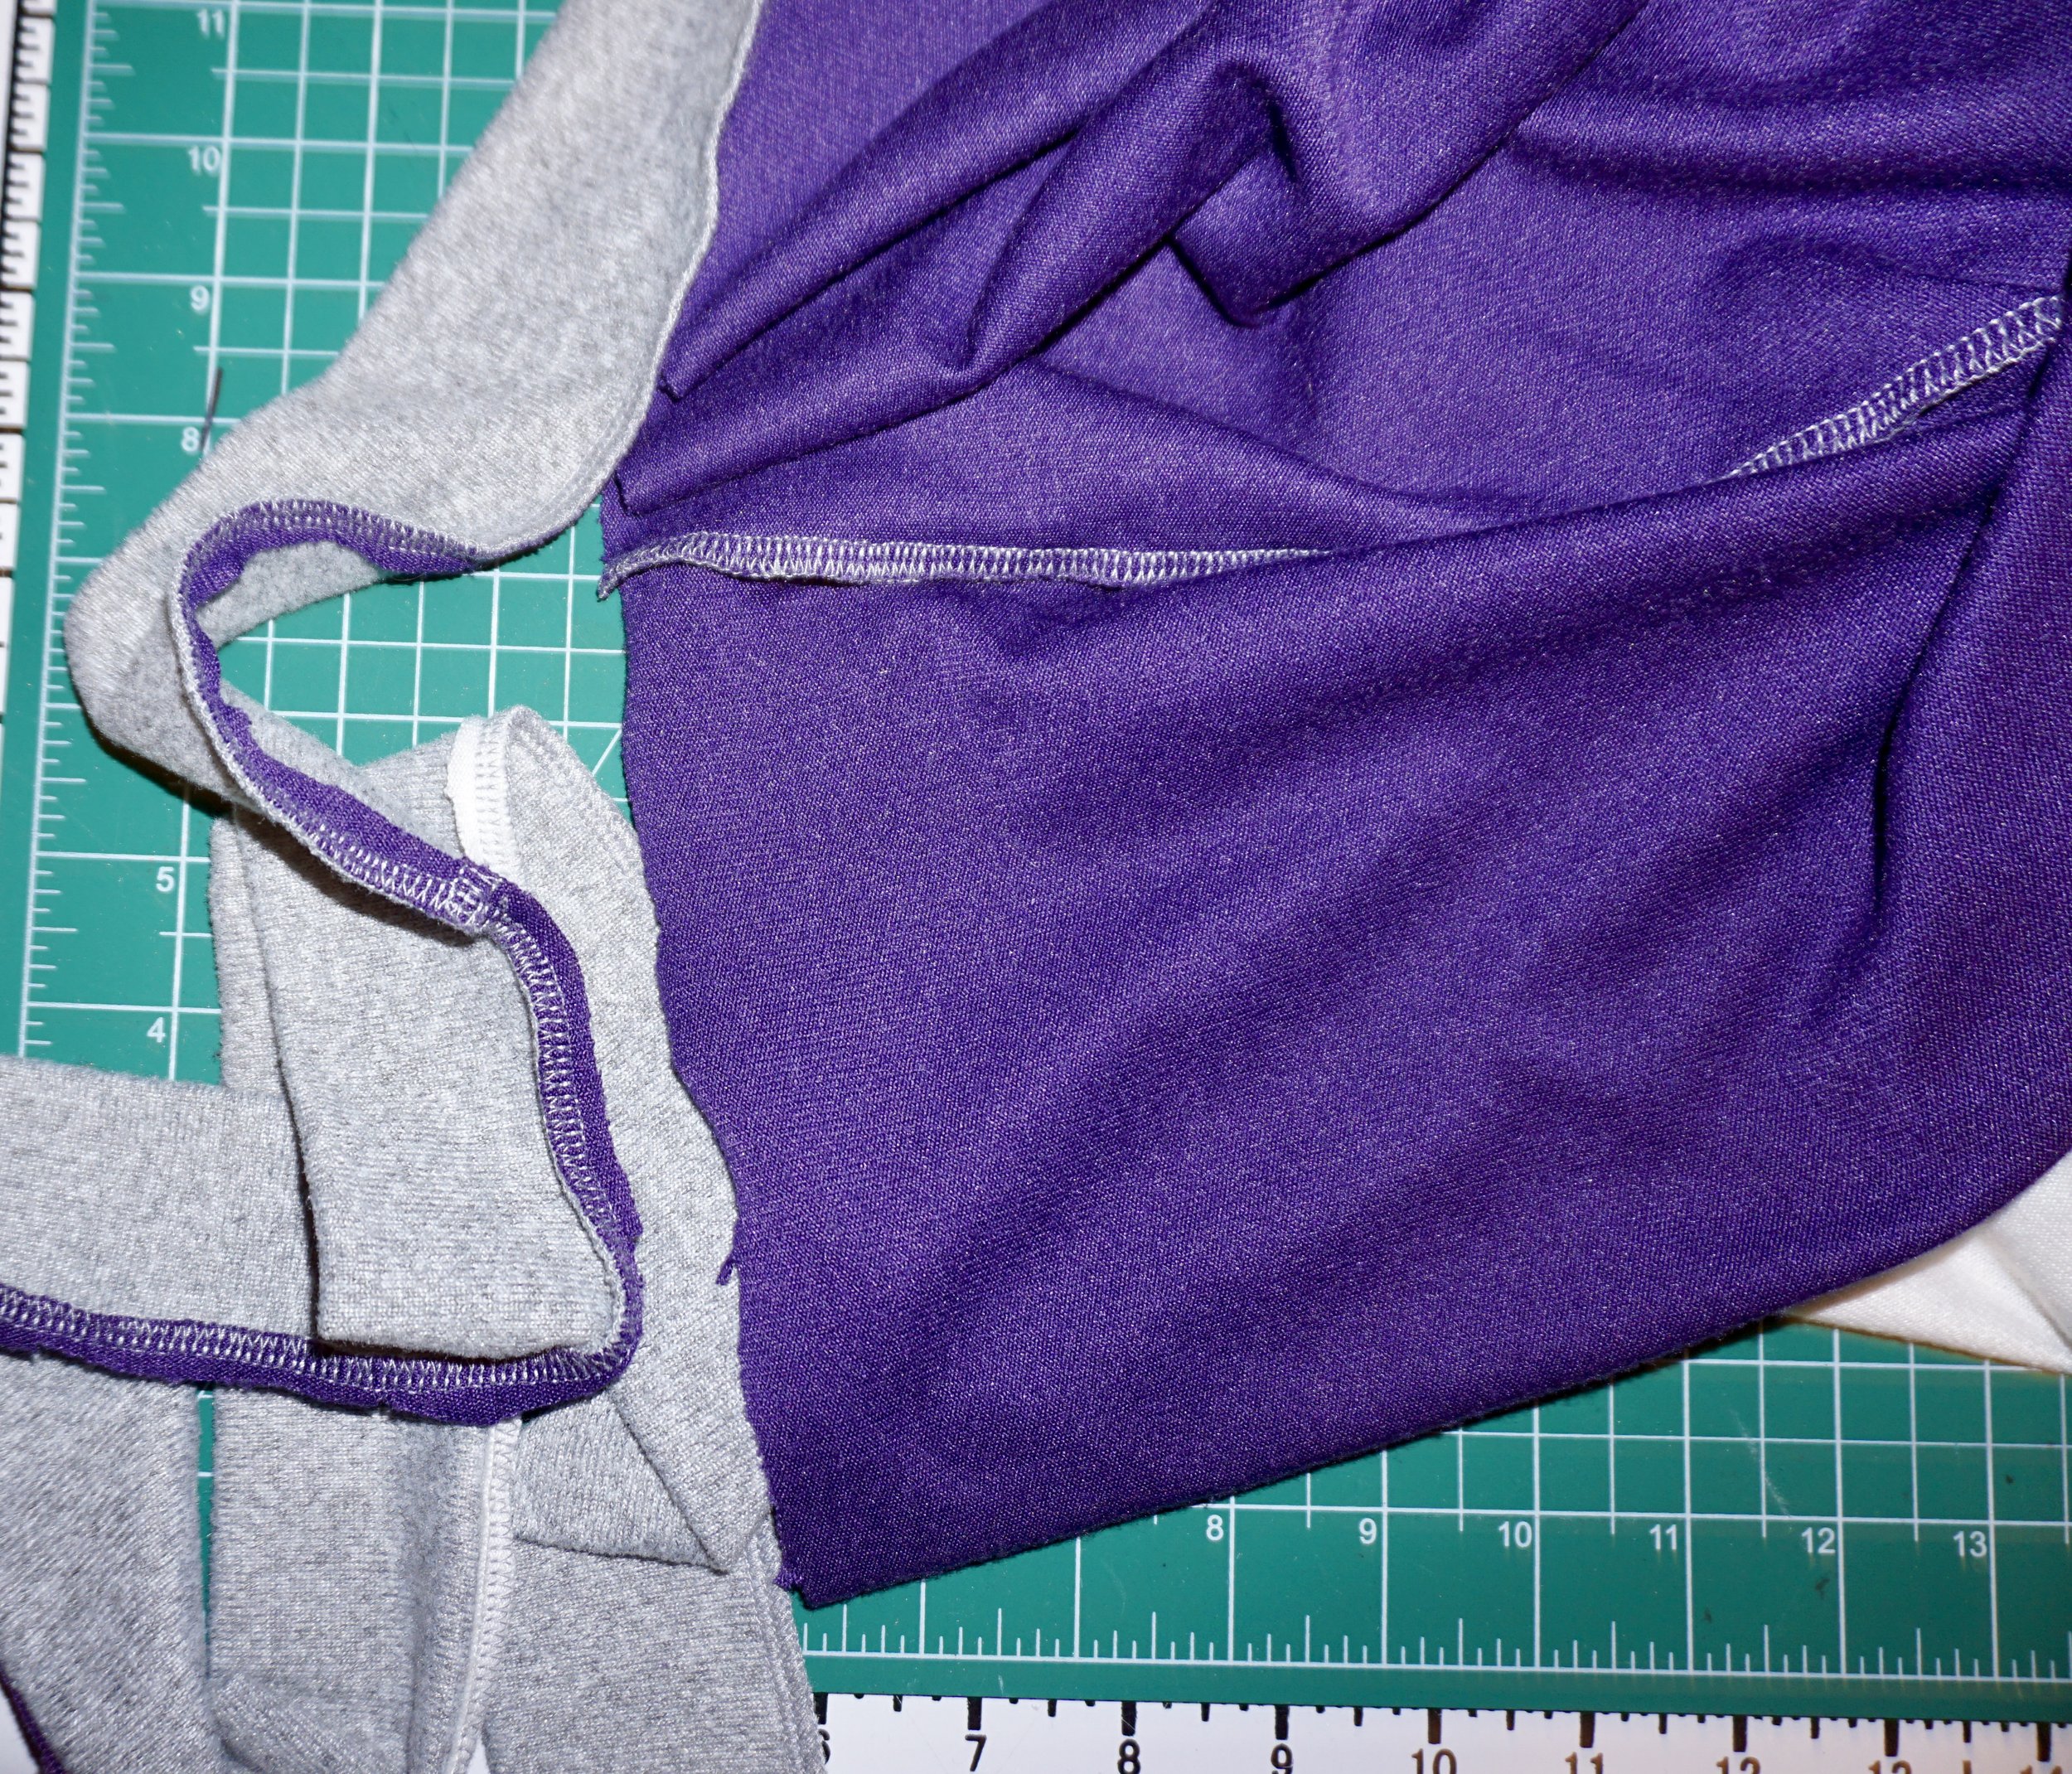
Remove the band from the bottom of the shirt and the cuffs on the sleeves. Save those for a different project! Sweatshirt bands are great to use as headbands, for cuffs on other projects. Or even turn them into cuff bracelets!
Measure the side seam, from the bottom edge all the way to the end of the sleeve. Write the measurement down on a scrap of paper.

Cut out two strips of fabric to insert along the side seams. Mine were five inches wide, but you could go bigger if you want the top to be baggy. Make the length slightly longer than the measurement you wrote down. I love leaving just a little extra when I add inserts because it helps prevent mistakes.

Using fabric scissors, cut along the side seam all the way from the bottom edge to to the end of the sleeve. Do one side first, and sew in the side panel. Then cut along the other side and sew in that panel. Once everything is sewn, it should look like the next photo.

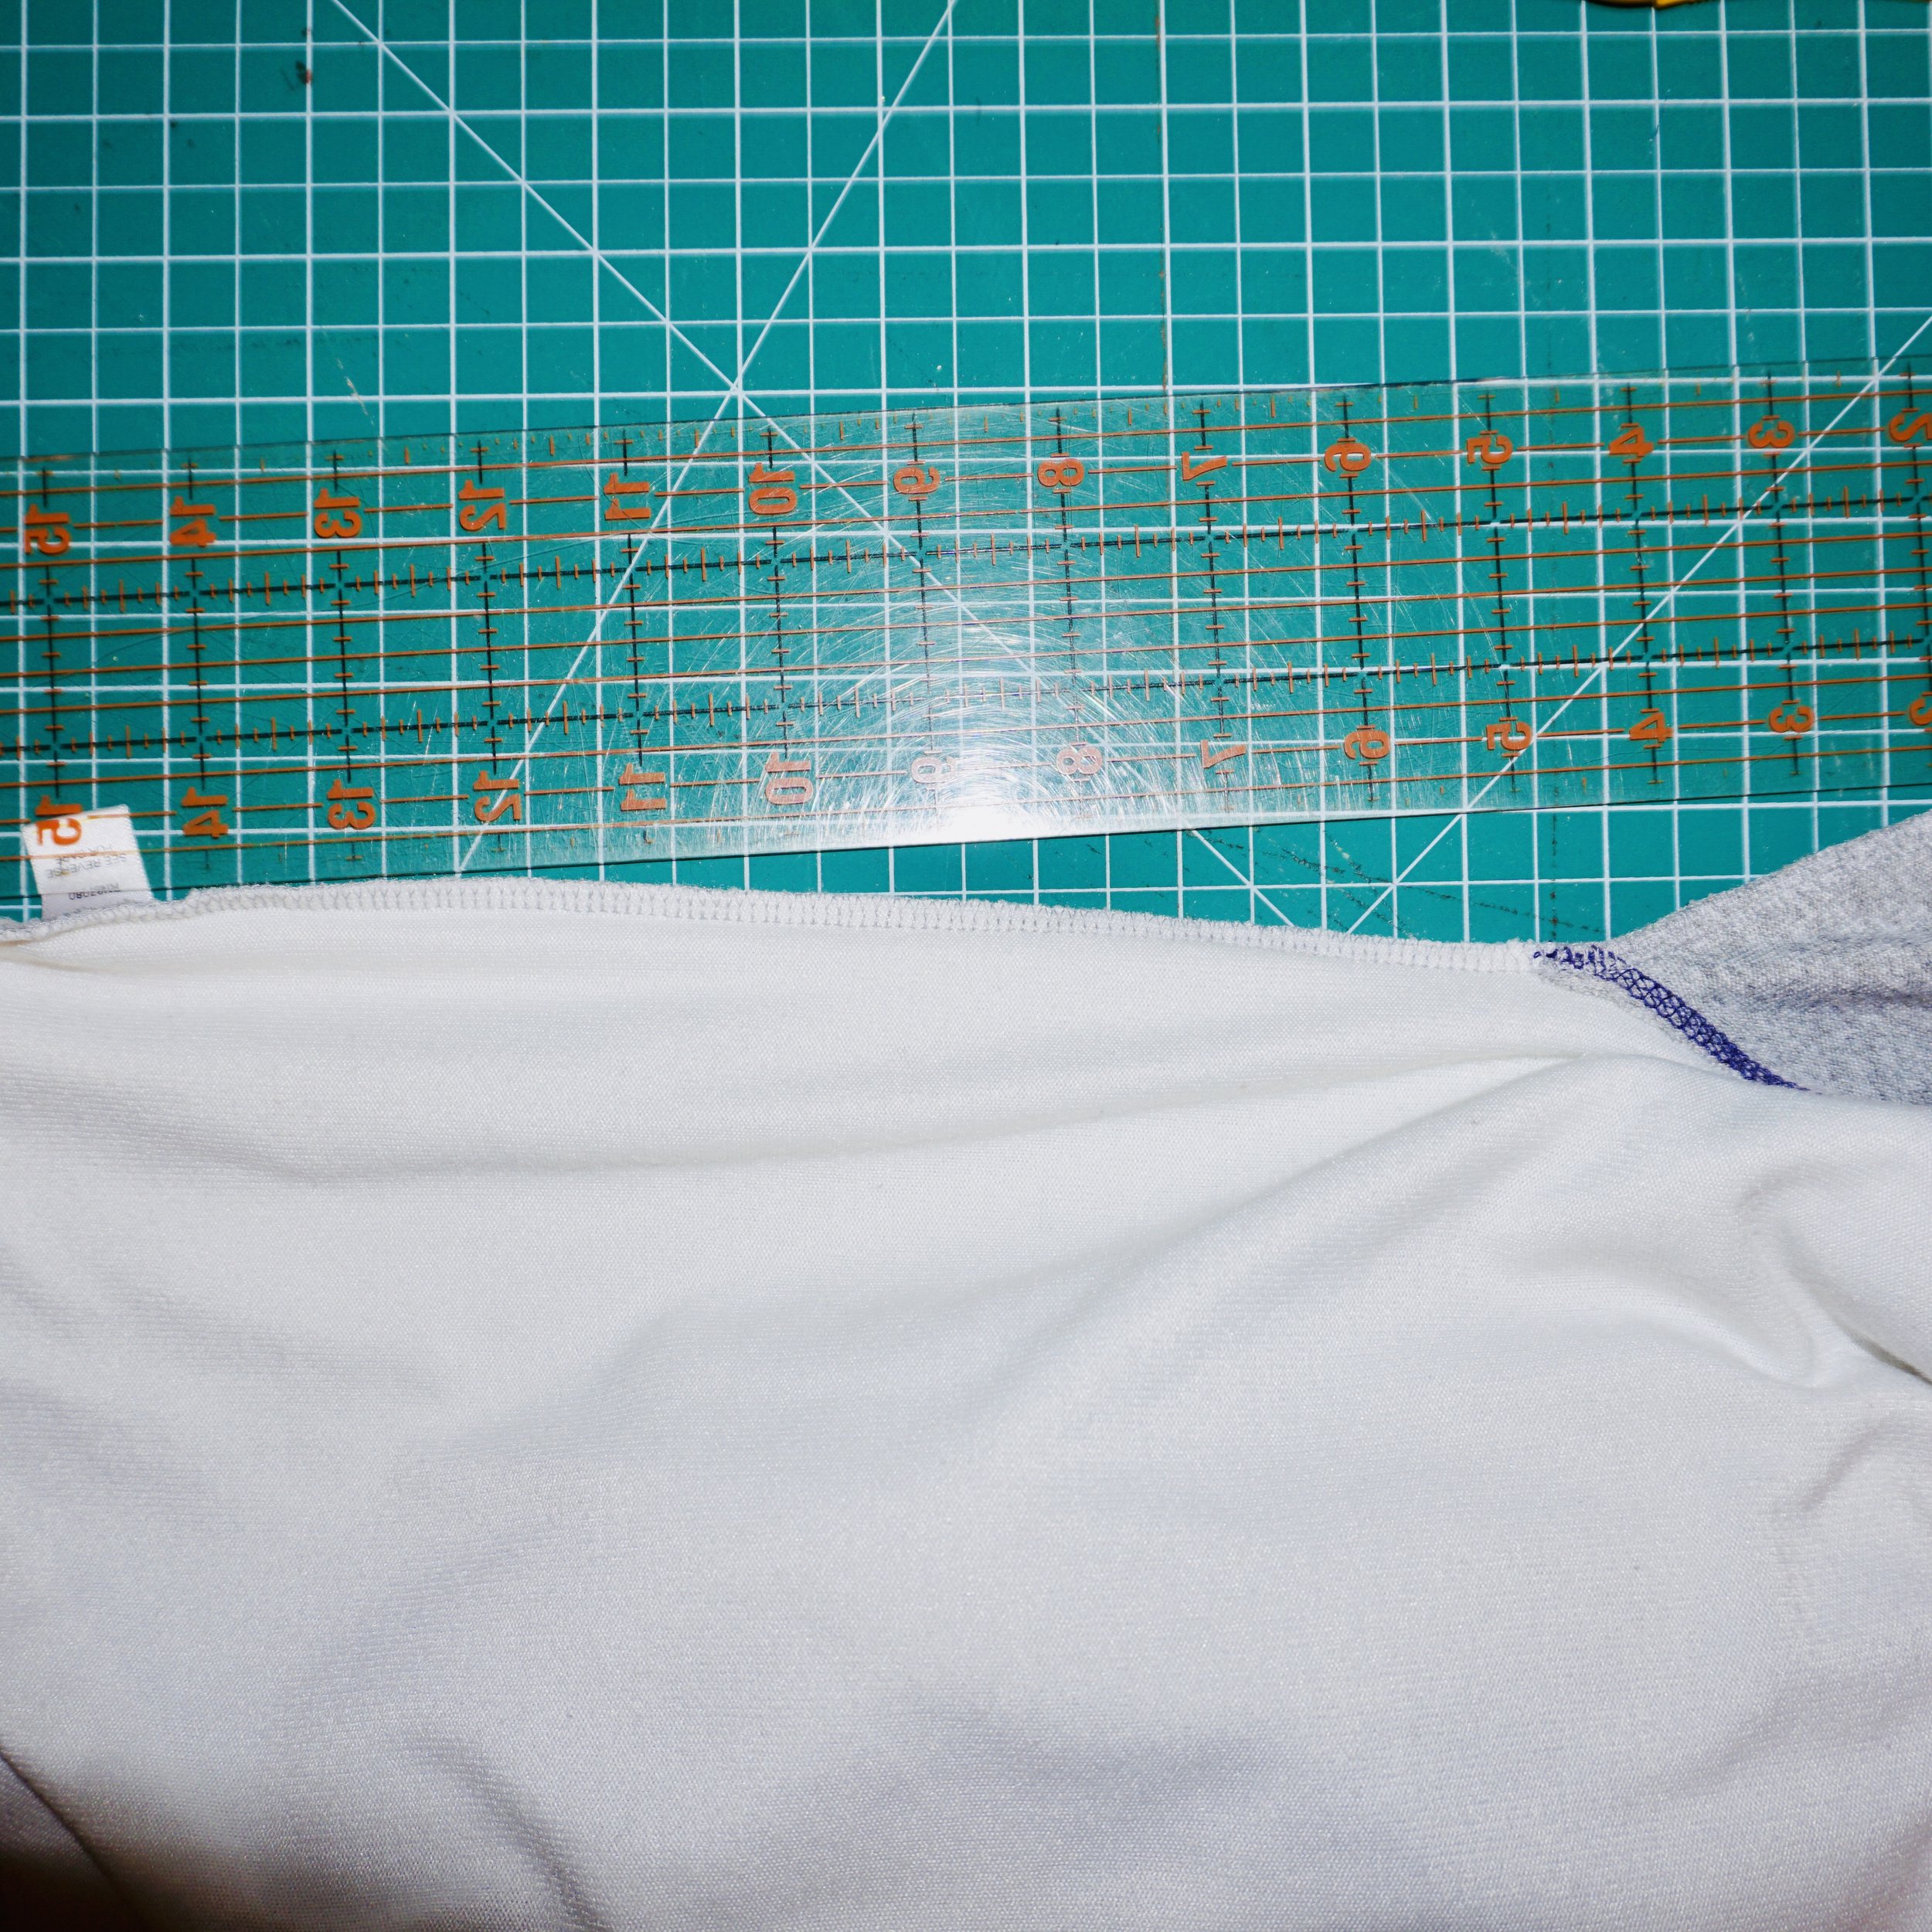
Using a rotary cutter, trim the excess fabric at the cuffs and bottom edges.


Cut a piece of stretchy knit fabric that is larger than the bottom measurement of the sweatshirt. Mine was about eight inches bigger. You can simply fold the fabric in half, line it up with the sweatshirt and place a dot where you want to cut the fabric. Then use the rotary cutter to cut in a straight line. You are making a long rectangle for the skirt portion of the dress. Mine was 20 inches long x the width of the bottom edge of the sweatshirt plus about eight inches.

Cut out another piece of stretch knit fabric, this time make it the same length as the skirt. But make it narrow. Mine was nine inches wide by 20 inches long. This will be for the middle front of the skirt part of the dress.

Cut out two more strips of the quilting cotton fabric, only this time make them 5 inches wide by 20 inches long. I made mine slightly longer than the finished measurement to allow for ease of sewing. These will go on the left and right sides of the middle panel you just cut out.

Sew the quilting cotton strips to the middle panel. Then using a rotary cutter and ruler, even out the edges. Then sew the middle panel onto the rest of the skirting.

Fold the skirting so that the two quilting cotton strips are lined up, and place a pin at the fold on the right and left sides of the skirting. Next, fold the skirting again with the two pins lined up in the middle, and place a pin on each end of the skirting again. You are dividing the skirting into four equal parts. Do the same thing on the sweatshirt. Place a pin in the middle of each side, then place pins in the middle of the front and back. This is to help you line up the skirting with the top when you attach the sweatshirt with the skirt.

Let’s attach the top to the skirt! Starting in the middle front, line up the two center pins of the sweatshirt and skirt with right sides together. Then start sewing slowly. Remember, the skirt is larger than the sweatshirt. So I created irregular pleats. You do this by folding the fabric and sewing down the folds as you go along. You can put the irregular pleats at any point on the skirting. If you place the irregular pleats along the area by the sides, it will create fullness around the hip area. I chose to place the pleats on the left and right sides of the middle panel, then also on the left and right sides of the center back of the sweatshirt. Mine are somewhat evenly spaced out, although not perfect!

Here is what the irregular pleats look like once sewn. You can fold them in the same direction, or in opposite directions as you go along.

This is what the dress looks like at this stage! I could have stopped here. I love how the dress looks here, it is edgy and fun! If you plan on wearing your dress every day, this might be where you want to stop. I’m loving a more fantasy vibe for my upcycles though, so I kept going. Use your own judgement. If you sell clothes, it is important to create a cohesive collection to set yourself apart. So if you love an edgy everyday look, stop here!

I went ahead and finished the raw edges with a zig zag stitch at this point. I see so many upcyclers not finishing edges. It is a mistake! Take the time to finish the edges so your pieces hold up in the wash!
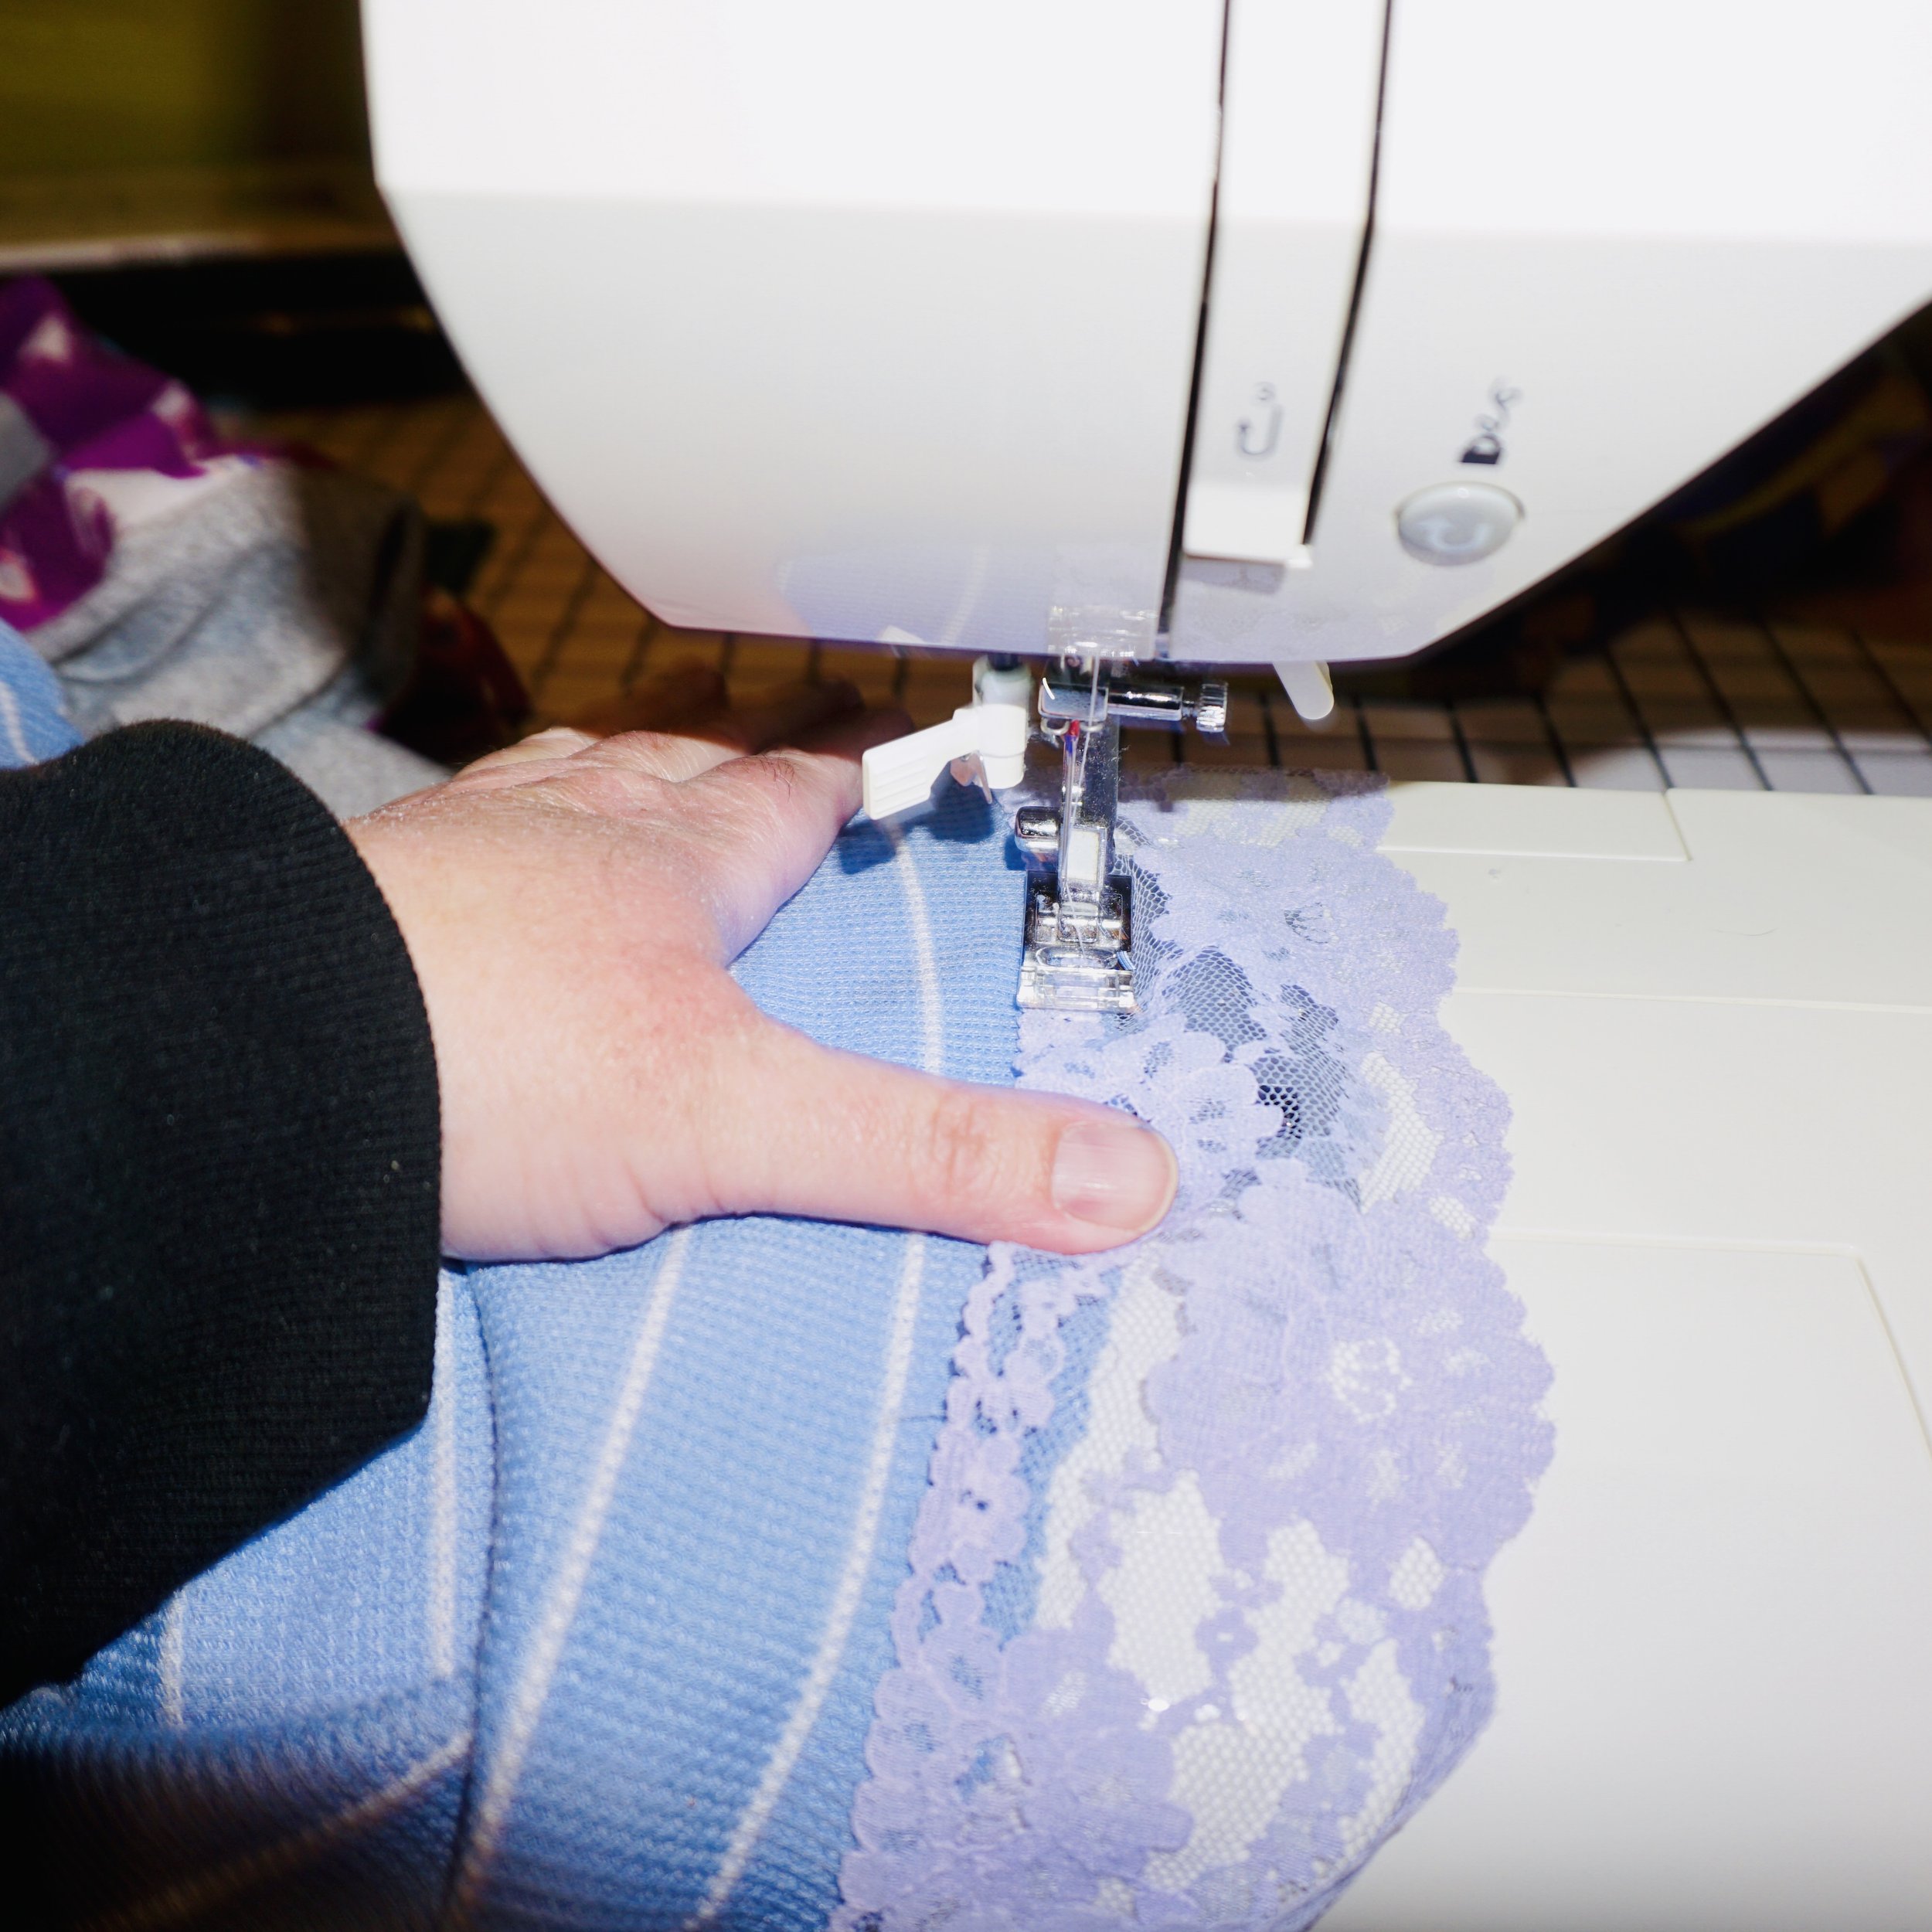
Next I added a wide lavender purple lace to the bottom hem of the skirt. I could have also added it to the sleeve cuffs, or on other parts of the shirt like around the neckline or waist. I got this lace in a destash off Etsy! It came in a huge bundle of vintage lace for only $30!

Ok, so I don’t know the technical term for this step. I made it up! It is similar to the way people sew curtains. In the middle of the front quilting cotton strips on the skirt, I sewed up the middle of each panel and bunched up the fabric as I went. I made super tiny folds in groups of five or six. This will create a hi-lo hem on the dress!

Here’s how the skirting looked after that step. I wanted the front to go shorter, so I went ahead and did that last step again, making sure to bunch up the entire strip. Sewing the zig zag stitching a second time secured the bunched up fabric really well. This effect is what you see often in steampunk inspired dresses! Experiment with adding this effect to skirts and dresses for a cool steampunk vibe!

My finished Upcycle by Kathryn Sturges

Peace Out! Upcycle with Kat Sturges!
Woah! I think this blog post took longer to write than it actually took to sew the dress! Hahahahaha! J/K!
Have fun with the techniques in this project, and experiment with coming up with a look you love! Also, Halloween is right around the corner and this project would be a really cool Halloween costume in the right prints and colors! As for me, I’m going back into my head, back into my world of fantasy to conjure up my next project! Peace OUT!