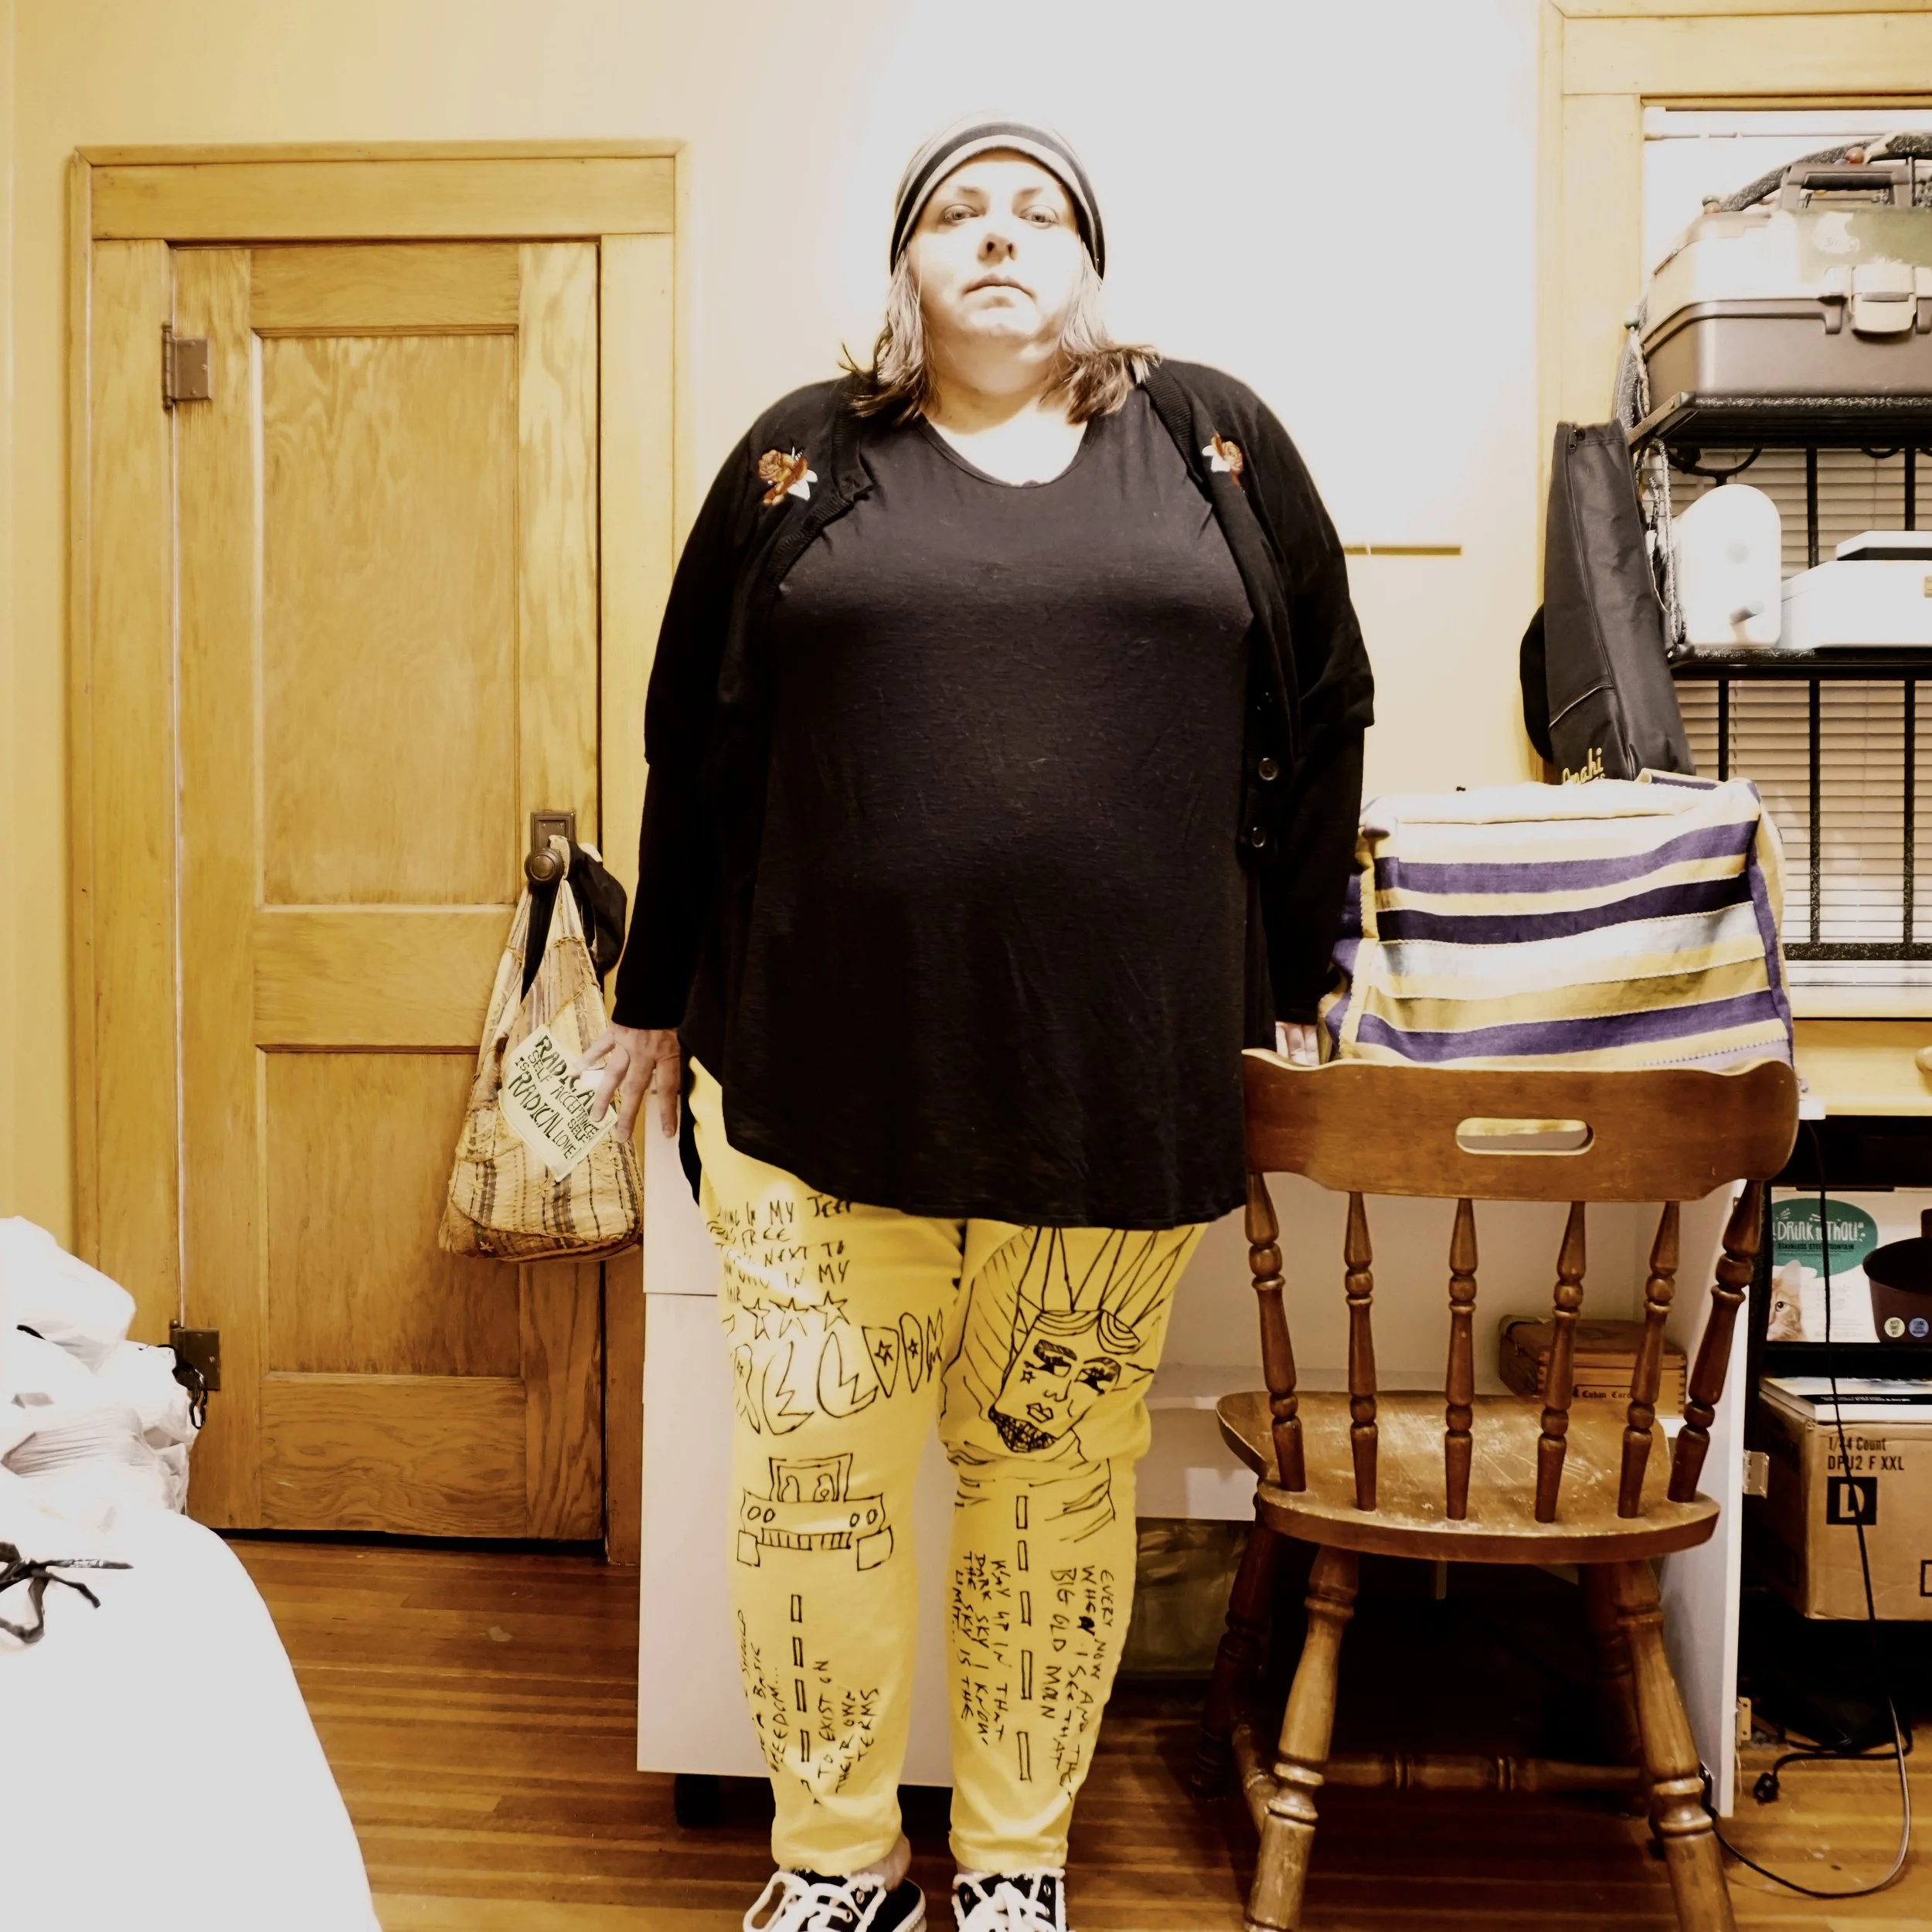
Self acceptance can be so challenging, for people of all shapes and sizes. I can remember being a size 8, and still thinking I was too big. Why are we so obsessed with size? I mean, am I less valuable because I am fat? Because a lot of the rules society treads by sure do make me feel that way! I’ve been made fun of so many times because of my size over the years, or shamed or put down. The thing is I’ve been at a lot of different weights over those years. It’s like no matter what I do I will not ever please everyone with the size of my belly or the shape of my thighs.
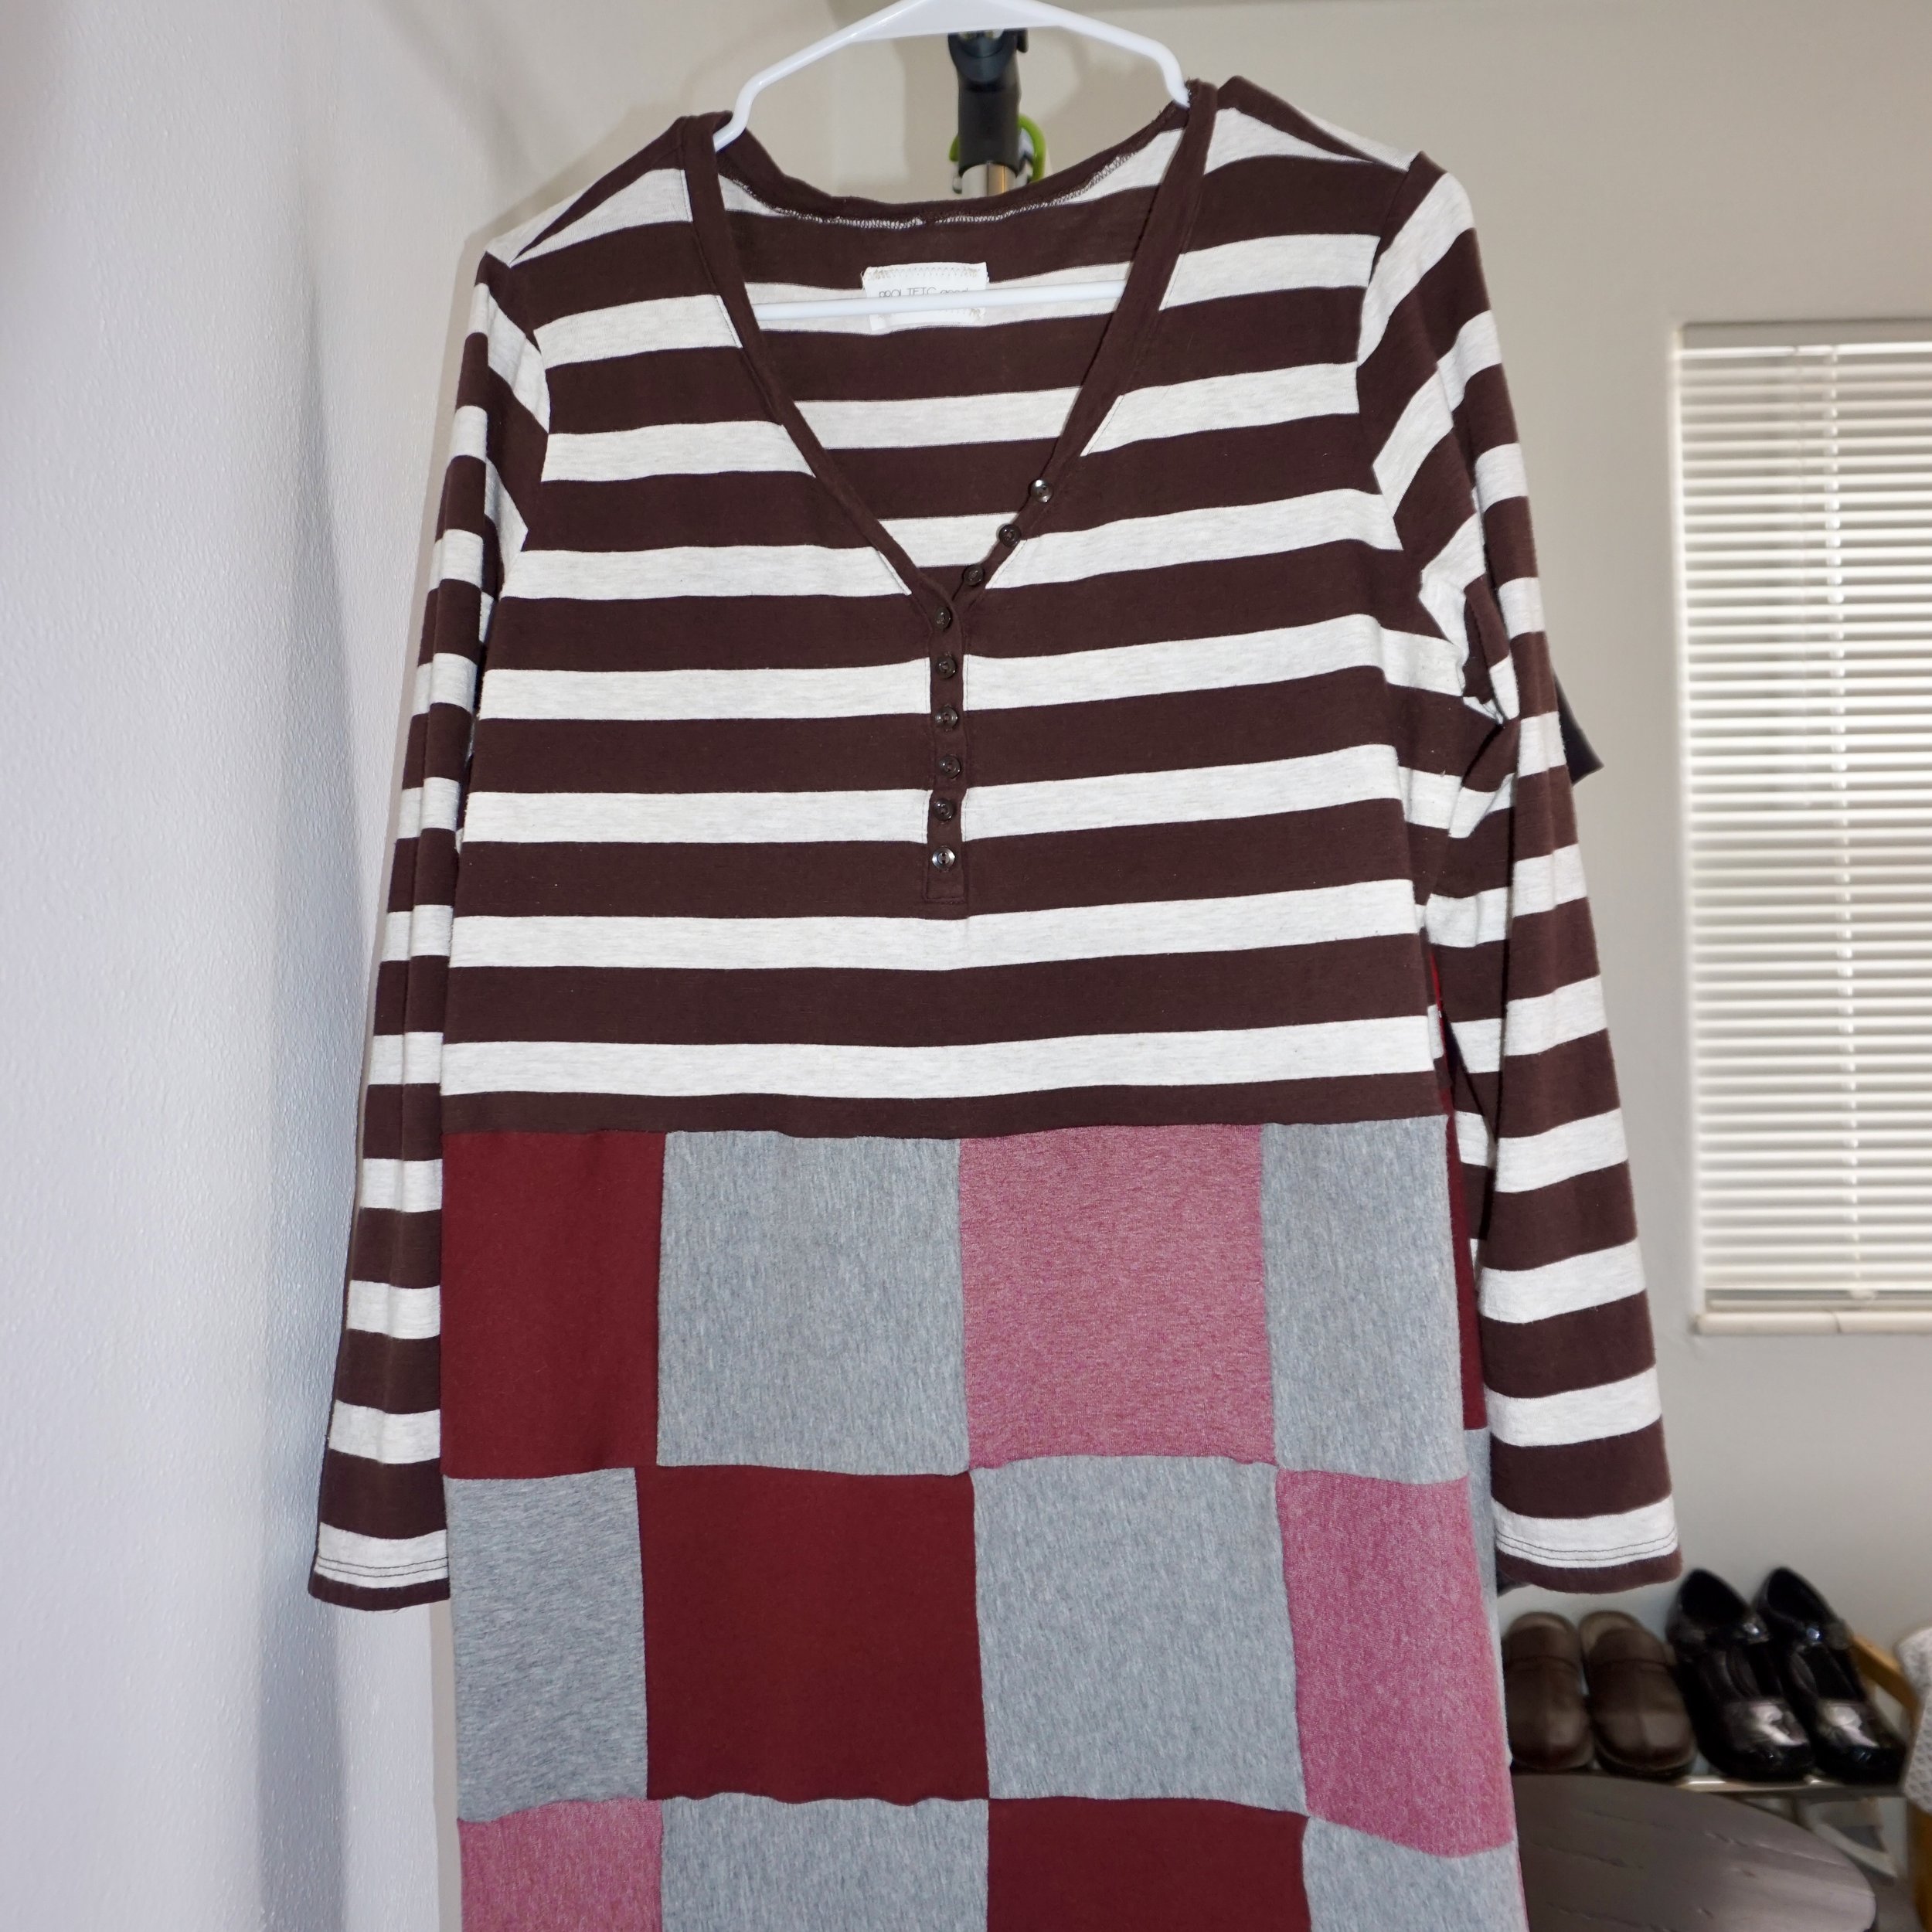
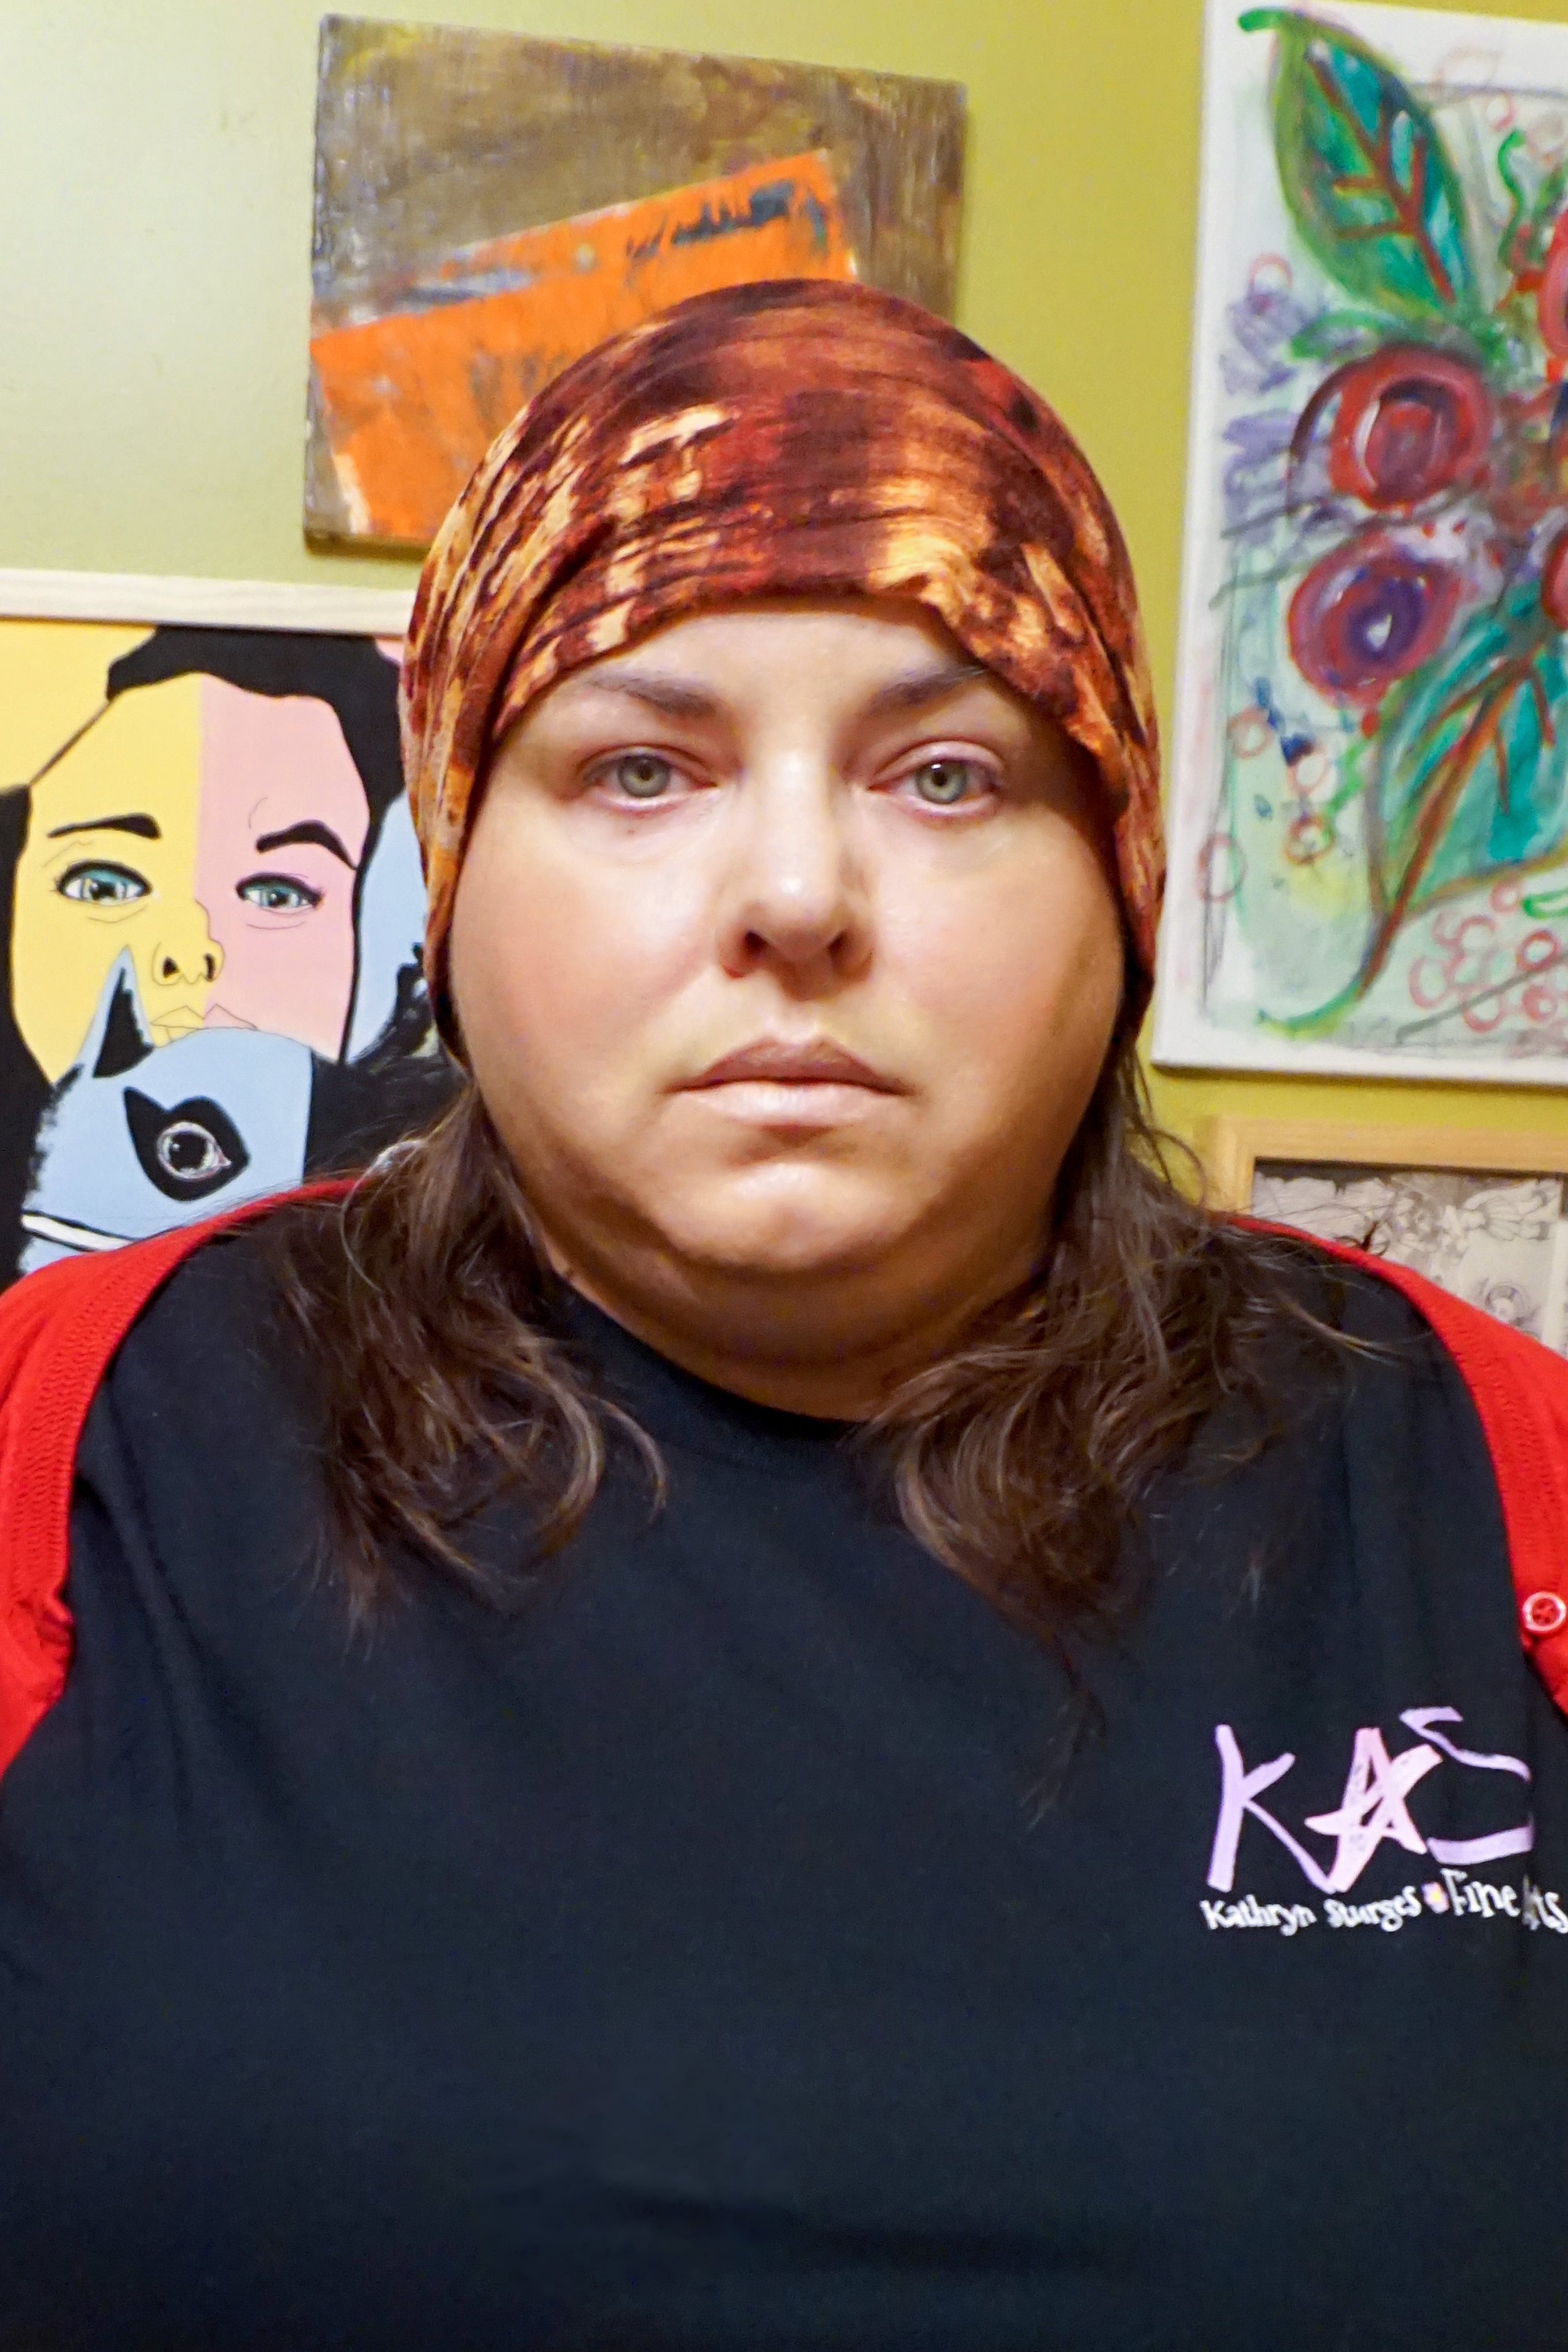
I just want to say, no matter how you look this minute, you are worthy! Your dreams, goals and happiness are not measured by a number on a scale. I’m at my highest weight of all time, and yet I’m still modeling my makes. It does take courage to rock my makes because I’m struggling with self acceptance. But radical self acceptance tells me that my vision for sewing clothes is more important than that number on the scale.
I want to challenge you to take a small step this week toward the life you want to have! It could be reading a book on a subject you want to learn more about. It could be signing up for a class. It could be starting a new website, or honing your craft. It could be finally opening that art or sewing shop of your dreams! Do something brash and wild and put your energy behind it!
It’s ok to not like how you look. It’s not okay to let that hold you back in life! Because you are worth so much more than that! I’m going to practice what I preach and get in the sewing room tonight! Power to the women who believe in their dreams, and go after them one step at a time!