• Info + Contact
  • Books on Amazon
  • Blog
  • Eco Shrine Boxes
  • Free Your Voice: Art and Journaling Class
  • Trashy Eco Art Journal
  • Work
    • Fantasy Garden
    • Portraits and Figures
    • Storytelling Art
    • Ordinary People
  • Menu

Kat Sturges. Eco Artist.

  • Info + Contact
  • Books on Amazon
  • Blog
  • Eco Shrine Boxes
  • Free Your Voice: Art and Journaling Class
  • Trashy Eco Art Journal
  • Work
    • Fantasy Garden
    • Portraits and Figures
    • Storytelling Art
    • Ordinary People

Kawaii Sweatshirt Dress by Kathryn Sturges

Sew a Kawaii Sweatshirt Dress

September 17, 2023 in Upcycle Clothing

Alright!! The day has arrived! This sweatshirt has been hanging up in my closet for over two years now! I only wore it a couple of times, but the fit was not my favorite. So it was set aside to upcycle some day…you know how it goes. If you upcycle clothes, you understand the shift from the main wardrobe to the upcycle pile! The sweatshirt taunted me for years, because it wanted to become fabulous!

This project took slightly longer than I originally thought it would. I started it about three weeks ago, but then kept pausing to dream up the next steps. I could have stopped a week ago because the upcycle reached a point of edgy cool that was even better than expected. But I wanted to go all the way with this one, and add a slight steampunk twist!
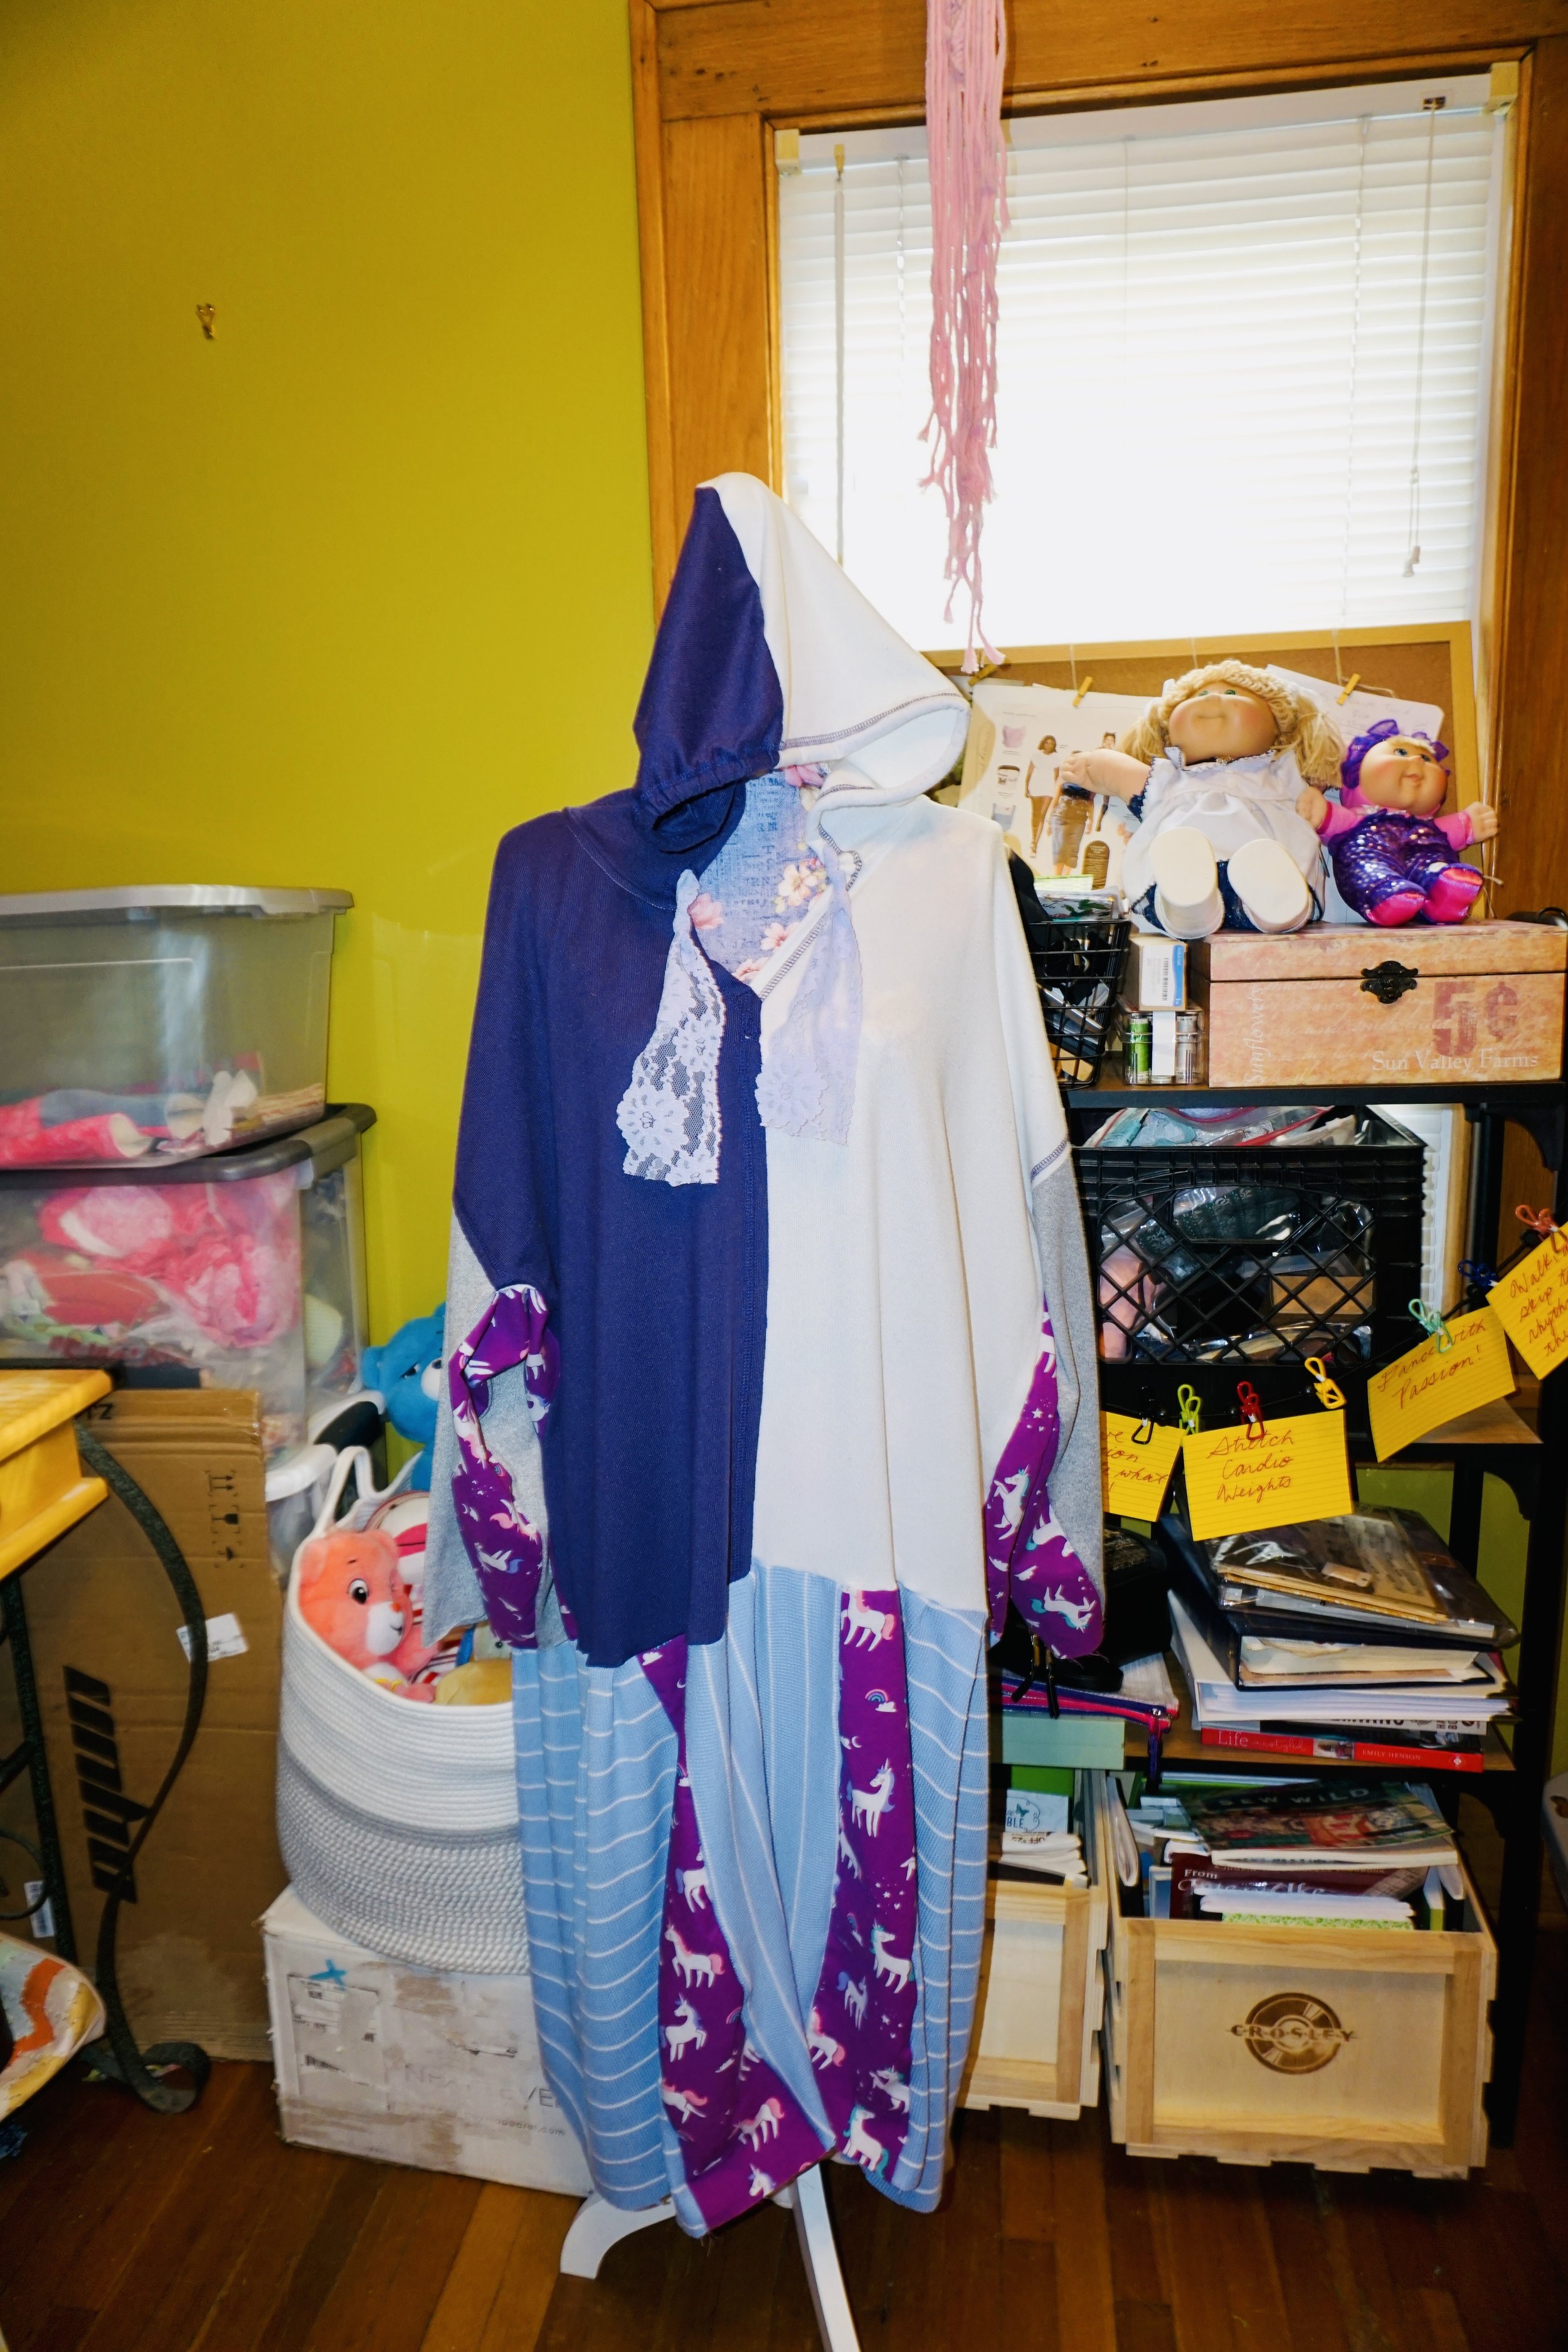
Kawaii Sweatshirt Dress Phase One: by Kathryn Sturges

I went for an analogous color palette on this one, with different shade of purple with white accents. You choose whatever colors you love, or that match your base sweatshirt. Always shop your own materials first. And audition fabrics by laying them against the sweatshirt till you love what you see. Go goth with black and shades of grey, or choose tones that match the sweatshirt. Or shoot for the rainbow and do an assortment of colors! You could also add appliques on the sweatshirt, for a super cute look! I added a pocket, and love how it looks.

If you want this to be Kawaii, think mega cute. Heart prints, stars, etc. I went with a Lisa Frank inspired unicorn print that I got in an epic destash from Etsy. Both fabrics and trim I used for this project were bought second hand.

Materials:

An old sweatshirt (or two)

A yard or two of stretch knit fabric

One yard of coordinating quilting cotton fabric with cute prints

lace

basic sewing kit

Choose an old sweatshirt to start with! If you have a sweatshirt that is slightly too small, this is the perfect project. If you love the look of my shirt, where each half is a different color, you can achieve the same effect by cutting two similar sized sweatshirts in half and then sewing them together! If you do decide to sew two sweatshirts together, you can have double fun and make two different upcycles!
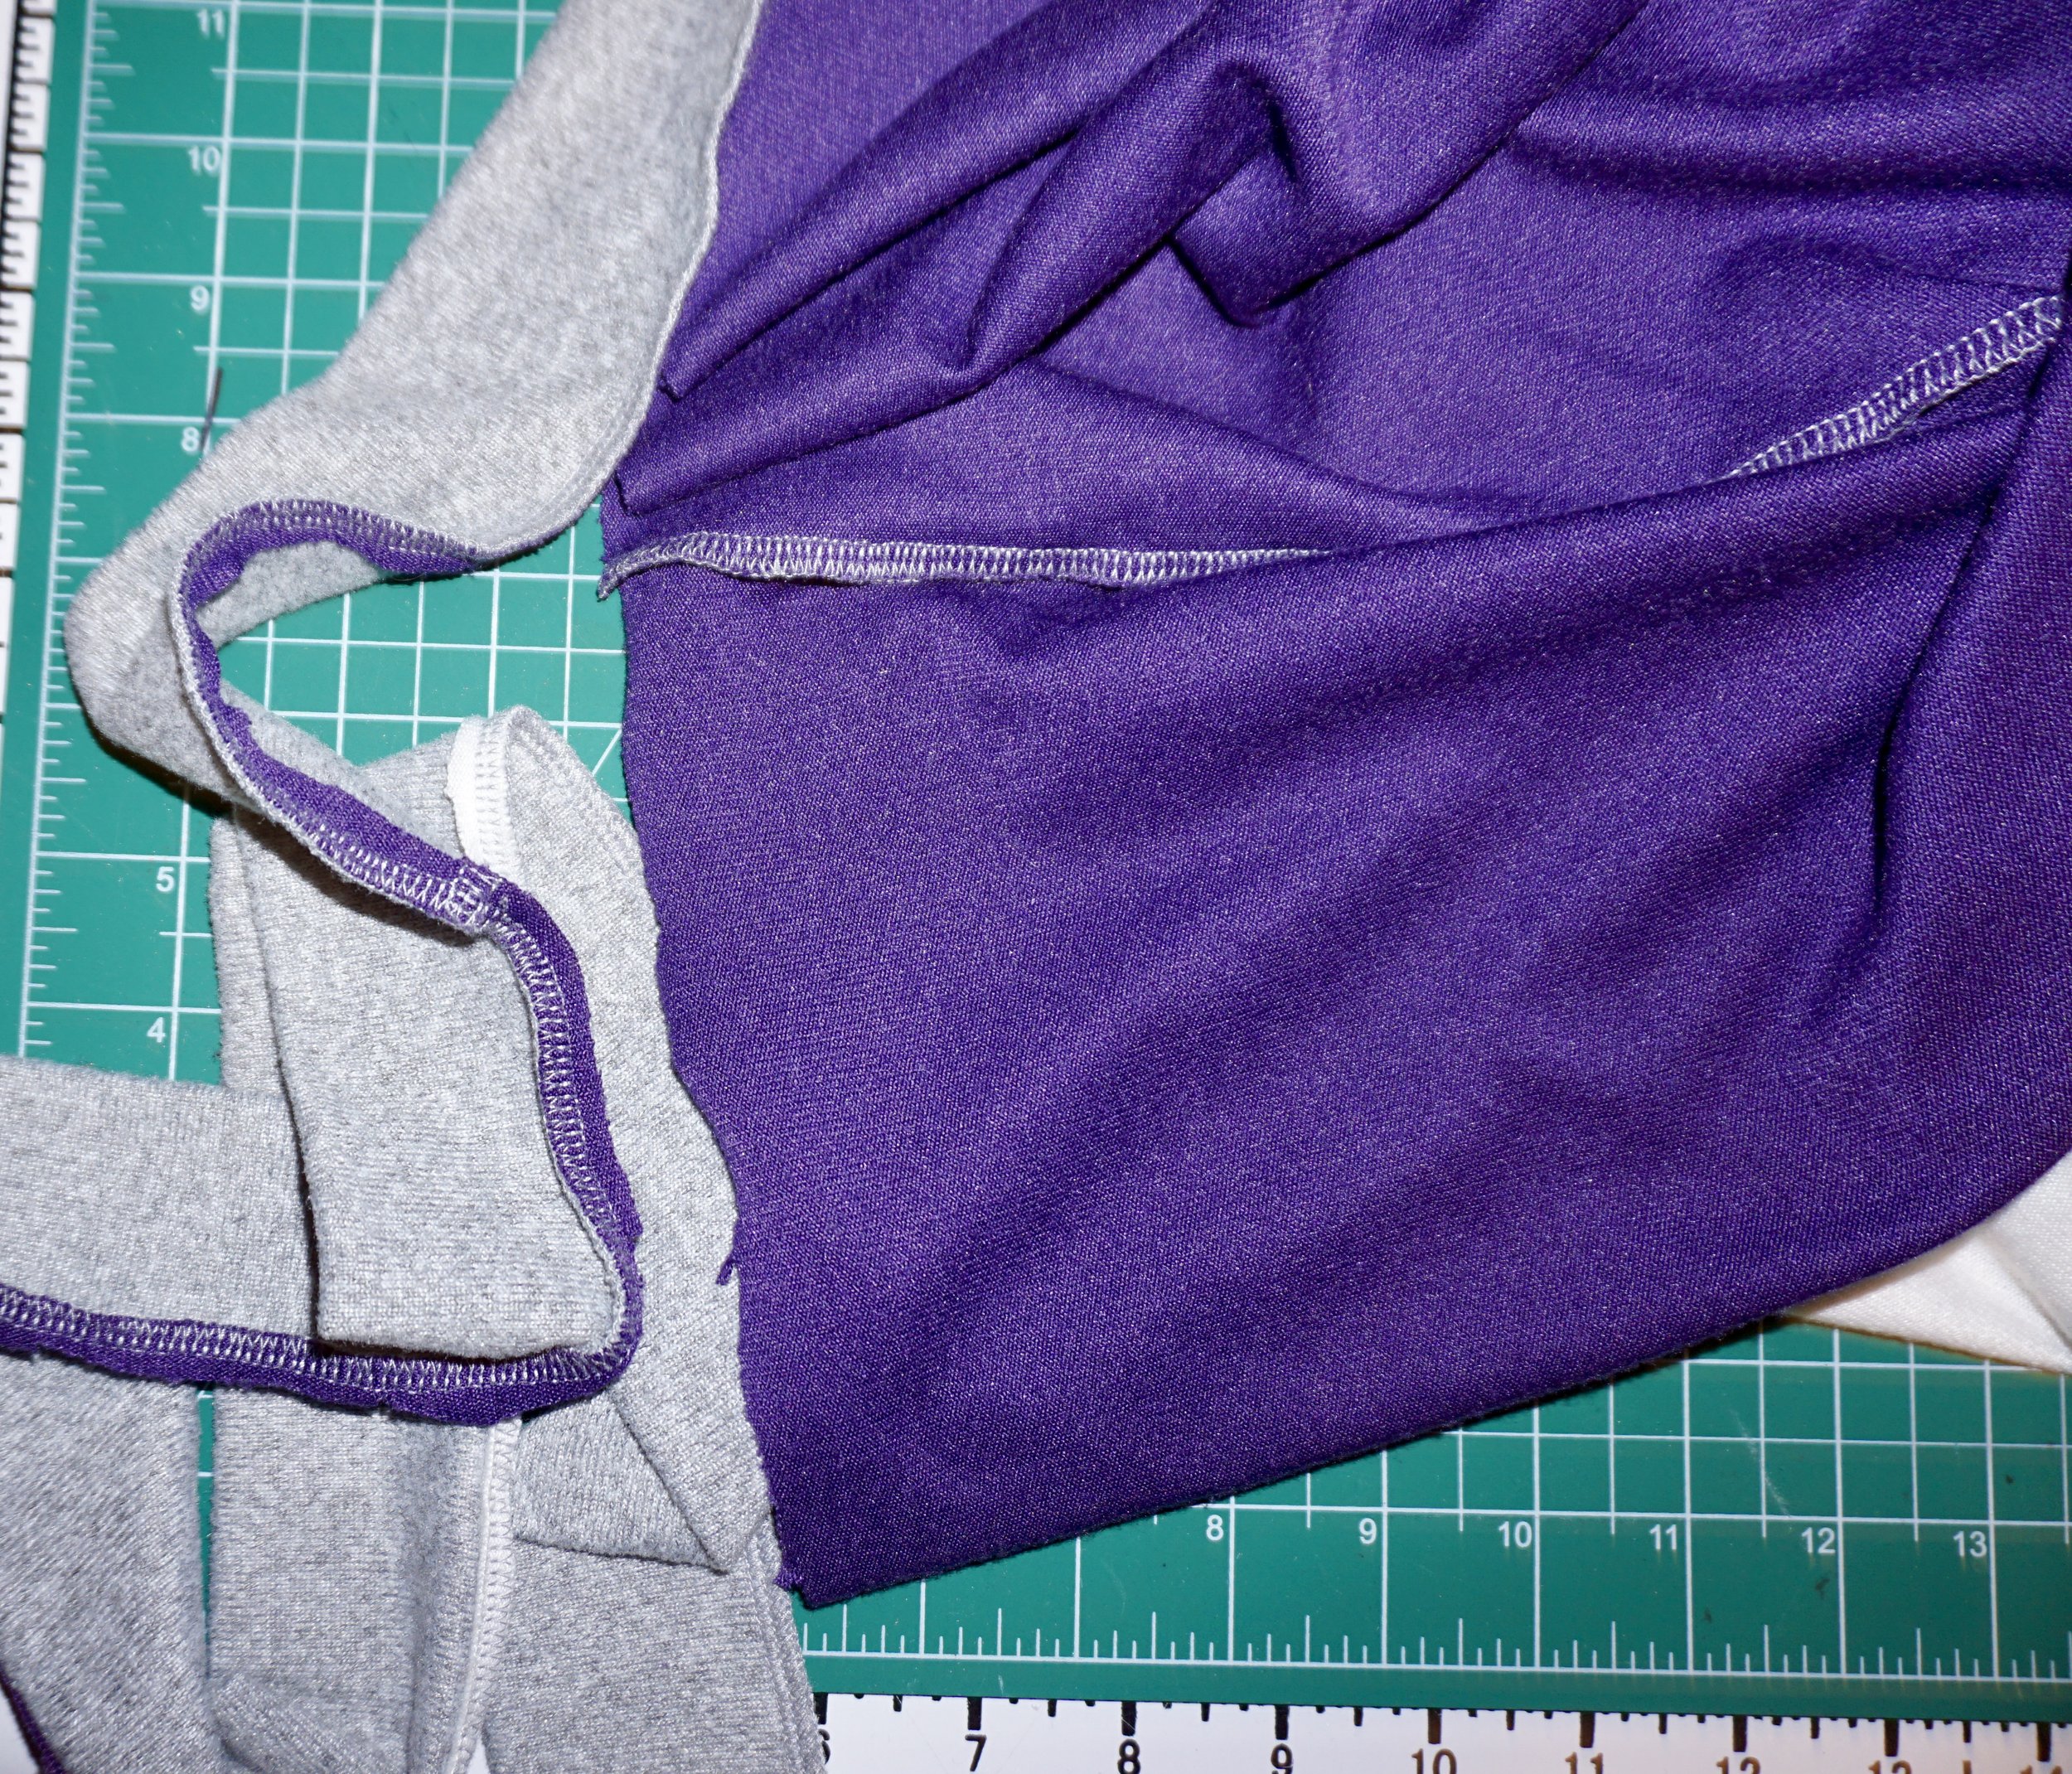
Remove the band from the bottom of the shirt and the cuffs on the sleeves. Save those for a different project! Sweatshirt bands are great to use as headbands, for cuffs on other projects. Or even turn them into cuff bracelets!
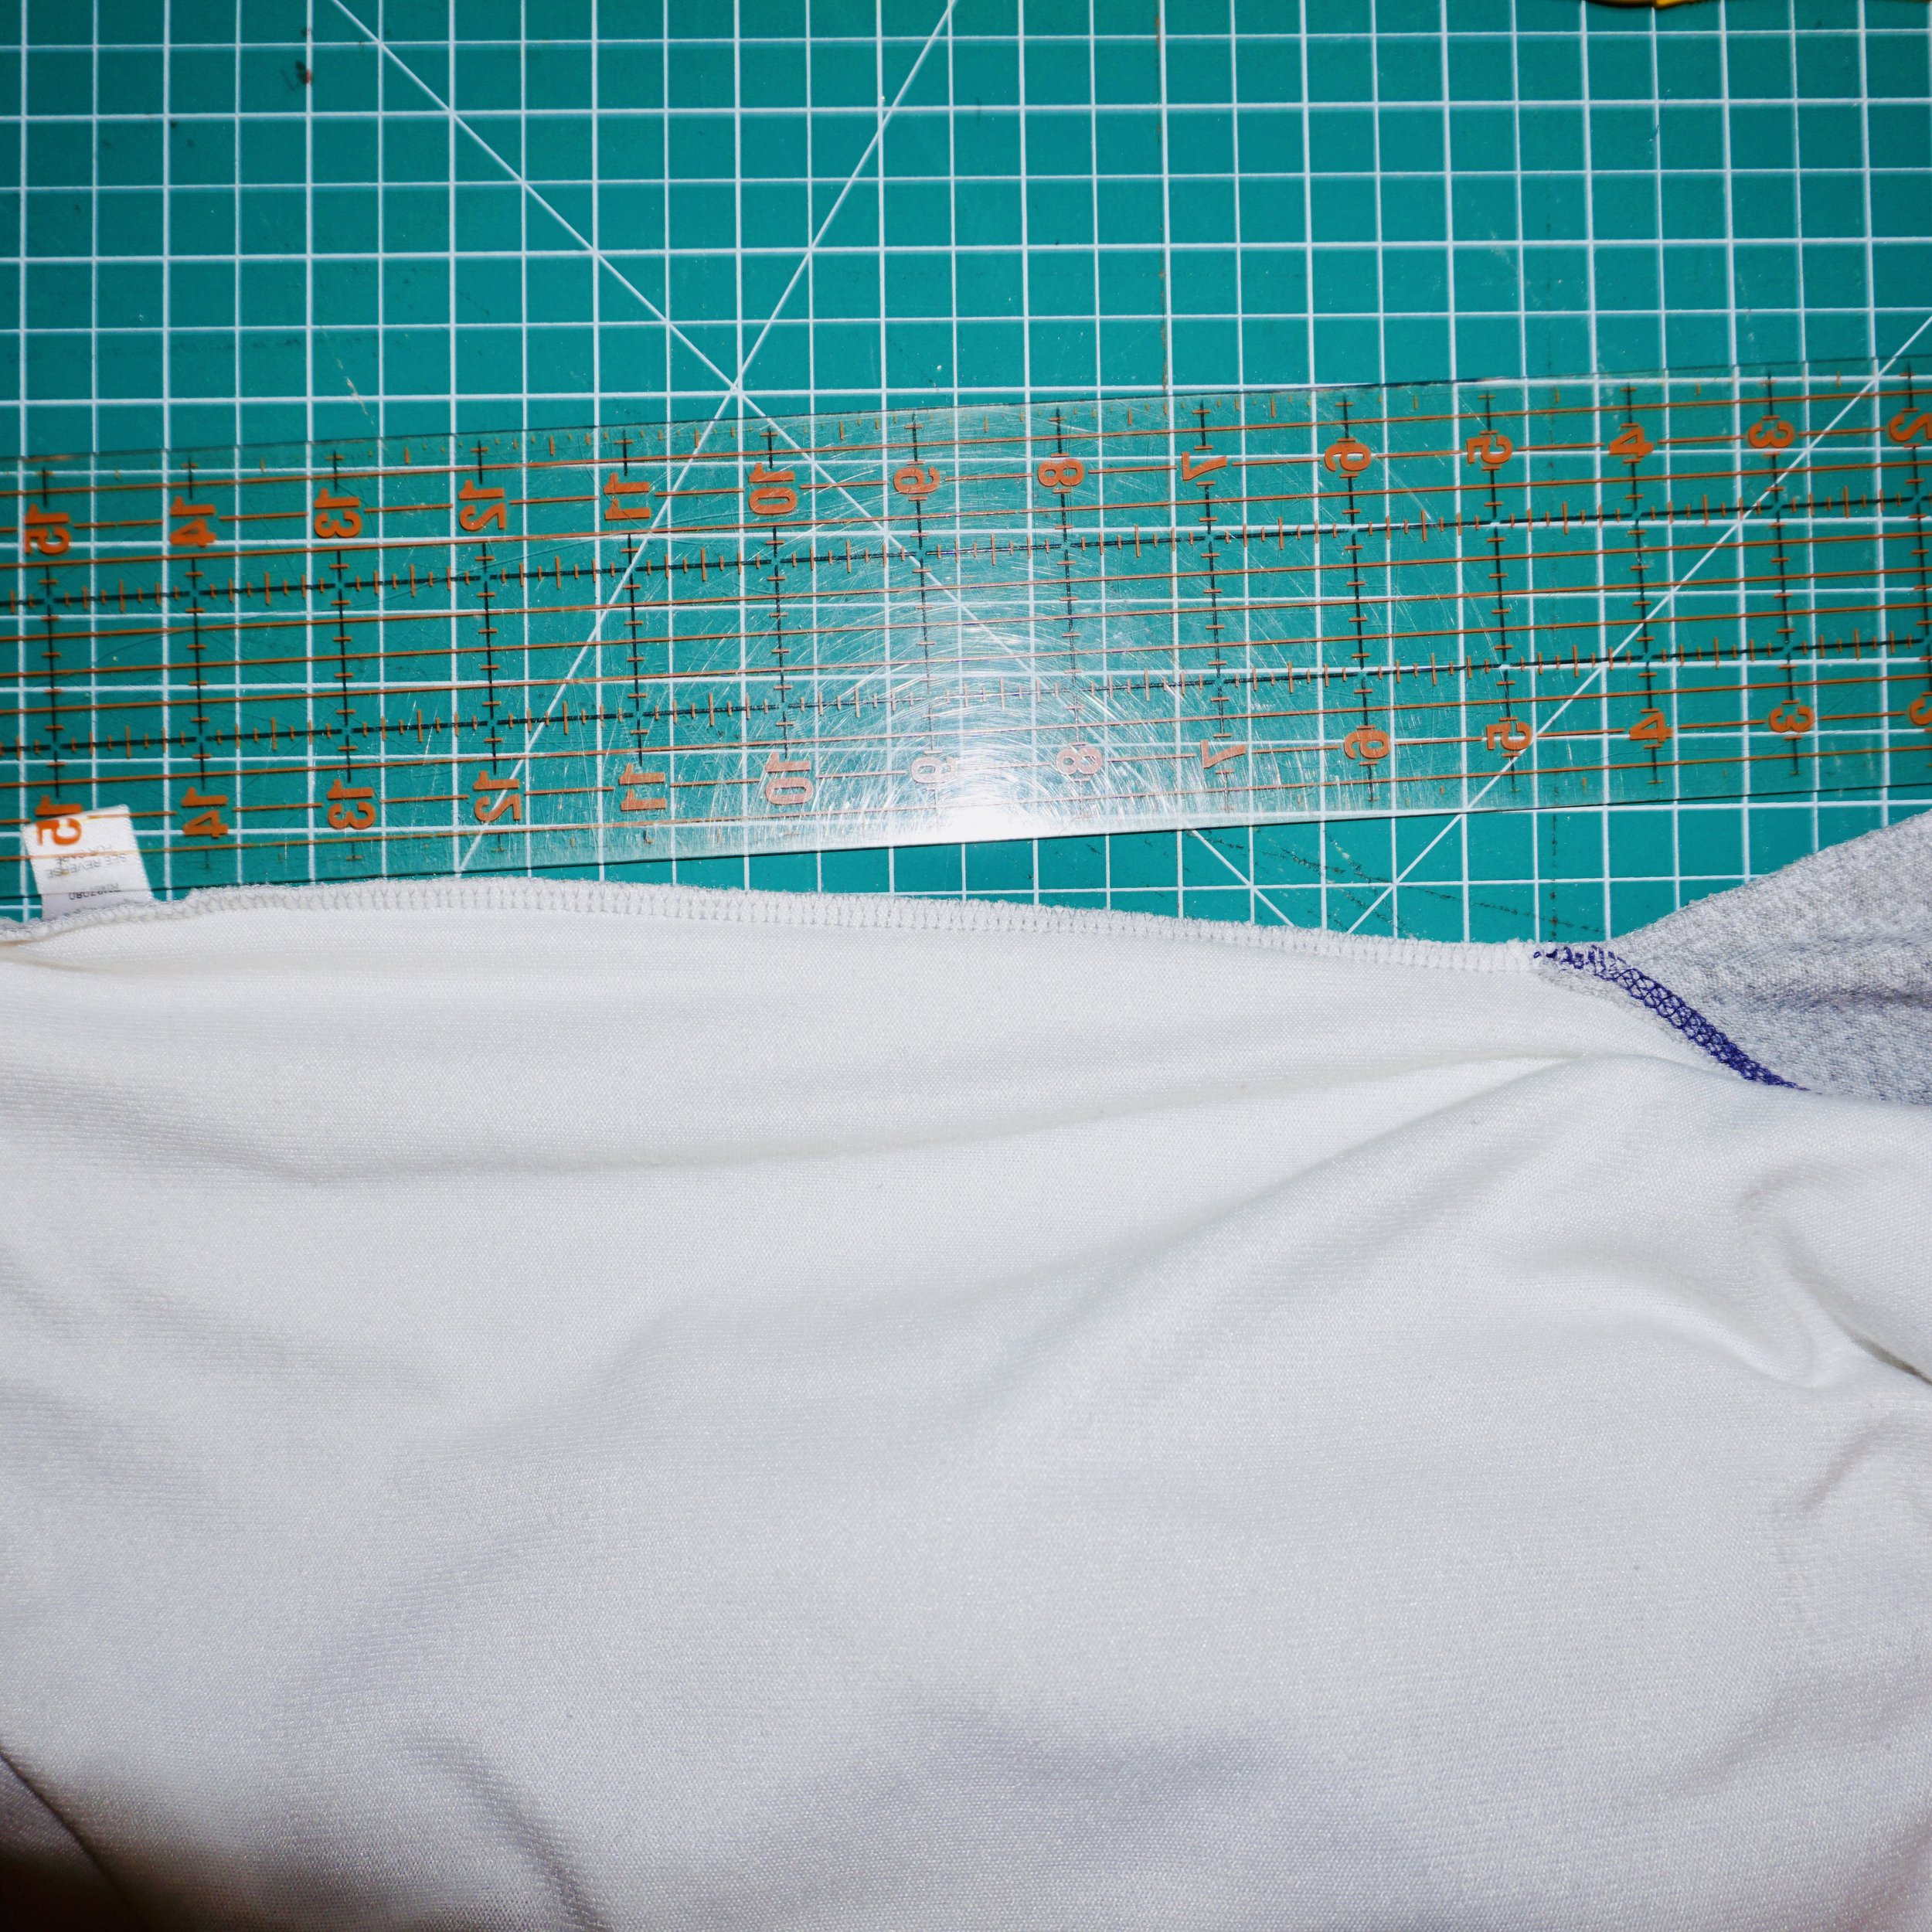
Measure the side seam, from the bottom edge all the way to the end of the sleeve. Write the measurement down on a scrap of paper.

Cut out two strips of fabric to insert along the side seams. Mine were five inches wide, but you could go bigger if you want the top to be baggy. Make the length slightly longer than the measurement you wrote down. I love leaving just a little extra when I add inserts because it helps prevent mistakes.

Using fabric scissors, cut along the side seam all the way from the bottom edge to to the end of the sleeve. Do one side first, and sew in the side panel. Then cut along the other side and sew in that panel. Once everything is sewn, it should look like the next photo.

Using a rotary cutter, trim the excess fabric at the cuffs and bottom edges.

Cut a piece of stretchy knit fabric that is larger than the bottom measurement of the sweatshirt. Mine was about eight inches bigger. You can simply fold the fabric in half, line it up with the sweatshirt and place a dot where you want to cut the fabric. Then use the rotary cutter to cut in a straight line. You are making a long rectangle for the skirt portion of the dress. Mine was 20 inches long x the width of the bottom edge of the sweatshirt plus about eight inches.

Cut out another piece of stretch knit fabric, this time make it the same length as the skirt. But make it narrow. Mine was nine inches wide by 20 inches long. This will be for the middle front of the skirt part of the dress.

Cut out two more strips of the quilting cotton fabric, only this time make them 5 inches wide by 20 inches long. I made mine slightly longer than the finished measurement to allow for ease of sewing. These will go on the left and right sides of the middle panel you just cut out.

Sew the quilting cotton strips to the middle panel. Then using a rotary cutter and ruler, even out the edges. Then sew the middle panel onto the rest of the skirting.

Fold the skirting so that the two quilting cotton strips are lined up, and place a pin at the fold on the right and left sides of the skirting. Next, fold the skirting again with the two pins lined up in the middle, and place a pin on each end of the skirting again. You are dividing the skirting into four equal parts. Do the same thing on the sweatshirt. Place a pin in the middle of each side, then place pins in the middle of the front and back. This is to help you line up the skirting with the top when you attach the sweatshirt with the skirt.

Let’s attach the top to the skirt! Starting in the middle front, line up the two center pins of the sweatshirt and skirt with right sides together. Then start sewing slowly. Remember, the skirt is larger than the sweatshirt. So I created irregular pleats. You do this by folding the fabric and sewing down the folds as you go along. You can put the irregular pleats at any point on the skirting. If you place the irregular pleats along the area by the sides, it will create fullness around the hip area. I chose to place the pleats on the left and right sides of the middle panel, then also on the left and right sides of the center back of the sweatshirt. Mine are somewhat evenly spaced out, although not perfect!

Here is what the irregular pleats look like once sewn. You can fold them in the same direction, or in opposite directions as you go along.

This is what the dress looks like at this stage! I could have stopped here. I love how the dress looks here, it is edgy and fun! If you plan on wearing your dress every day, this might be where you want to stop. I’m loving a more fantasy vibe for my upcycles though, so I kept going. Use your own judgement. If you sell clothes, it is important to create a cohesive collection to set yourself apart. So if you love an edgy everyday look, stop here!

I went ahead and finished the raw edges with a zig zag stitch at this point. I see so many upcyclers not finishing edges. It is a mistake! Take the time to finish the edges so your pieces hold up in the wash!
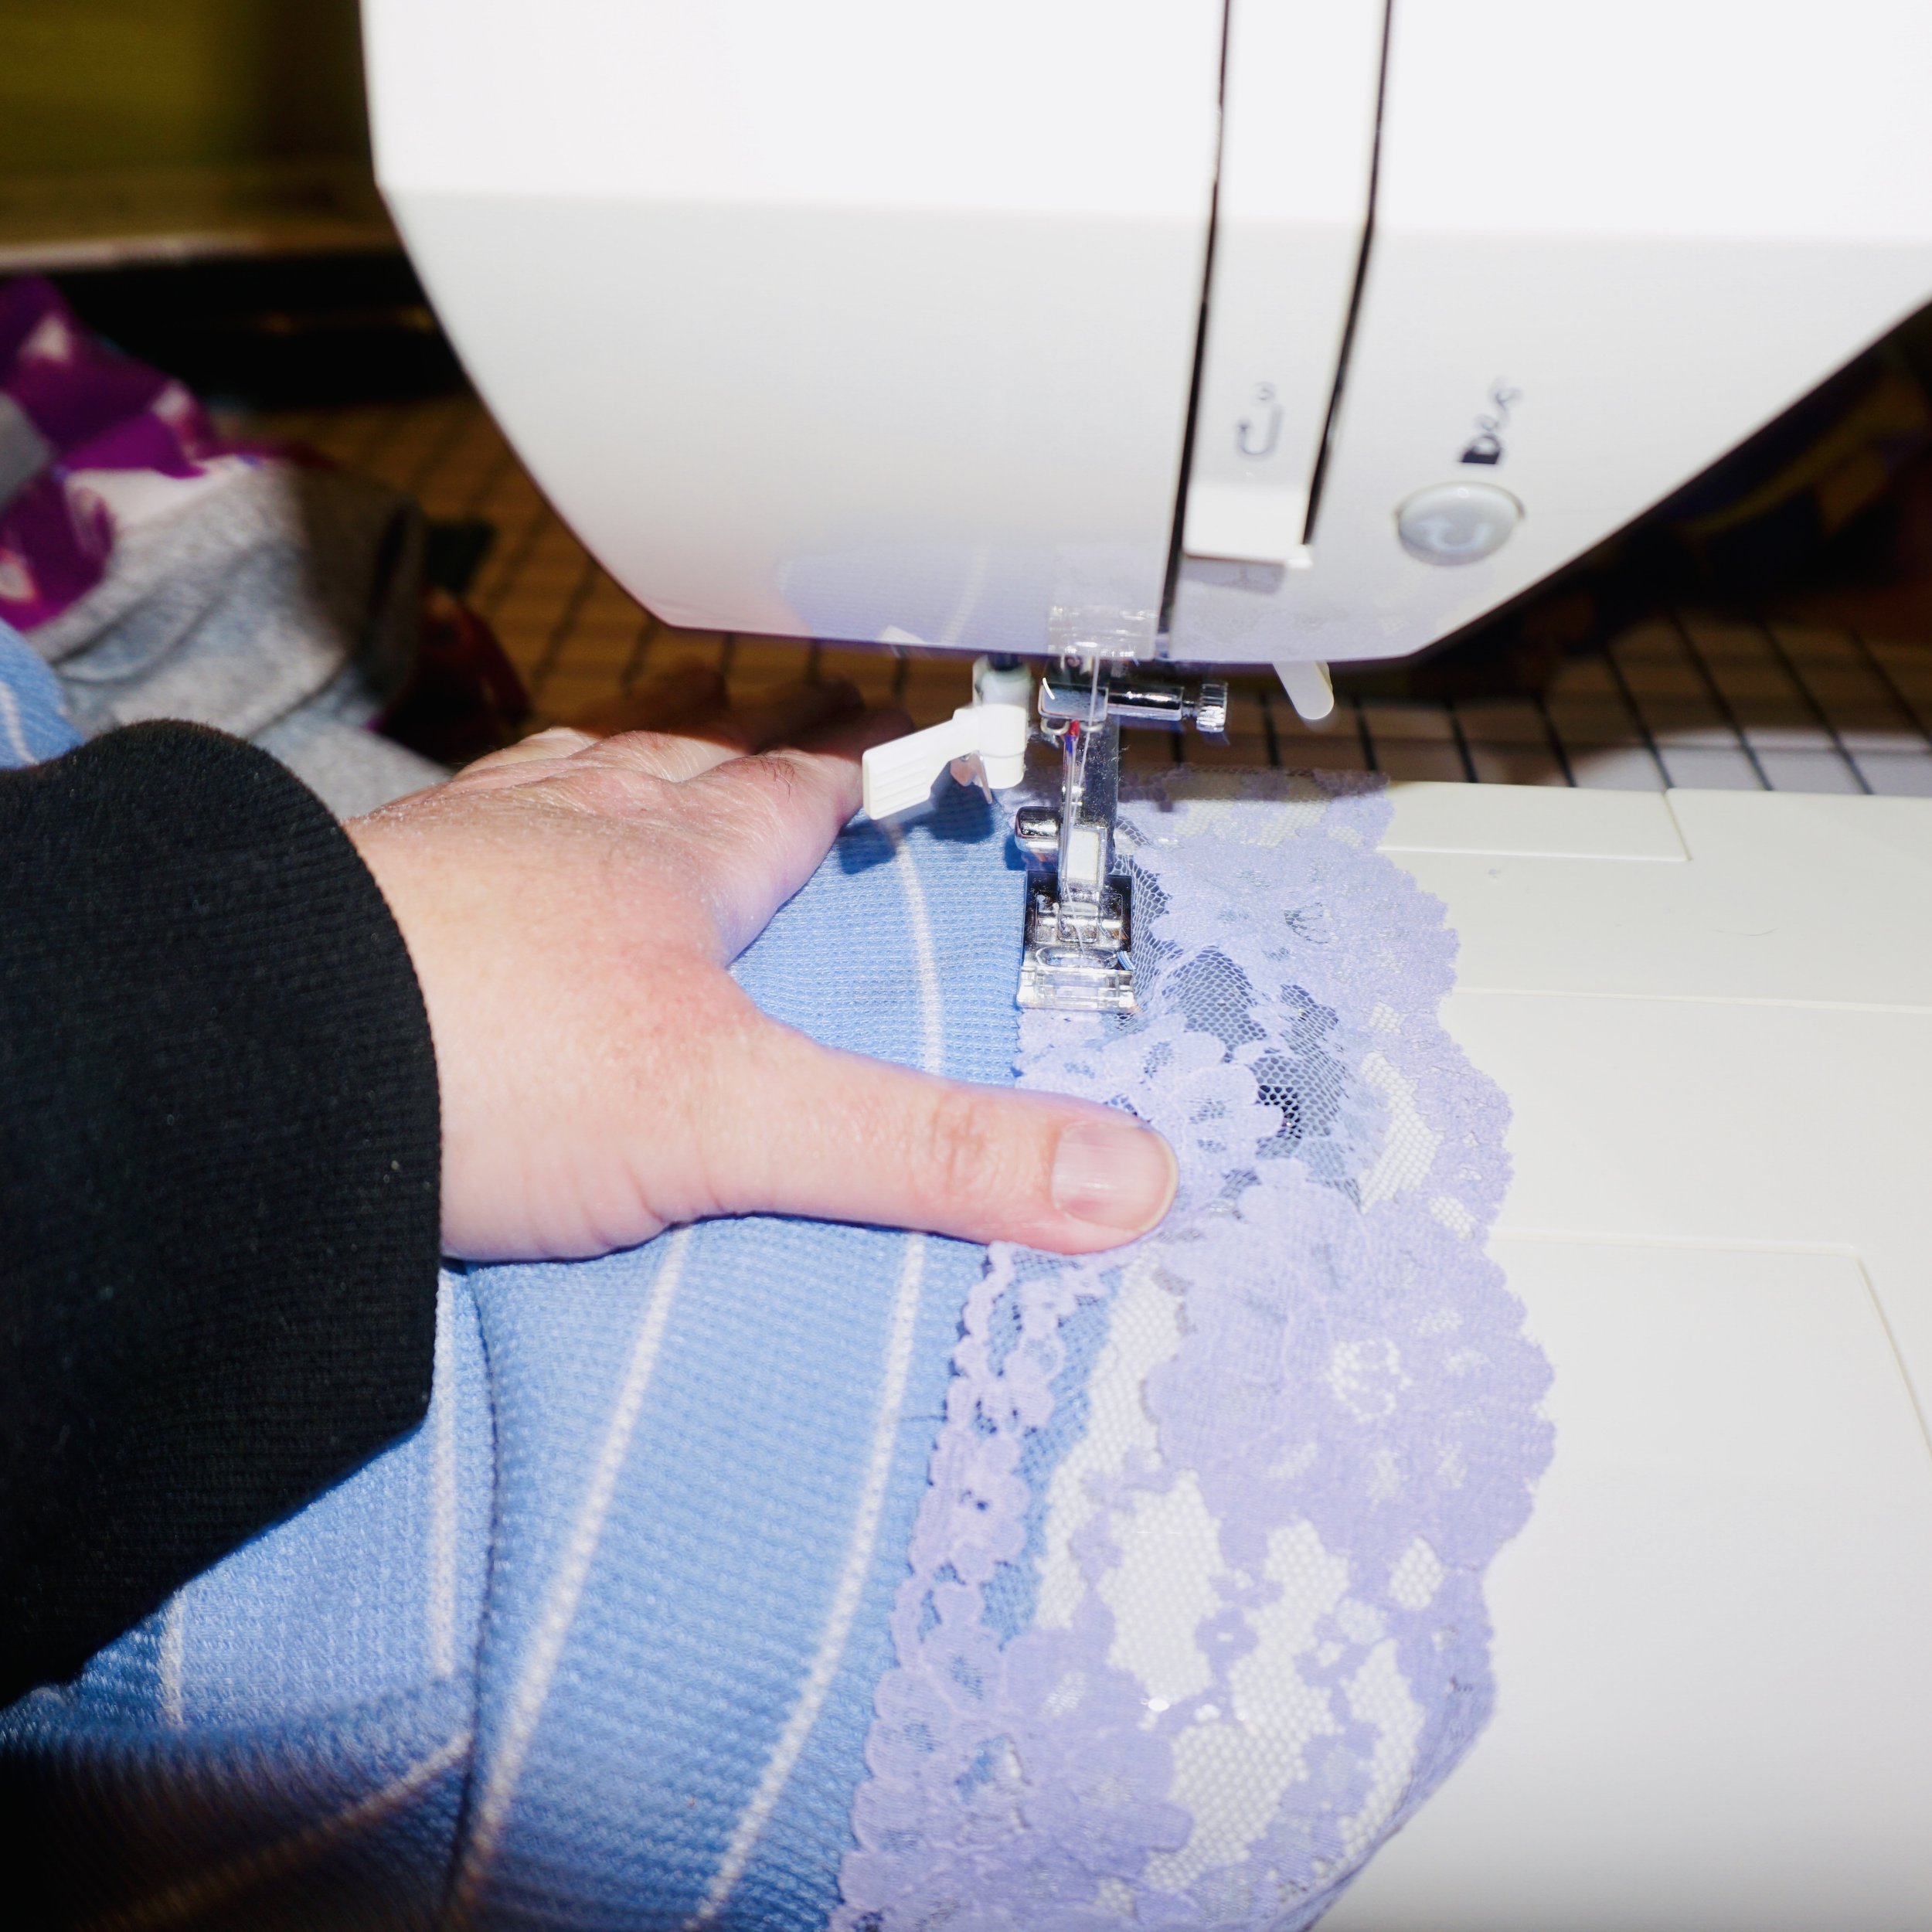
Next I added a wide lavender purple lace to the bottom hem of the skirt. I could have also added it to the sleeve cuffs, or on other parts of the shirt like around the neckline or waist. I got this lace in a destash off Etsy! It came in a huge bundle of vintage lace for only $30!

Ok, so I don’t know the technical term for this step. I made it up! It is similar to the way people sew curtains. In the middle of the front quilting cotton strips on the skirt, I sewed up the middle of each panel and bunched up the fabric as I went. I made super tiny folds in groups of five or six. This will create a hi-lo hem on the dress!

Here’s how the skirting looked after that step. I wanted the front to go shorter, so I went ahead and did that last step again, making sure to bunch up the entire strip. Sewing the zig zag stitching a second time secured the bunched up fabric really well. This effect is what you see often in steampunk inspired dresses! Experiment with adding this effect to skirts and dresses for a cool steampunk vibe!

My finished Upcycle by Kathryn Sturges

Peace Out! Upcycle with Kat Sturges!

Woah! I think this blog post took longer to write than it actually took to sew the dress! Hahahahaha! J/K!

Have fun with the techniques in this project, and experiment with coming up with a look you love! Also, Halloween is right around the corner and this project would be a really cool Halloween costume in the right prints and colors! As for me, I’m going back into my head, back into my world of fantasy to conjure up my next project! Peace OUT!


Six Tips for Pricing Upcycled Clothing and Sewing

September 17, 2023 in Project Upcycle

Lately I’ve been sewing again! Finally, sitting in front of my sewing machine feels similar to driving in my convertible with the top down. It is incredible to have my machine humming away on projects again! It is a great workout to sew, not to mention feels incredible to be using up some of my yardage and scraps again.

I am gearing up to roll out a small selection of upcycles next year. I’m getting so excited planning and creating and just really having a blast sewing. It’s got me pondering a lot of elements of business, so I want to share something I’ve been thinking about with you.

Let’s talk pricing for your upcycles! I’ve been researching a lot of shops on Etsy! While I sew upcycled clothes, I also buy them sometimes. Reality is though, many of them are so overpriced. Even if I wanted to buy those clothes I couldn’t afford it right now. Cuz truth is EVERYTHING is overpriced right now! And my budget doesn’t go a long ways like it used to.

Here are Five Tips for Pricing Upcycled Clothes and Sewing Projects when the economy is bad!

  1. First off, add up the cost of the materials you are working with. And be fair! Let’s say you are upcycling one of your old t shirts, along with some fabric and trims that only cost like $15 total. How are people turning around and expecting to get $80-$100 for a piece like that? I know personally as a consumer, I won’t pay that much for someone else’s work. I have in the past and then I felt completely taken advantage of. So be honest about the starting point. That old t shirt in your closet, after being worn and then washed 100 times, is probably only really worth about $5 now. Which means the total cost of materials is only $20.

  2. Next, factor in the amount of time it took to make the item. If you worked for ten hours on an item, it makes sense to factor in the amount of effort that went in! You might want to charge minimum wage per hour, and sometimes when you do that math the item becomes super expensive and out of your customer’s price point. If you want to get serious about charging a fair price, set a timer when you work on the project. It all depends on how fast you want to sell the items vs. how much money you want to make. Items that are cheaper sell faster, but if you aren’t in a rush to make money then you can charge a bit more and wait for your customers to find you. Use your best judgement!

  3. When I first joined Etsy, they used to have seller forums and a seller handbook! They may or may not still have that. So much has changed on the platform, it’s hard to say if anything remains the same. But the old seller handbook said to price things at a 2.5 ratio. So take the cost of materials plus time spent, then multiply that by 2.5. That will make you enough money to create another item, and then you will make slightly more than that to put in your bank account. I feel like that is a fair price to start at. You might want to run sales periodically and discount things at times. So this is a good starting point. It is always better to start slightly higher so you can work your way a little lower once you figure out where production meets demand. Using this ratio is also great because it will cover overages in shipping. Another tip is to do the math and figure out how much Etsy is going to take from the sale. Currently that is 6.5%, I’m fairly certain. Add that into the price at the start so you won’t lose money.

  4. Which brings me to the third thing I wanted to point out! Every. Single. Time. I have sold handmade goods, I’ve lost a lot of proceeds on shipping. Etsy often encourages makers to ship for free. But then you lose your earnings! USPS has flat rate boxes which you can order for free. Then look up the shipping rate of the box, and charge that for your items. Or, get a scale and measure the cost on your own. Also, don’t ship UPS like I did. I only recommend shipping UPS if you are shipping a high cost good, like a quilt. I would go with USPS for pretty much everything else because it is more cost effective.

  5. Don’t rip people off! It can be tempting to charge $100 for your handmade dress, but then very few people will be able to buy it. I can’t tell you how many times I’ve discovered upcycled clothes that I desperately wanted to buy. But they were too expensive, so I couldn’t afford it. As a seamstress, I can look at something and tell approximately what went into making the item. Typically upcycles are way overpriced on Etsy. If you want to be making sales every single week, then lower your prices to make sense. People just don’t have much money right now, and buying upcycled clothes is kind of a splurge item, especially when fast fashion is so cheap. Make your upcycles and sewn goods incredible, and then price them so people can actually afford to buy them. You will sell a lot more stuff that way.

  6. My last bit of advice, is don’t feel pressured to drop your prices so low that you don’t make money. Let’s say you are working toward making a specific amount of money. Like if you are trying to pay off a debt, save up a down payment for a car or vacation, or just trying to make a set amount each month. You can price your goods to total the amount you are trying to make! So if your goal is to make an extra $5K, you would have to sell 100 items at a price point of $50. Ideally though, you will want some less expensive items and some more expensive items in your shop. That gives the consumer a choice. They might only have $30, and really want some of your sewing. Give them something to choose from!

I hope these tips give you an idea on pricing for your upcycling and sewing business. If you aren’t selling many items, try out some of these ideas and see if it makes a difference!

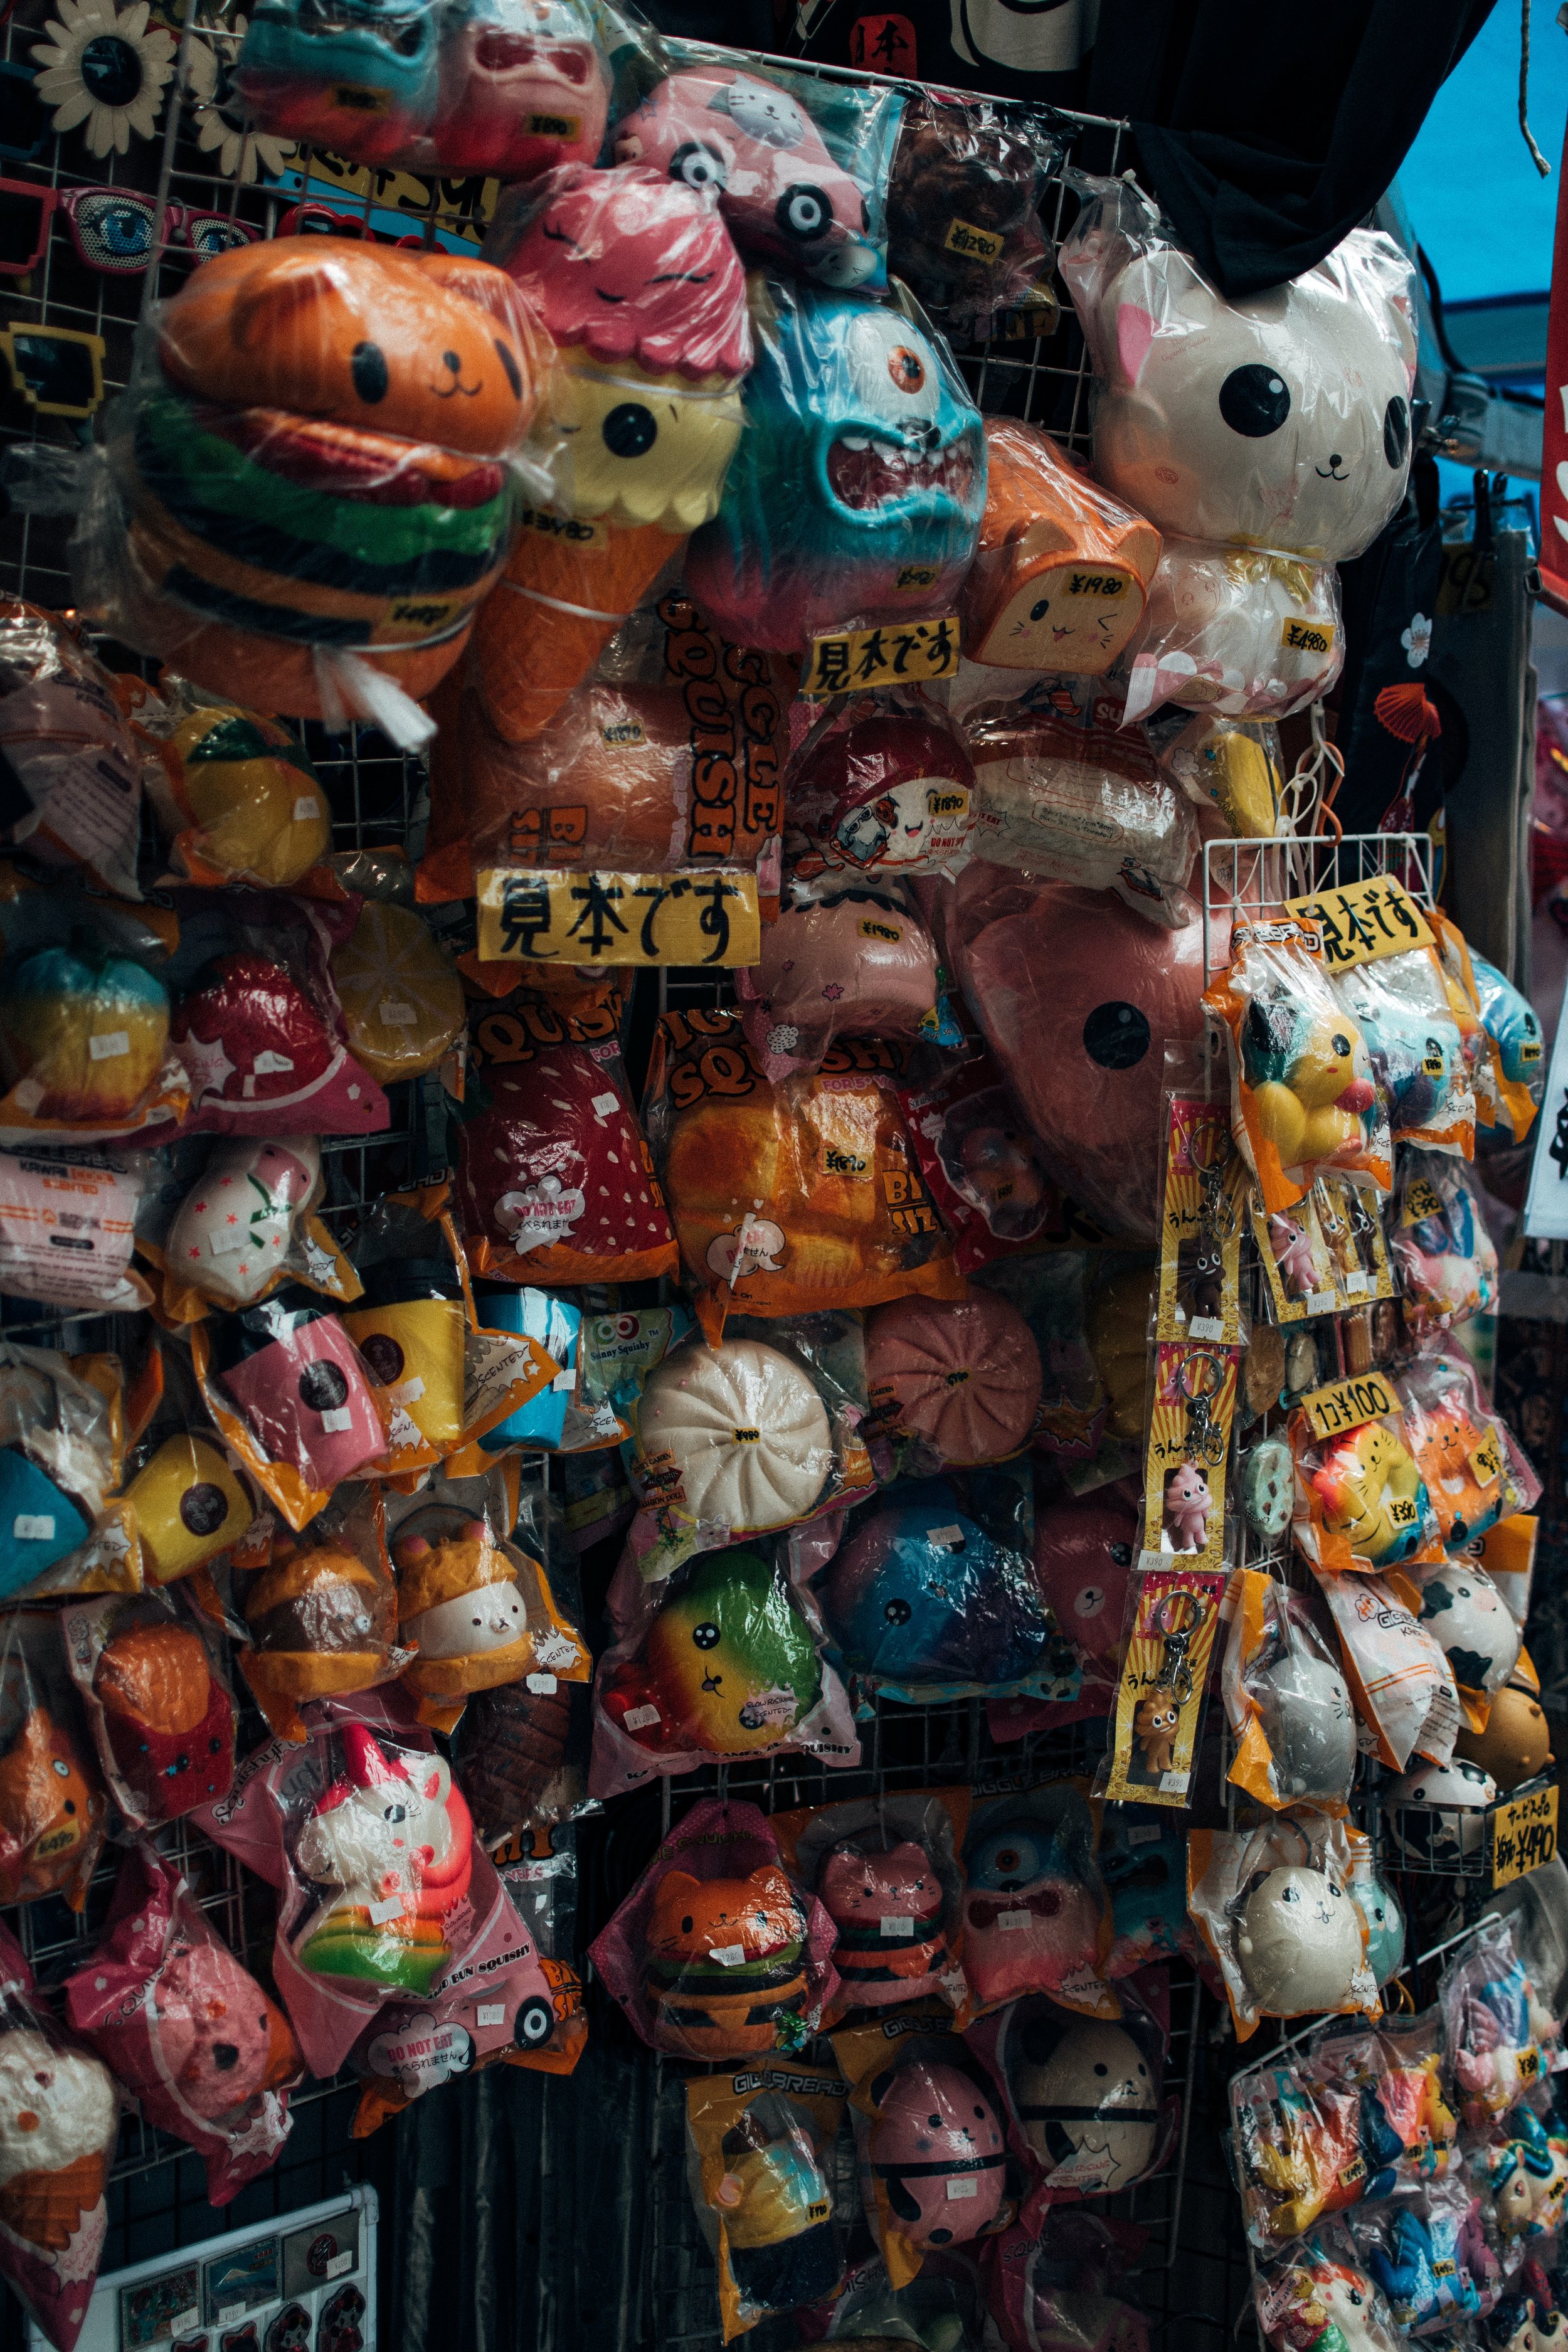
Explore Japanese Style: Harajuku and Kawaii

September 05, 2023 in Upcycle Clothing

Ok, so I have to admit I’ve been dazzled with Harajuku style for a while! Some of my previous makes slightly give a nod to that style. (I have a small cabbage patch and care bear collection…what can I say! I love anything that reminds me of growing up in the eighties!)

Harajuku and kawaii styles originated in Japan! If you search the terms on google, you will see endless photos of teen girls and guys in Tokyo donning the most colorful, inventive frocks imaginable! Harajuku is a shopping and dining destination for teens in Tokyo however the style craze has become more mainstream. Amazon even has harajuku and kawaii clothes, dolls, home decor and more! It is fun to be a maker though because you can infuse your own projects with elements of different styles you love, without having to spend money on each style trend.

Gwen Stefani took on the harajuku craze with her branding of perfumes, and some of her rockin’ styles in videos and performance. She performed at the Grammy’s in the early 2000’s from her album “Love Angel Music Baby”, and the fashion styles in that performance were so memorable to the young impressionable party girl that I was back then!

Kawaii style is a new fashion subculture sweeping Japan! Kawaii is more cutesy with small details like animals, hearts, and stars. Kawaii is typically softer colors like pastel pinks and white. If you research the two styles, there is some overlap. Harajuku has louder rainbow colors, while kawaii is more like doll clothes with lots of lace detail. Kawaii styles will almost always have a stuffed animal theme. Dark kawaii style is a bit more grown up gothic, with lots of black and grey tones and an edgier aesthetic.

Every now and then I see glimpses of harajuku and kawaii style here…in the heart of the Midwest! I live in a sleepy little city in the heart of Iowa. And if you can find harajuku and kawaii styles here, surely they are everywhere by now! The other day I saw a man riding a motorcycle wearing a panda helmet. And every now and then I spot girls and guys wearing incredible colorful looks downtown.

The secret to wearing these styles in the states…especially if you are in your forties…is to tone down a piece with solid colors. Think vivacious tops with solid pants or skirts, or a wild skirt with a black t shirt! You can even get a harajuku or kawaii look by wearing a plaid or fluffy skirt with a colorful top or t shirt.

I mean, if you have play doh colors in your hair or don’t give a shit what people think…then I say rock whatever you feel most confident in! Word of caution though…if you are in your forties or older….you might want to steer slightly clear of some of the more youthful aesthetics of kawaii.

If you are going for sex appeal, lean more toward harajuku styles with white lace accessories, mini skirts or fluffy minis and lace tops or t shirts. Baggy pants in bold colors also look great with a lace top, or puffy top. Deck out an old blazer or jacket with lace and crochet doilies. Florals work for harajuku too…it’s all in how they are used! You can go ultra femme with these looks or tone them down to suit your style. Rainbow colors are also very harajuku, and some of the looks give a nod to Rainbow Brite. If you want to have a colorful look that works, include elements of the color throughout your entire look. That will make it look more cohesive.

If you are going more toward a cute look, go kawaii with purples or pink, sea foam green, sky blue, buttercup yellow and white. Add appliques or use accents of a cute print fabric with animals or cute shapes. You could also get some patches from Amazon or destash patches from Etsy. You can make your own patches too! Use fusible adhesive, and iron it on the back of fabric and then cut shapes out of the fabric. These work great ironed onto jackets or fabric bags. Plaid skirts are always welcome, and take the styles toward a more punk aesthetic…if that is your thing! Add an animal hat or headband with animal ears will level up your look for a party night.

My next project will give a nod to these Japanese styles! I’m going all out to bring you some of my coolest upcycles to date!


Book Review: Sketch Your Style

August 25, 2023 in Book Club

There has never been a better time to sew your own clothes! With the price of clothing absolutely through the roof right now, why not start sewing clothes that truly express the real you?!

If you do sew clothes, I have discovered an incredible book for planning your dream wardrobe! This book would also be great to plan a line of clothing to sell! I discovered this book while browsing on Amazon, and I had to have it!

The book goes through a run down of body shapes to help you figure out style that enhance your shape. I typically don’t worry about that so much anymore though…because I just love the freedom to dress how I want! Then the book goes through fashion eras and iconic fashion designers, and shows you what those eras and designers were most known for. There are pages to try drawing similar styles for each section.

Finally, the section I’m most looking forward to…designing your dream wardrobe! Truthfully, I can rarely if ever find clothes that suit my sensibilities. I’m plus size and I love totally unique exotic looks…things you can’t find in stores. I feel like this book is great because it gives ideas which can be applied to upcycle clothes as well as tips for designing unique looks. I can see lots of ideas I could apply to existing patterns in my collection to give them that edgy, expensive designer look.

I highly recommend this book, both for people interested in drawing figurative art and those designing and upcycling clothing. I can’t wait to dive in and dabble and play!

The Lil’ Daisies from my first book…”The Faeries of Octo Bay”!

Meet the Faeries of Octo Bay!

August 05, 2023 in Book Club

Sit for a spell as I introduce you to the main characters in “The Faeries of Octo Bay”!

The faeries of Octo Bay are slightly different than your run of the mill faerie clan. My faeries represent the best of human nature! My joyous faeries love God, and know their place in the Great Web of Life. They have existed since the Earth was created! And yet they are humble enough to know that they need to rely on each other and nature to thrive.

The Lil’ Daisies met in Botany School as young fae! Evie is their ringleader! She is empowered, strong and resilient. Her friends Jessay, Indigo, and Trixie stick together as a trio! They tend to the trees together and keep the woods pristine! Airy and Zooey tend to the birds and animals in the forest. Airy loves to fly high with the hawks, to get a greater perspective.

The Dreamers Crew in “The Faeries of Octo Bay”

Wachym is the leader of the Dreamers Crew! His entire job is just to dream a vision for Octo Bay. Wouldn’t that be an amazing job! Wachym has a pet dog named Spirit Dog. He goes everywhere with Wachym. Jackson is an Irish fae. He flew all the way from Ireland to help the faeries on Octo Bay! Patchett and Splashes are good at planning. Splashes also tends to the rivers and streams, to make sure the water is safe for all the creatures and humans too! Dansforth is the deep thinker of the Dreamers. He can come up with solutions where no solution can be found.

If you’re curious to read the tale of these adorable faeries, check out the book! It’s a fun read, with incredible art!


Prev / Next

Sewing Blog

I started blogging nearly 15 years ago, and over that time my blog has transitioned many times! Today it is mostly a collection of fashion upcycling posts and sewing ideas. I have been transitioning the website to focus more on art and storytelling! Enjoy!


check out a tag or two!

  • Art Play
  • Book Club
  • Creative Living
  • Eco Art
  • Eco Lifestyle
  • Empower Yourself
  • Fabric Painting
  • Fashion Break
  • Fashion Fixes
  • Make Art that Matters!
  • Project Upcycle
  • Seasonal Projects
  • Sewing
  • Sustainable Crafting
  • Upcycle Clothing