*I initially wrote this post in 2018, and it has some great ideas!
What can I say, I love leading a very simple life! I paint, sew sometimes, listen to music, journal, meditate when I want to, read books. With the advent of the internet and social media, it can seem like everyone is leading glamorous complex lives. And while that might be true for some, I worry that people might feel ashamed or embarrassed to lead a simple life.
For a while I struggled with my simple existence, like worrying that I didn't have much to share on social media channels. The thing is I remember a time before the internet! When I was growing up, I didn't even have access to the internet. I was born in 1978 and even when I went to college I had had such limited access to computers that I could barely figure out how to send an email. Back then everyone was on AOL and it would be a long time before I actually started to use the internet for even the most basic things.
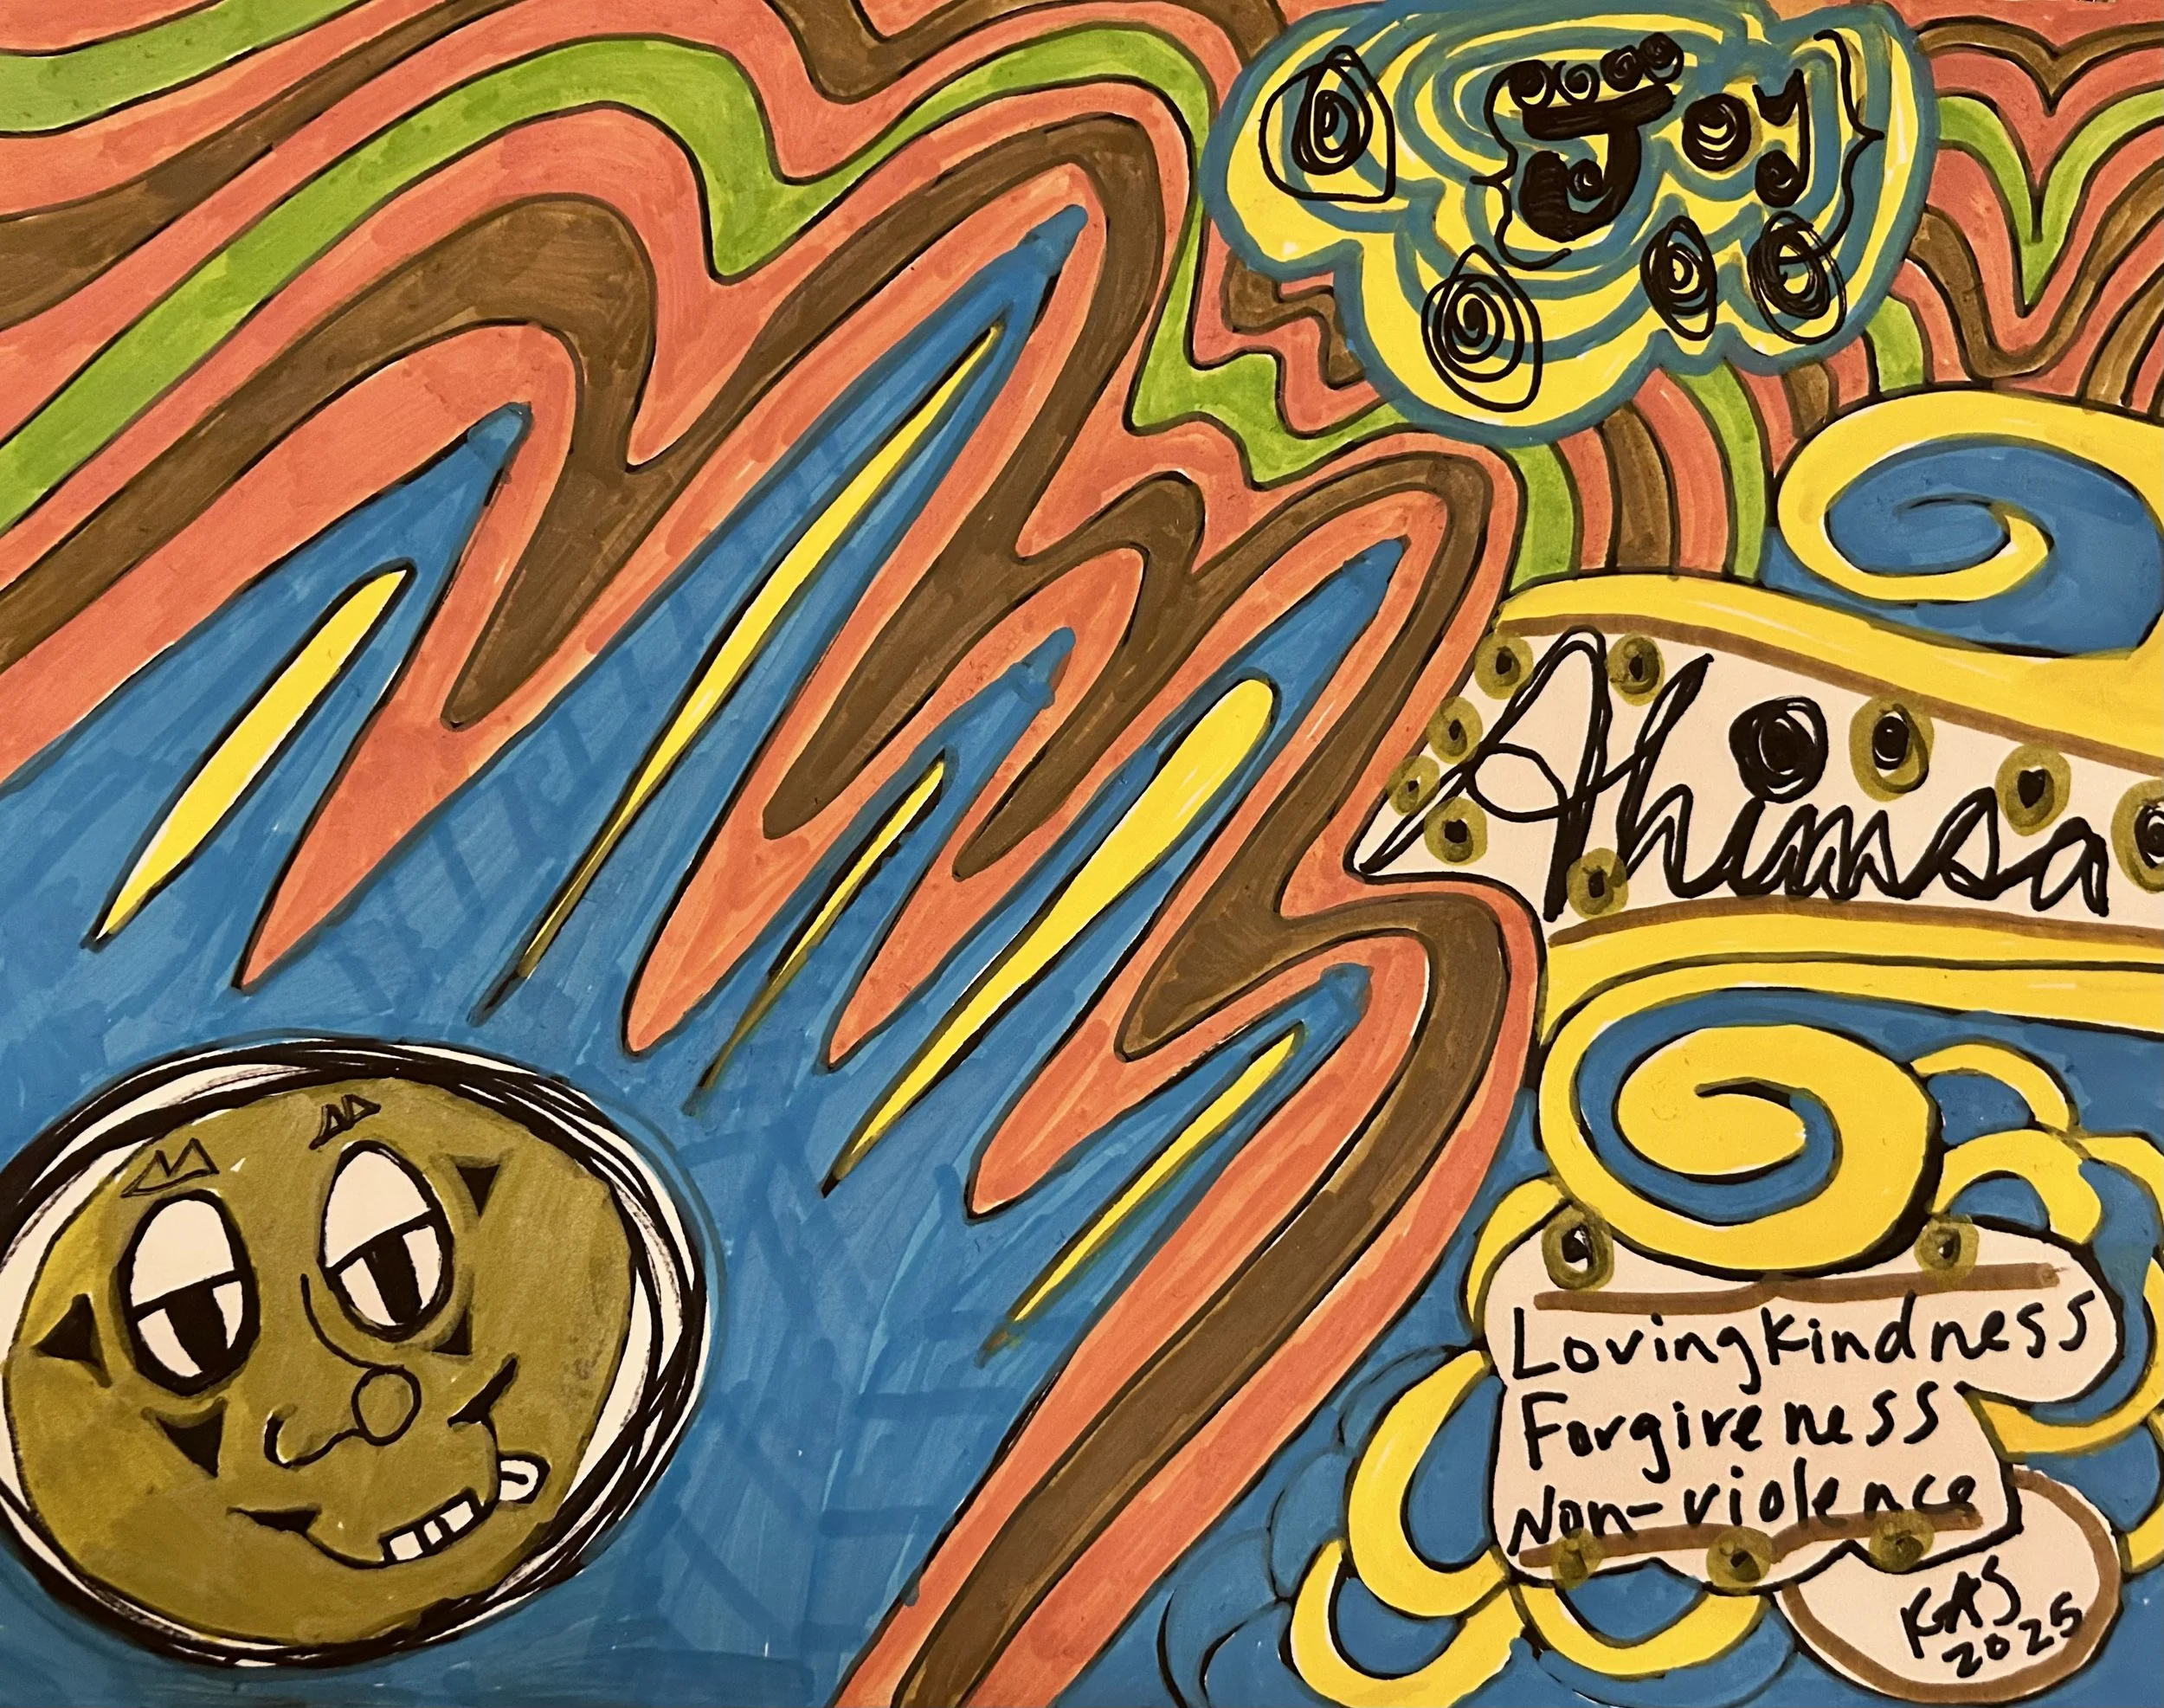
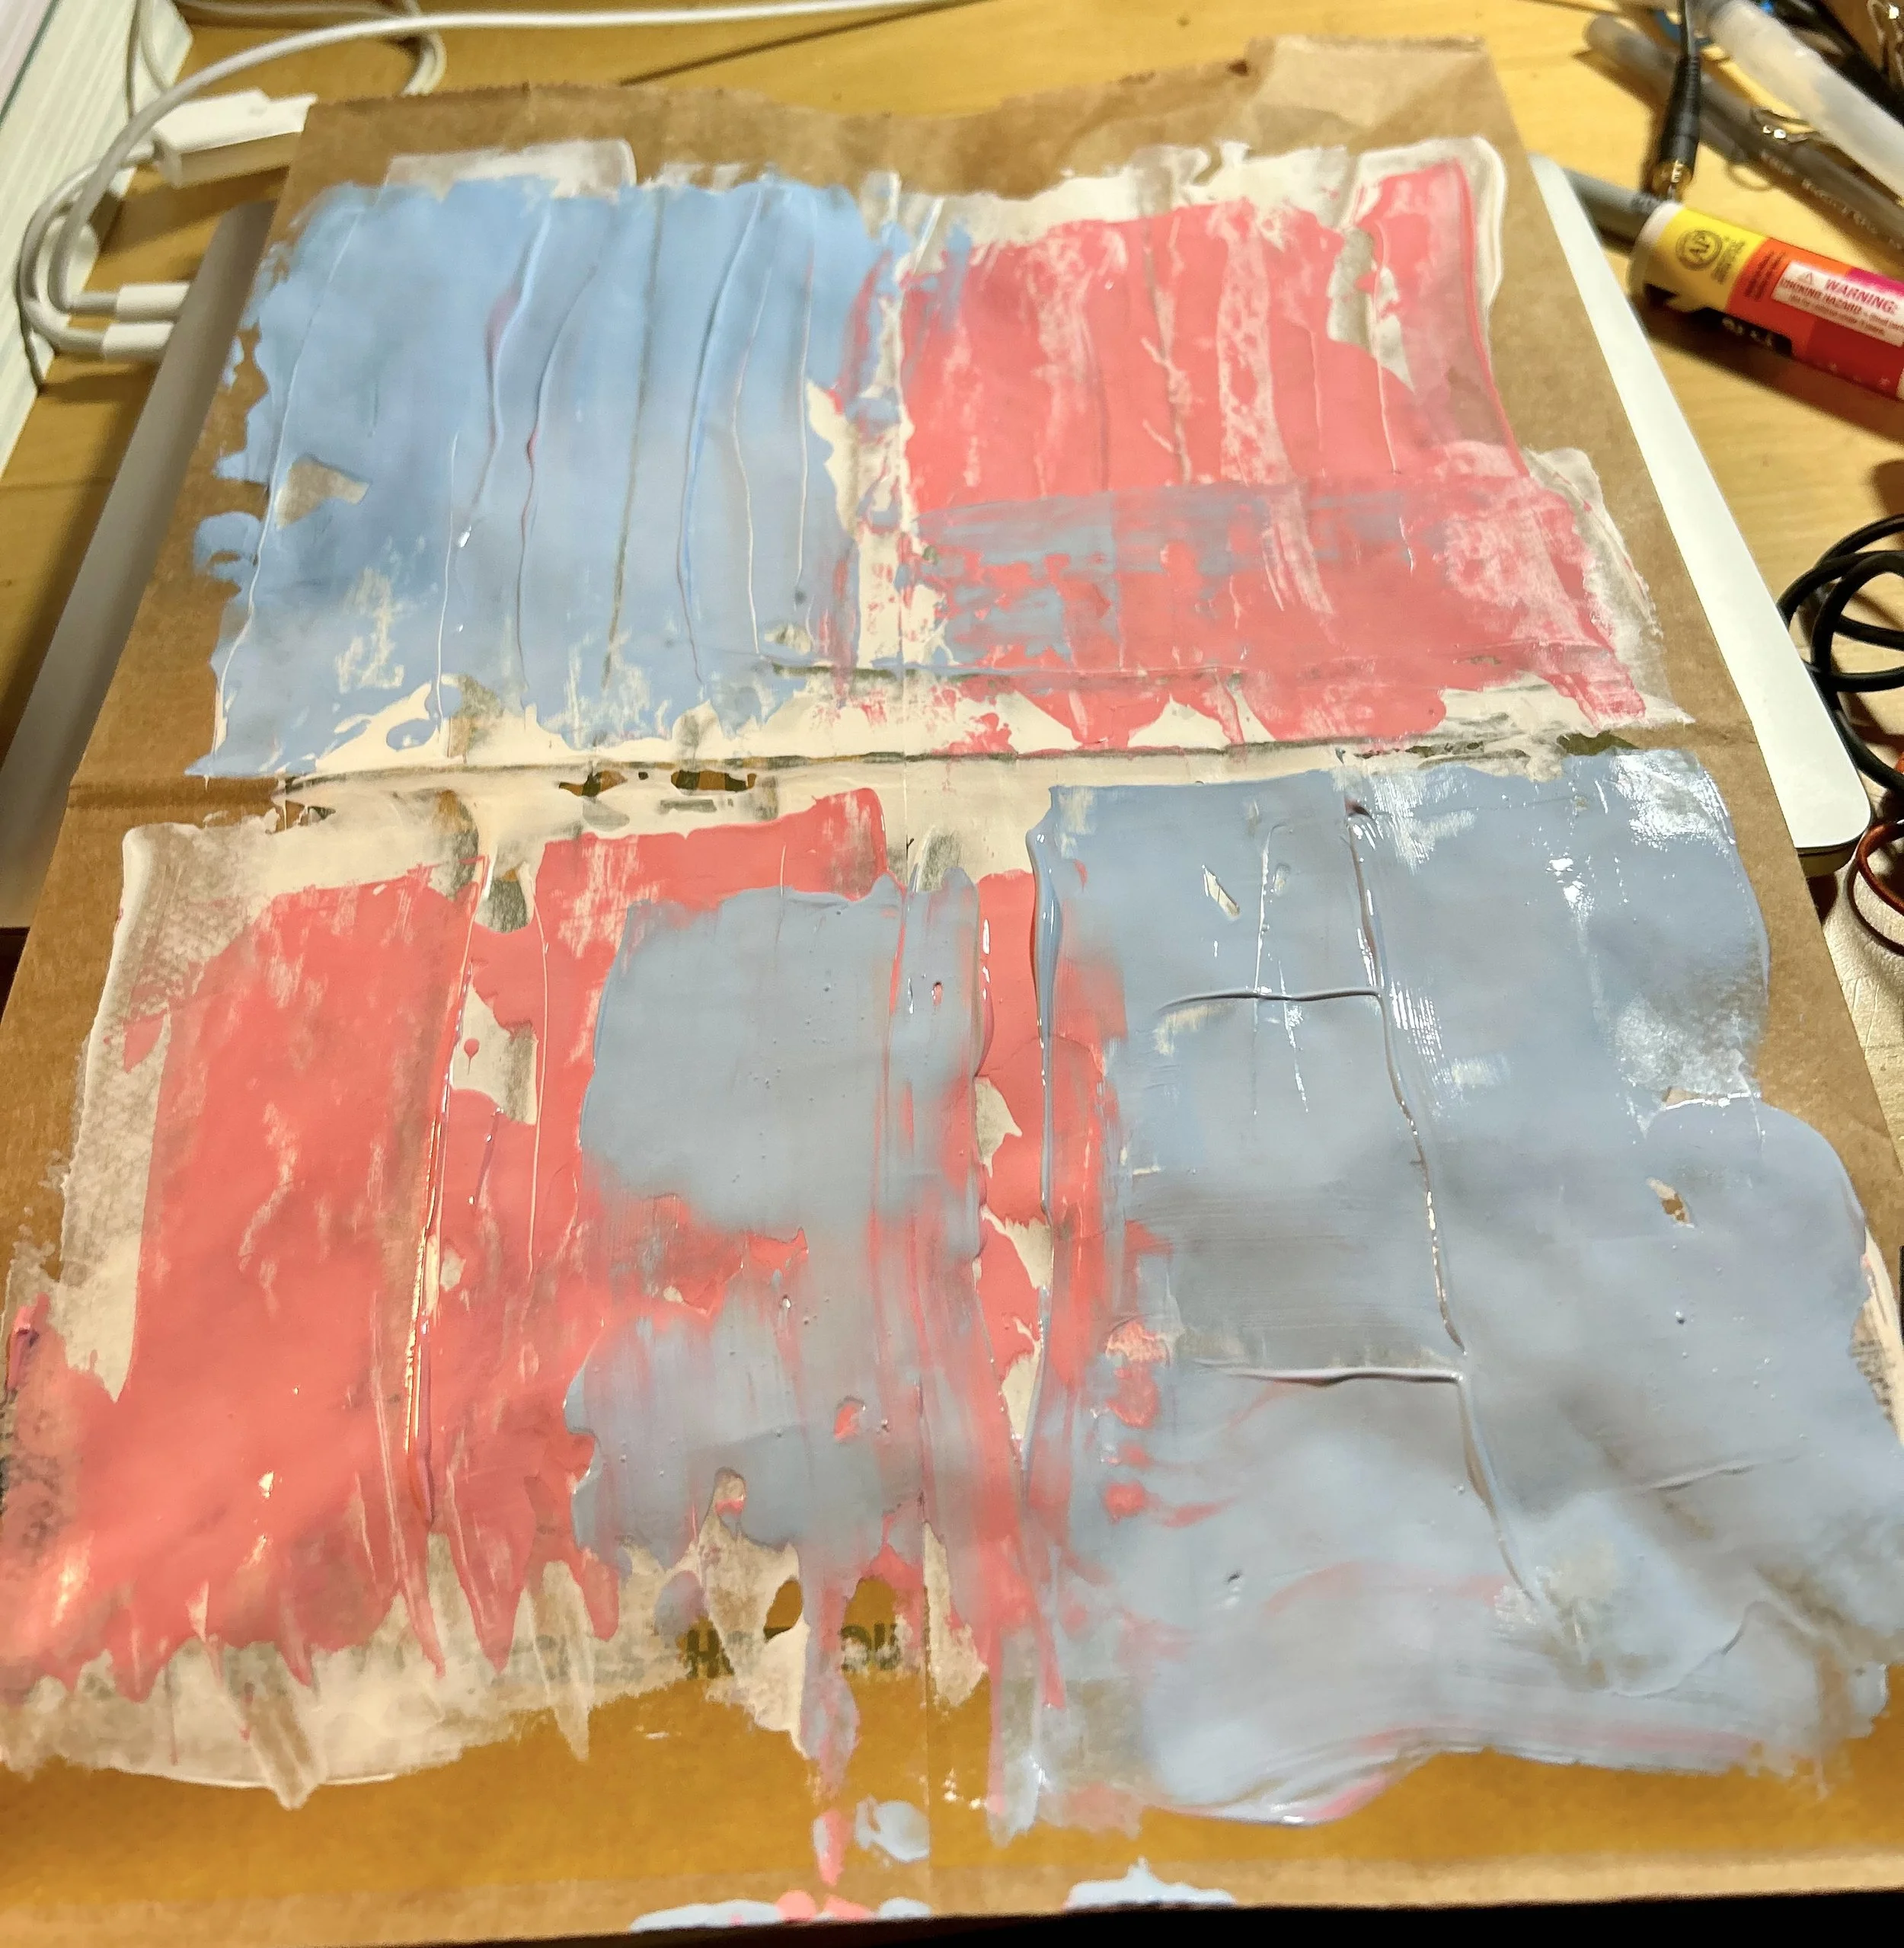
The Simple Life can be such a beautiful thing! Lately I've decided to just be proud of the simplicity of my days. It is so funny because a lot of people run around, with so much to do all the time. And you better believe that sometimes those people wish they could slow down and savor moments, and take a break from the rat race. So now I revel in my simple days. Afternoons stretch lazily before me. I'm free to color my world with paints and markers which brings me an unending happiness! I do the things I do because I love to do them! And I am free to stay true to my heart and passions, which always guide me forward to keep doing the things I love.
A few tips to help you simplify your life...
1. Try doing just one thing at a time! You would be surprised how often you multi task. Take a breath and slow down.
2. Say yes when your heart is in it and No when it isn't. Living true to your heart is as easy as speaking your truth and honoring your inner wisdom. So if you don't want to say yes, then don't!
3. Simplify your goals! It can be so easy to want what everyone else has, or to pursue goals just because you feel like it will help you fit in. Say no to that way of being, and honor the fact that you are on your own journey in life. You don't have to strive to have lots of money and fancy shiny things if you don't want to. You don't have to have tons of friends and to always be busy with commitments to be important.
4. Appreciate the life you have been given. Take time to be thankful to the people that are a part of your life, and to be thankful for the abundance you have in life. When you focus on the good life only gets better.
5. Dedicate a couple days a week to simple living. Let yourself off the hook sometimes, hire a babysitter or take a couple days off of doing chores. Put your feet up with a journal and a good book and revel in simple living at it's finest.
6. Enjoy some silence every single day! Silence is a great way to clear your mind and tune inward. So turn off the tv every once in a while, shut down the music and give yourself some quiet time.
Simplicity is a beautiful thing! It is a part of worship in many religions and spiritual traditions! And with minimalism being all the rage, simplifying is becoming more mainstream. So just appreciating my mellow simple life this afternoon, watching gray clouds lazily drift by on a rainy day. I feel closer to God on days like today, so fortunate for my simple life!