Sewing

Sew a Prayer Banner

I’m back to sewing, and trying to use up some of my stash! I have a bag of quilts, most of which I sewed last year, that I’m donating to OxygenFarm Quilts in Nebraska, because they have partnered with a local to them non profit. The quilts will be going to homeless families with kids and I’m so overjoyed that the quilts will be loved! Onto the next project!

Step One Prayer Banner

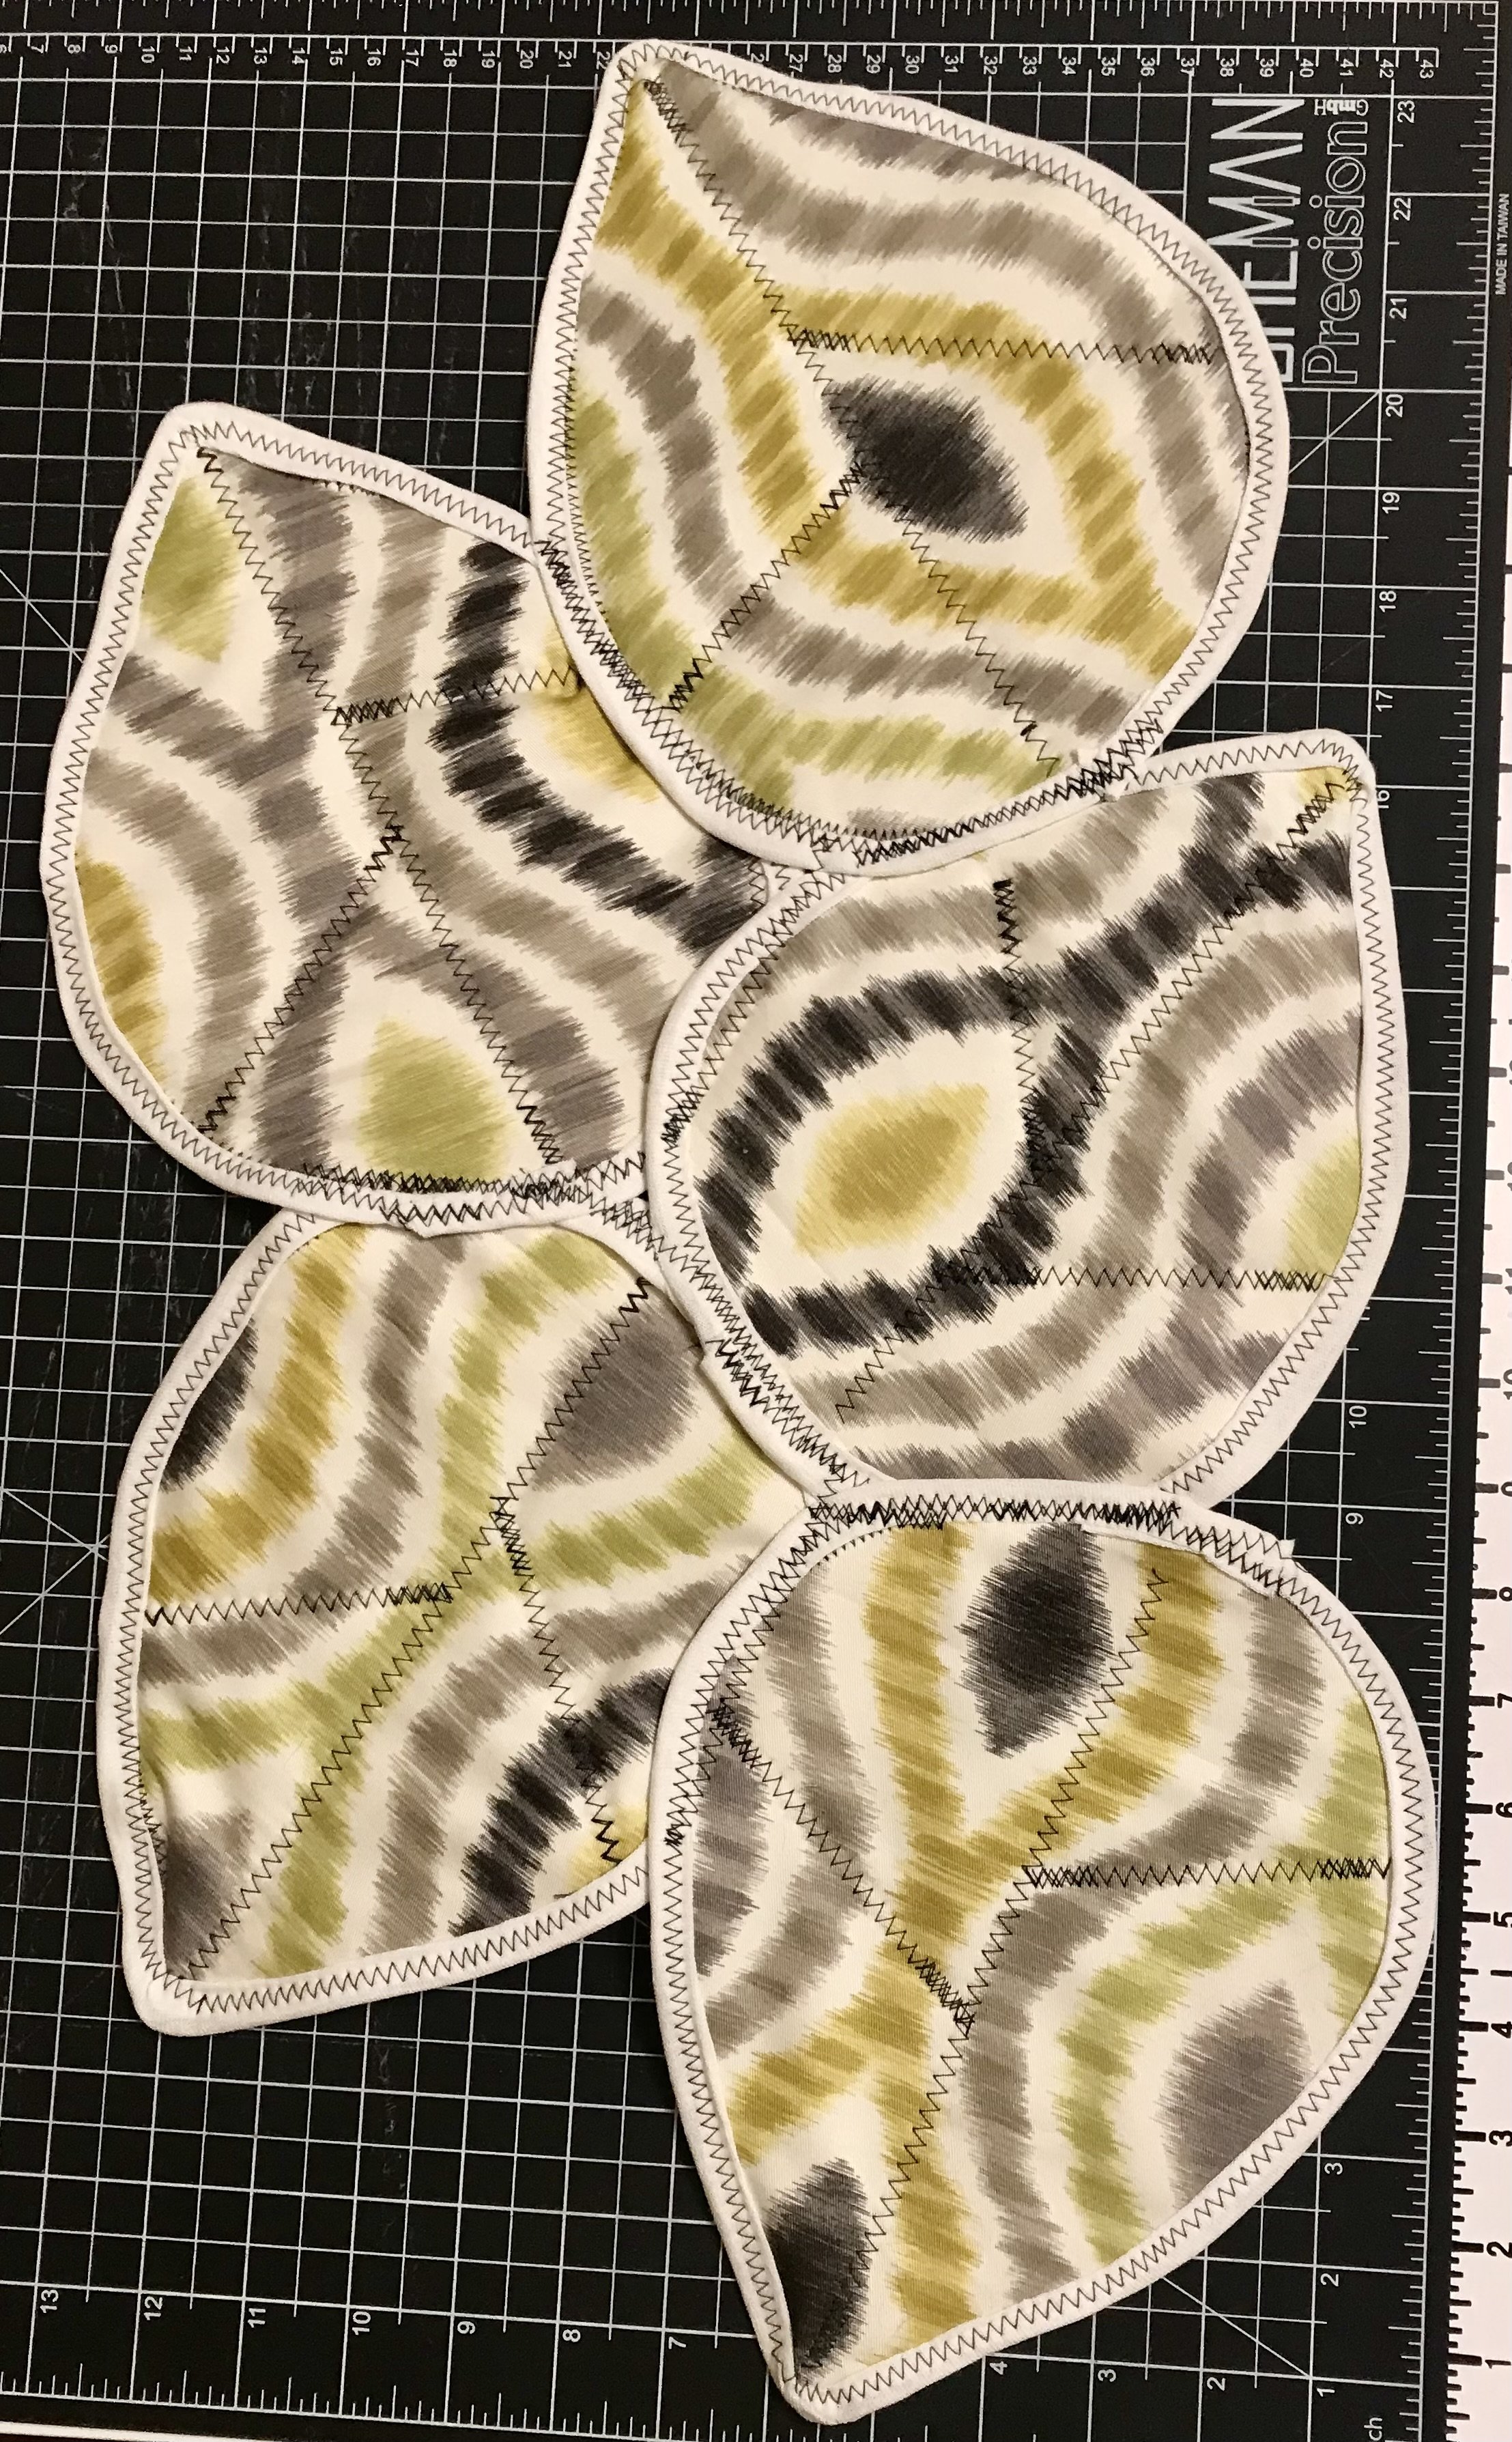
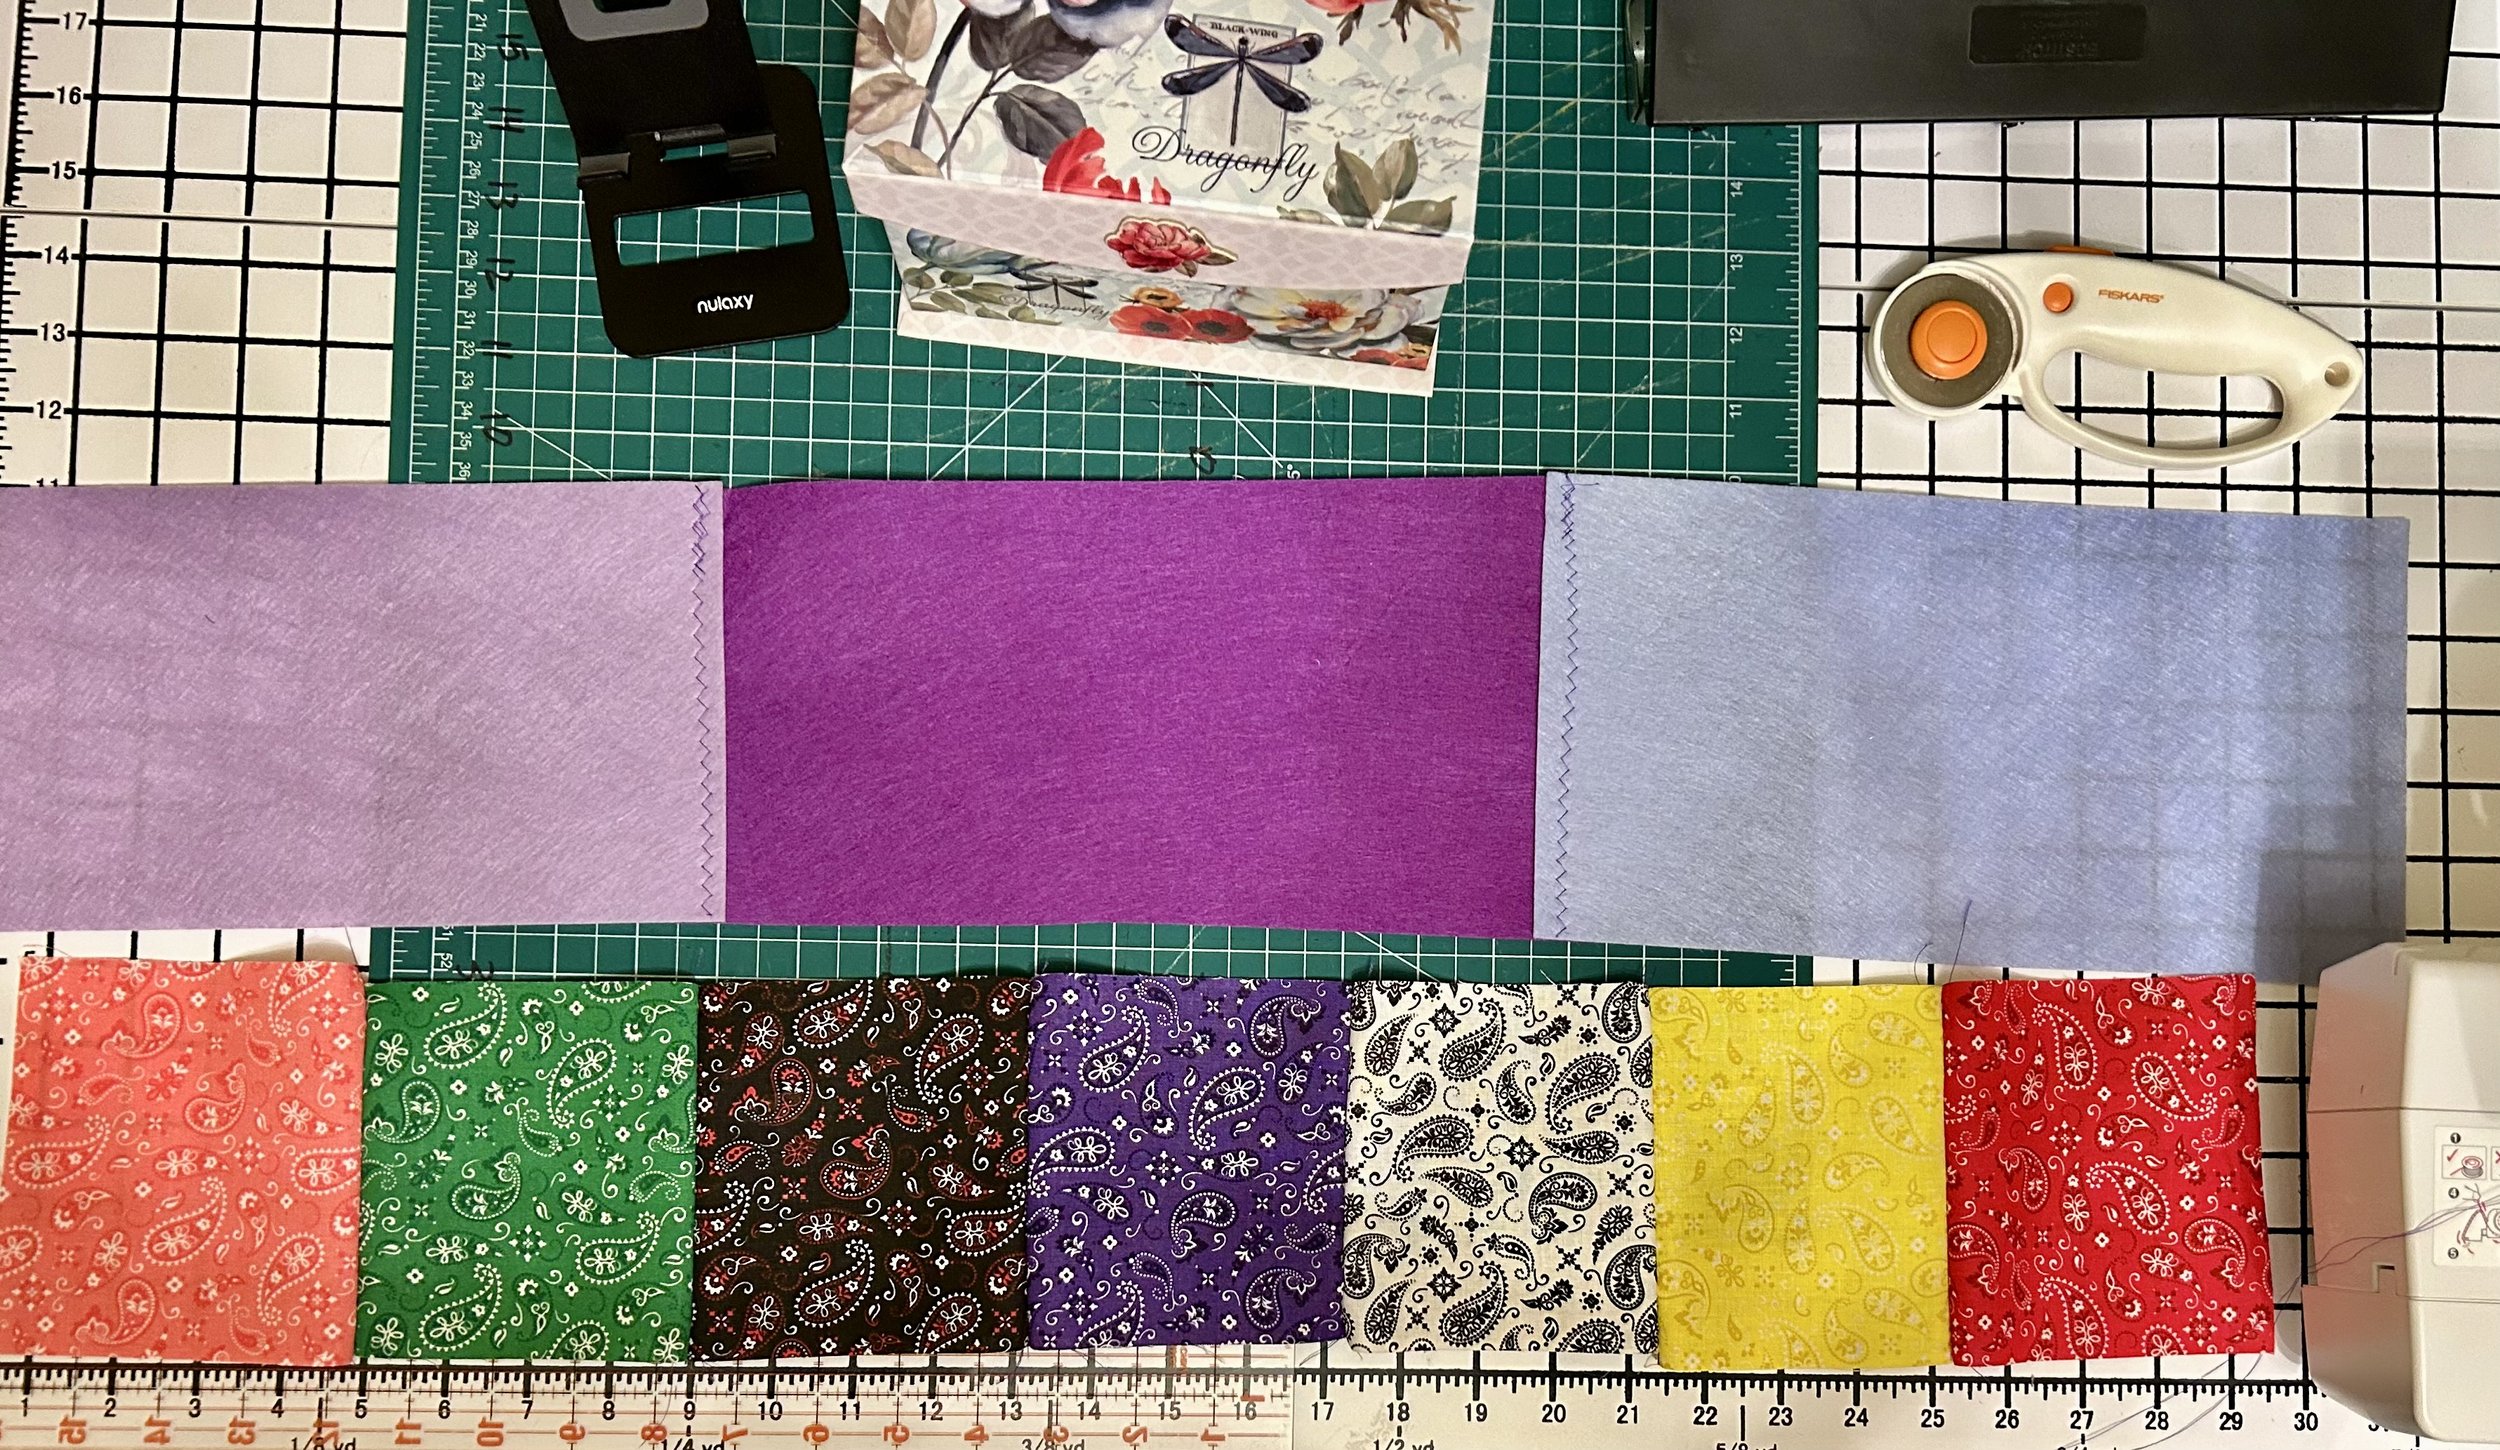
This project was inspired by Tibetan Prayer Flags. I had a huge stack of squares in rainbow colors, so I just started sewing them together into strips. I collected an assortment of squares when I was sewing quilts to donate. I also have a stack of felt pieces, just waiting to be used in projects. I use the felt when I want a thicker layer that is somewhat stiff. It is perfect for backing smaller wall art pieces like banners and art quilts. You can use a heavy denim or twill fabric as a substitute for the felt. (The more layers you add to a piece, the more structure a piece gets. So layer up if you don’t feel like your fabric wall art is sturdy enough.)

Before you start sewing, decide what you want your banner to say. That will dictate how many squares you use. I wanted to use seven squares, so I decided on the words “Big Love” as my prayer. Building and nurturing the love in my heart has always been one of my greatest spiritual practices, no matter what I’m going through in life. What prayer do you want to be reminded of? If you are making these to gift to people in your life, you can do a word that means something to the individual and what they are facing, or even use a word like Bravery, Kindness or Gratitude…anything that invokes a positive feeling.

Step Two Prayer Banner

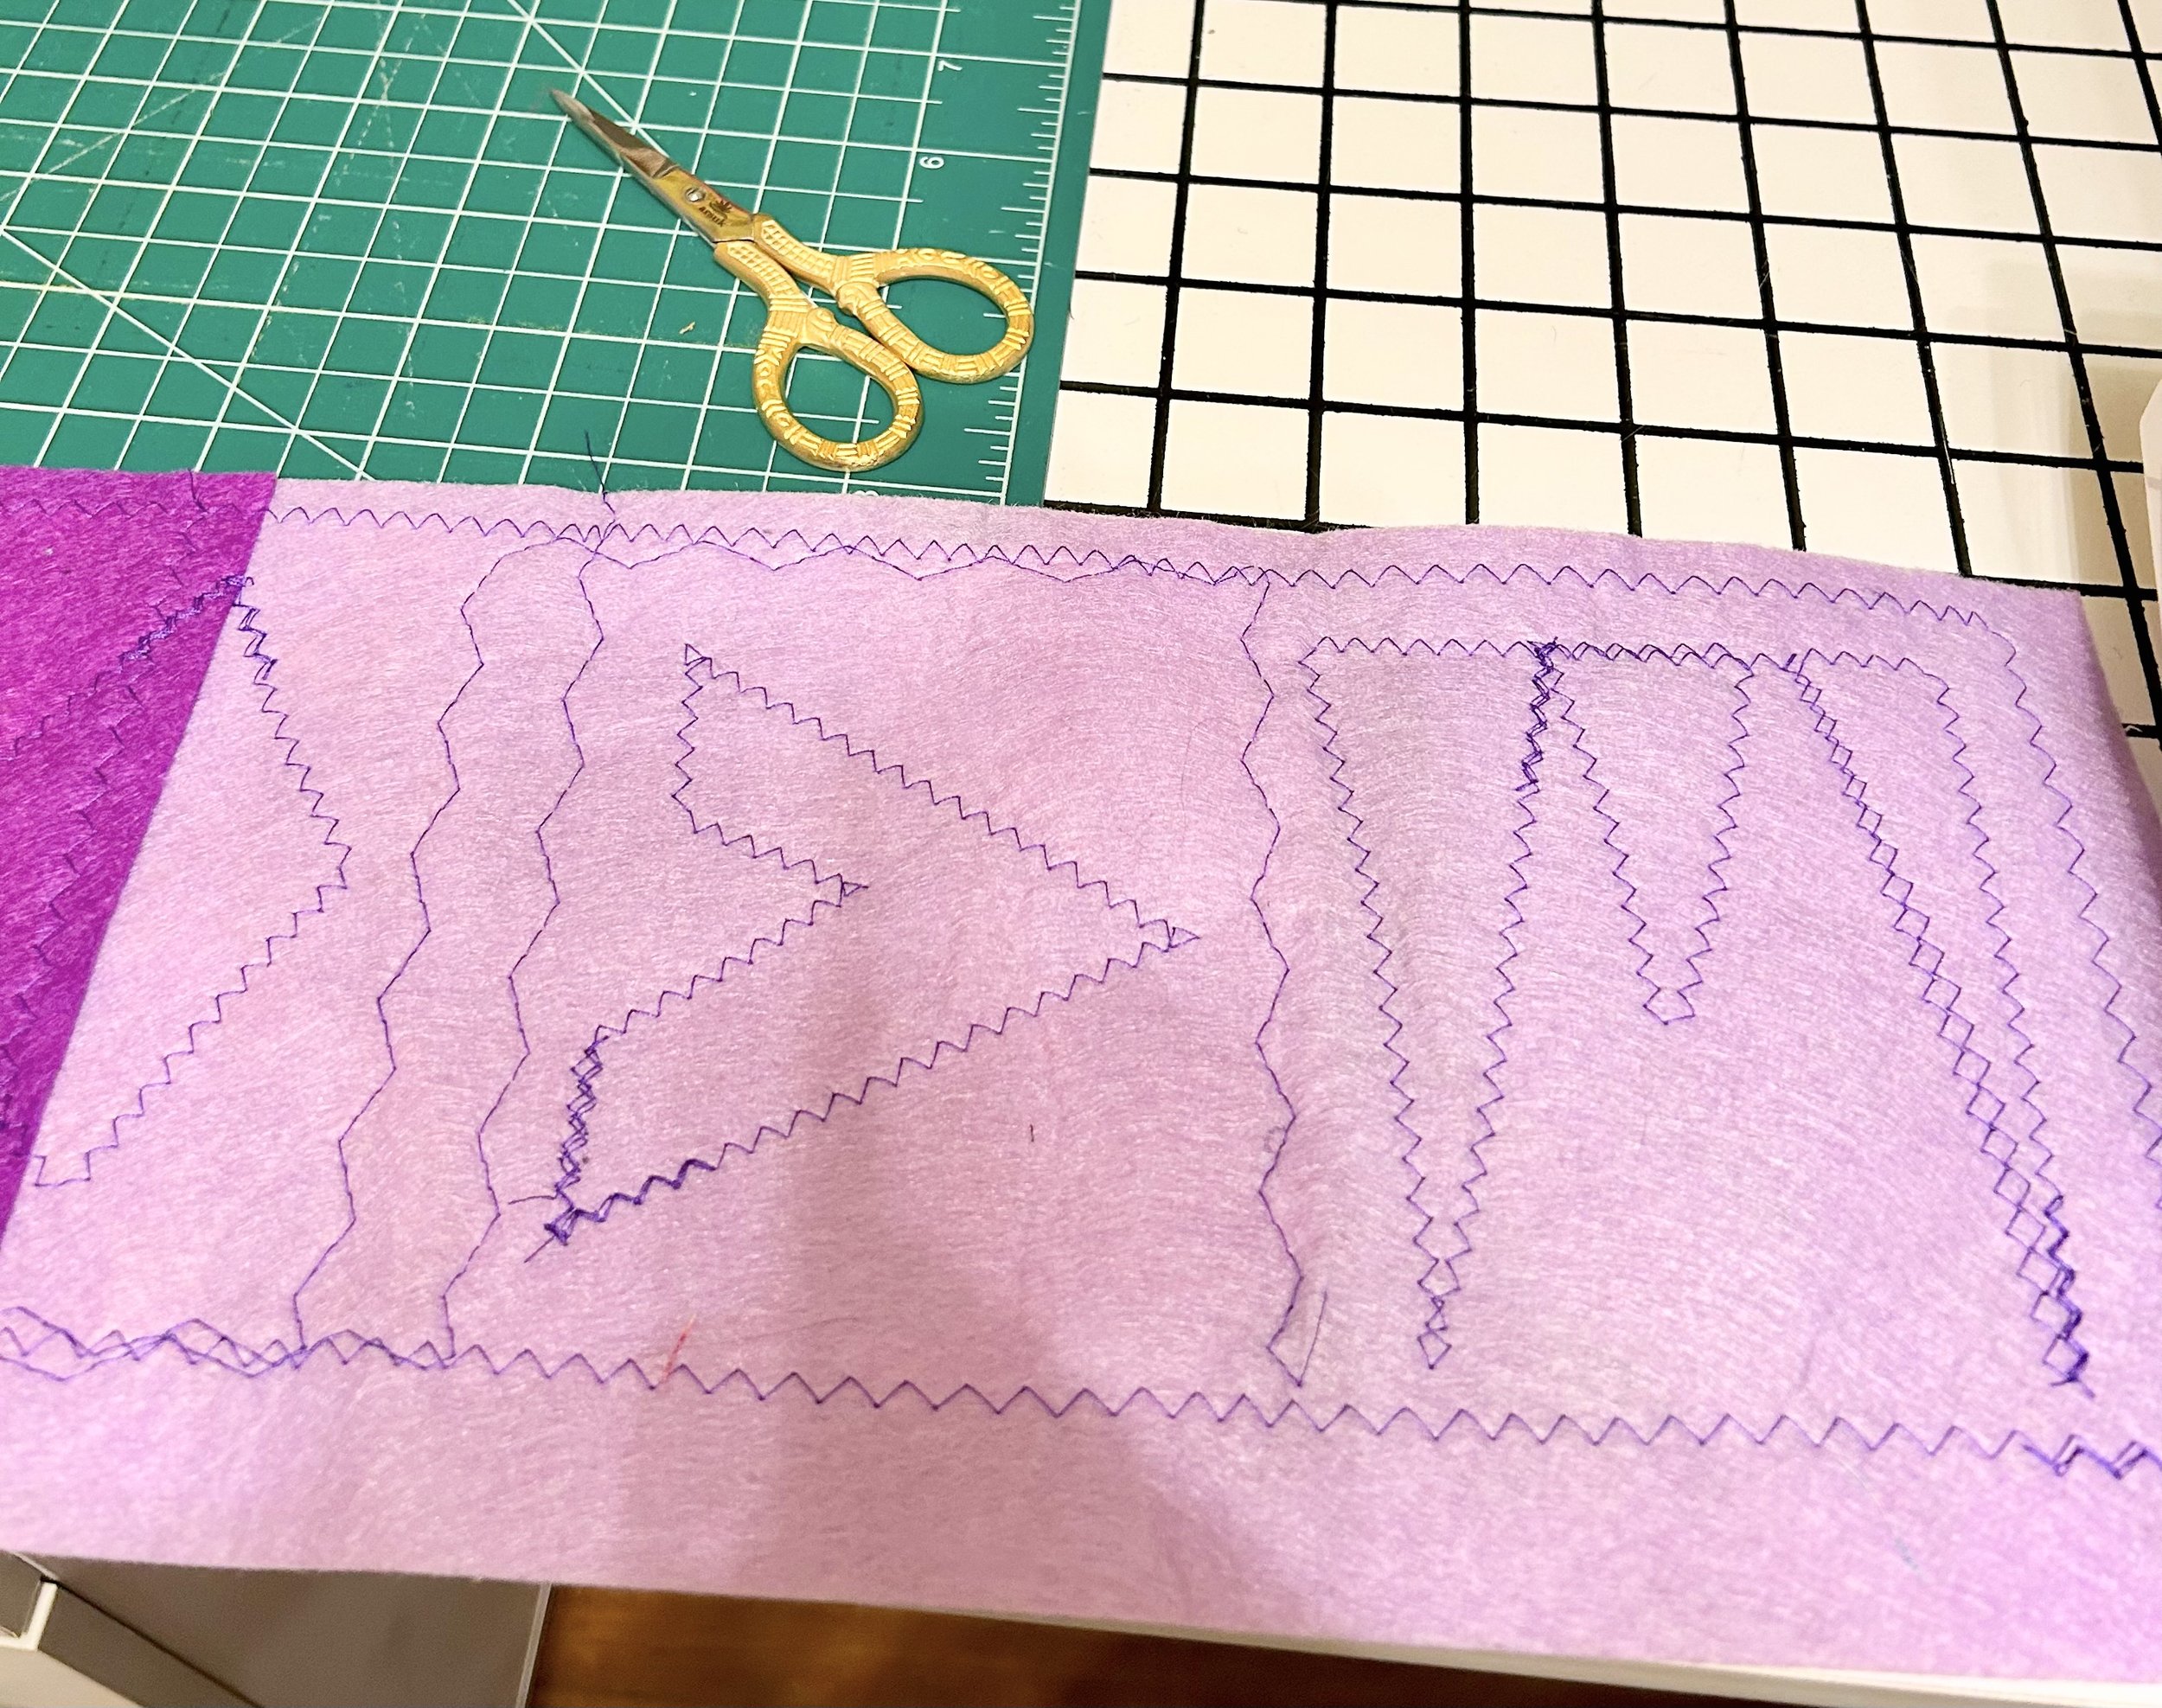
Back of Prayer Banner showing letters in reverse

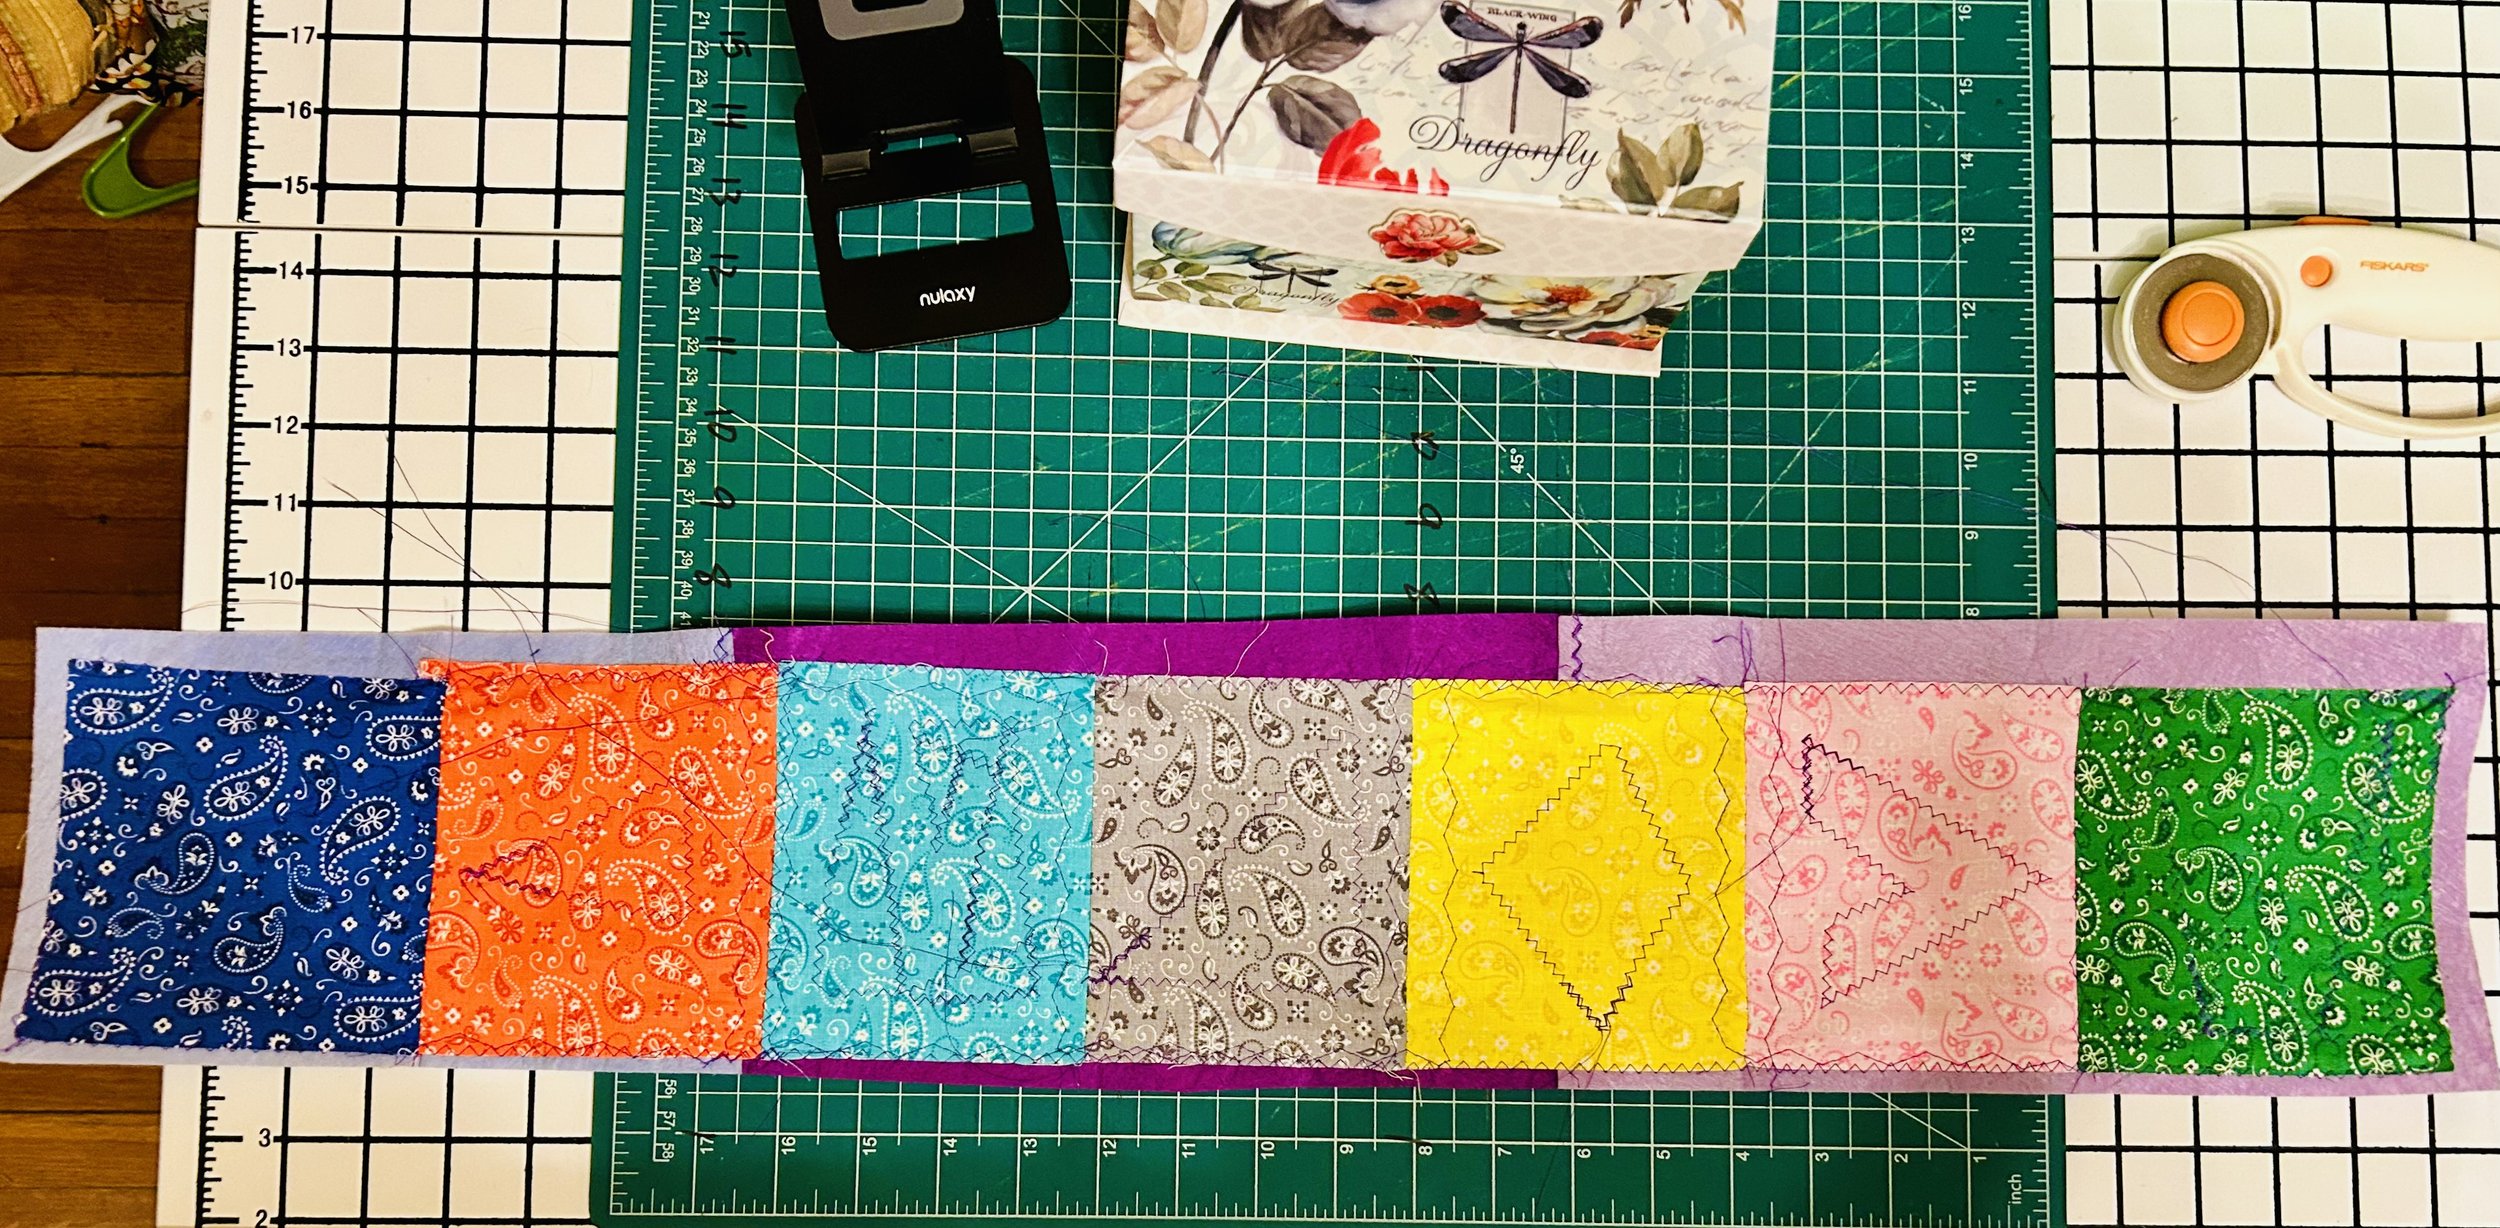
I sewed a strip of squares on to the felt, then sewed in between the squares along the seams. Next, I sewed letters onto the squares, based on triangle shapes. If you are going to try this yourself, it helps to write the letters on the back in a light marker, then sew over the marker lines. The letters have to be backwards on the back of the project to show up right ways on the front.

Step Three Prayer Banner

Next up, delicately trim the fabric away to reveal the letters. It helps to lightly pinch the cotton layer to separate it from the felt and use the very tip of the scissors to snip a small hole. Then put the scissors through the hole and slowly trim away the fabric.

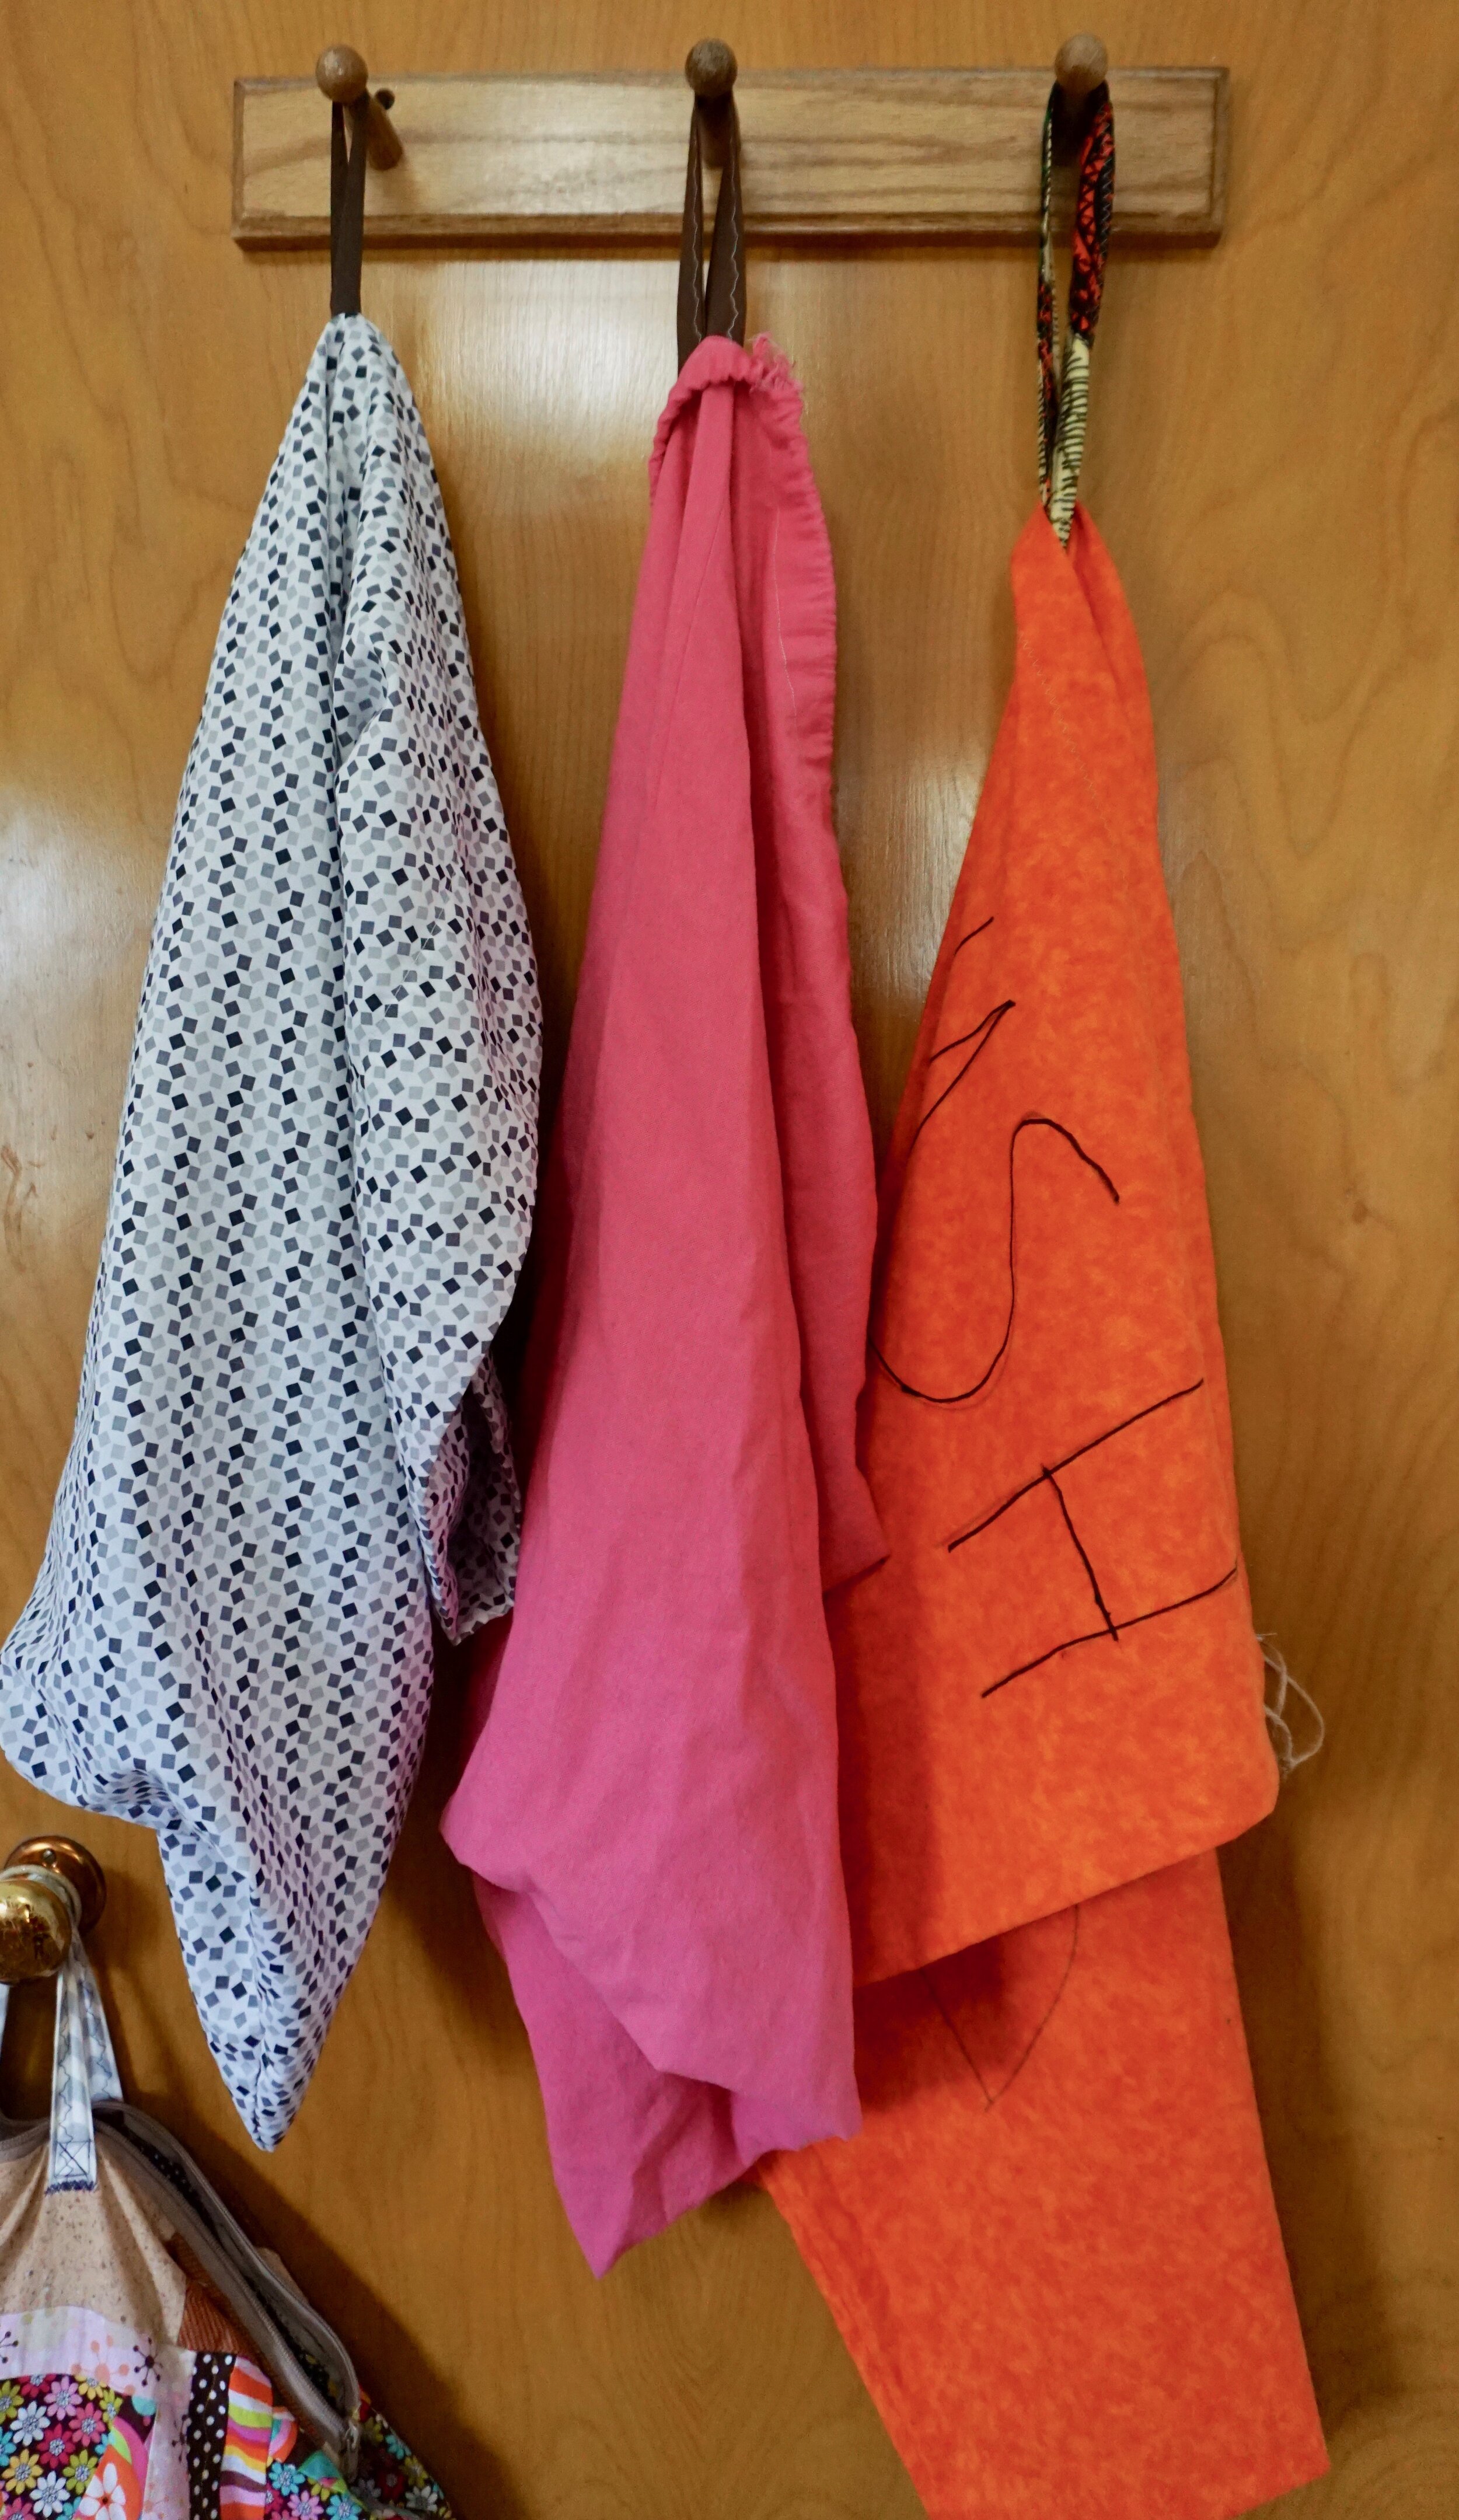
Once you get all the letters cut out, add ribbon or trim to the edges of the banner if you desire, or deck it out with some embroidery, buttons or beads. Add a loop at the top to hang it up, and the banner is complete!


Sew a Quick Phone Sling Belt

Ok, this idea has been just nagging at me. I have wanted a hip pack because I wear a lot of pants and dresses that don’t have pockets. Lately I find myself carrying my phone a lot, but I didn’t want to buy yet another bag! In order to reduce the amount of things I’m buying, I recently cut my monthly budget down to less than half of what I was spending. I mean…the number one thing I can do to help the environment is to buy less stuff. But buying less stuff is really challenging for me! So reducing my budget is a win for my long term goals and for the environment as well!

This sling belt is a super quick project. I literally sewed it in less than ten minutes! You can use knit fabric, or upcycle a t shirt that is one to two sizes too big for the project. It is basically just a strip of fabric with a pocket. If you can do something with simplicity, why complicate it? That’s my motto anyway! I sewed a button on the pocket so that I can tell where the pocket is when I’m putting my phone away.

Now I can carry my phone on those days I don’t wear pockets! I love my new sling belt, and I plan on rocking this a lot! Make some in different colors if you are worried about it clashing with your outfit. Or make it fancy and add longer ties, or piece together a few smaller pieces of fabric for a multi print belt. It just ties on the side, so be sure to place the pocket in a spot where you can easily access your phone.

Phone Sling Belt by Kathryn Sturges

Sew a Simple Leafy Reversible Table Mat

Apologies to Mom, because this is one of her birthday gifts for her upcoming December birthday! I have been waiting to share it on the blog, but turns out I’m not going to see her until late Winter.

This simple table mat came together in a few sittings! I just thought a quick tutorial was in order, because holidays are fast approaching! This mat is the perfect hostess or mother-in-law gift…especially for those women who seem to have everything.

Materials

Two fabrics, one green and one brown

Neutral color binding, preferably in a stretch knit

Batting

Basic sewing kit

paper, scissors and marker for template

Step One: Create a leaf template. Aim to make the leaf approximately half of the measurement of the finished table mat.

Step Two: Trace the template onto the green fabric. I did five leaves, but you could easily do only three or add more for a larger mat. Then cut out the fabric leaves.

Step Three: Sew the leaves onto batting with a wide zig zag stitch. Then cut around the leaves to remove excess batting.

Step Four: Sew those leaves onto the brown backing fabric, with right sides facing out. Cut around the leaves again, and be sure to round out the tip a little for the next step!

Step Five: Attach binding around each leaf. Then, sew the leaves together in a pleasing design.

So easy! Make one or make a bunch! Check your list then check it twice for all those women on your list!

Awake and Aware Journal Quilt

For years I have pondered how to combine my love of fabric with art making. I’m finally taking that idea seriously and giving myself time to experiment and play! Something about drawing and painting on fabric just makes me feel like a kid again. Painting on fabric feels different than canvas or paper. Fabric is thready and nubby and bumpy, the texture is a dream to make art on. Lately I feel so inspired! A big part of what brings me deep satisfaction in this life is just experimenting with the materials I have on hand. It is surprising what you can do with a few fabric scraps and paint!

This work started about five months ago by sewing scraps onto muslin, then I got out some puffy fabric paint. I think it was more designed to create dots on rocks and stuff, and when I tried to draw with it I wasn’t entirely happy with the result. So I brought in some white acrylic paint. We got a huge snowstorm yesterday and the white reminds me of the cool chill of snow. I used acrylic paint markers and a sharpie to write and draw. An old credit card came in handy to swipe paint on the surface and smudge out mistakes from the puffy paint.

I love the way this turned out so hardcore! I’m thinking I will frame it and hang it on the wall.

Awake and Aware by Kathryn Sturges

Stash Buster: Use Up Those Pre Cut Squares!

A big part of going green is making use of what you have instead of buying store bought goods. I’m feeling a little overwhelmed tonight because I have amassed so much scrap material, and I want to use it up. I literally feel like I could sew for the rest of my life and still not run out of fabric, lol! I don’t buy new fabric very often, but somehow I have kept all the leftovers from past projects and it adds up fast.

My quilt making used to be about combining mostly scrap material with a few yards of store bought fabric, but there was always something that I didn’t use. Quilters amass so much fabric and it is celebrated on Facebook…the pure gluttony of it all! I’m committed to using up what I have, or finding others who are in need of materials. I’ve donated art supplies to a veterans home before, and am in the process of looking for charities who might need supplies.

A year or two ago I bought two packs of ten inch squares from Amazon, and let me just say that it is not quilt worthy material! The fabric has lots of cute prints so I made a bunch of scarves when I was selling clothes. I was including a free scarf with each order that I received. Needless to say, I was left with tons of extra pre cuts.

Here are some ideas for using up pre cut squares. If they are ten to twelve inches, these projects might be a great fit! You can also cut up yardage for the projects. I’m enjoying using the squares because I can just grab some and get sewing. If you don’t have pre cut squares you could always spend a weekend cutting out squares from your scrap bin to use instead. Use what you already have, and try to be an eco frugalista when it comes to your sewing. Be conscious of your tendencies to buy new material for each project, and challenge yourself to use what you have on hand first.

  1. Scarves

  2. Fabric Napkins

  3. Drawstring Pouches

  4. Coasters and Table Mats

  5. Hats or Bandanas

  6. Fabric Gift Bags

  7. Button Clutch and Wallet

  8. Decorative Pillows

  9. Patchwork Squares Quilt

  10. Squares Bean Bag Pouf

I hope these ideas get you excited to get at the machine! One thing seamstresses are not short of is creative ideas! When you use what you have it actually makes you more creative, because you come up with new inventive ways to rethink those materials. Christmas is coming up soon, and if you start now you can sew your gifts instead of buying them from the store, or think of what you need and try to make it next time instead of buying it. Happy crafting!