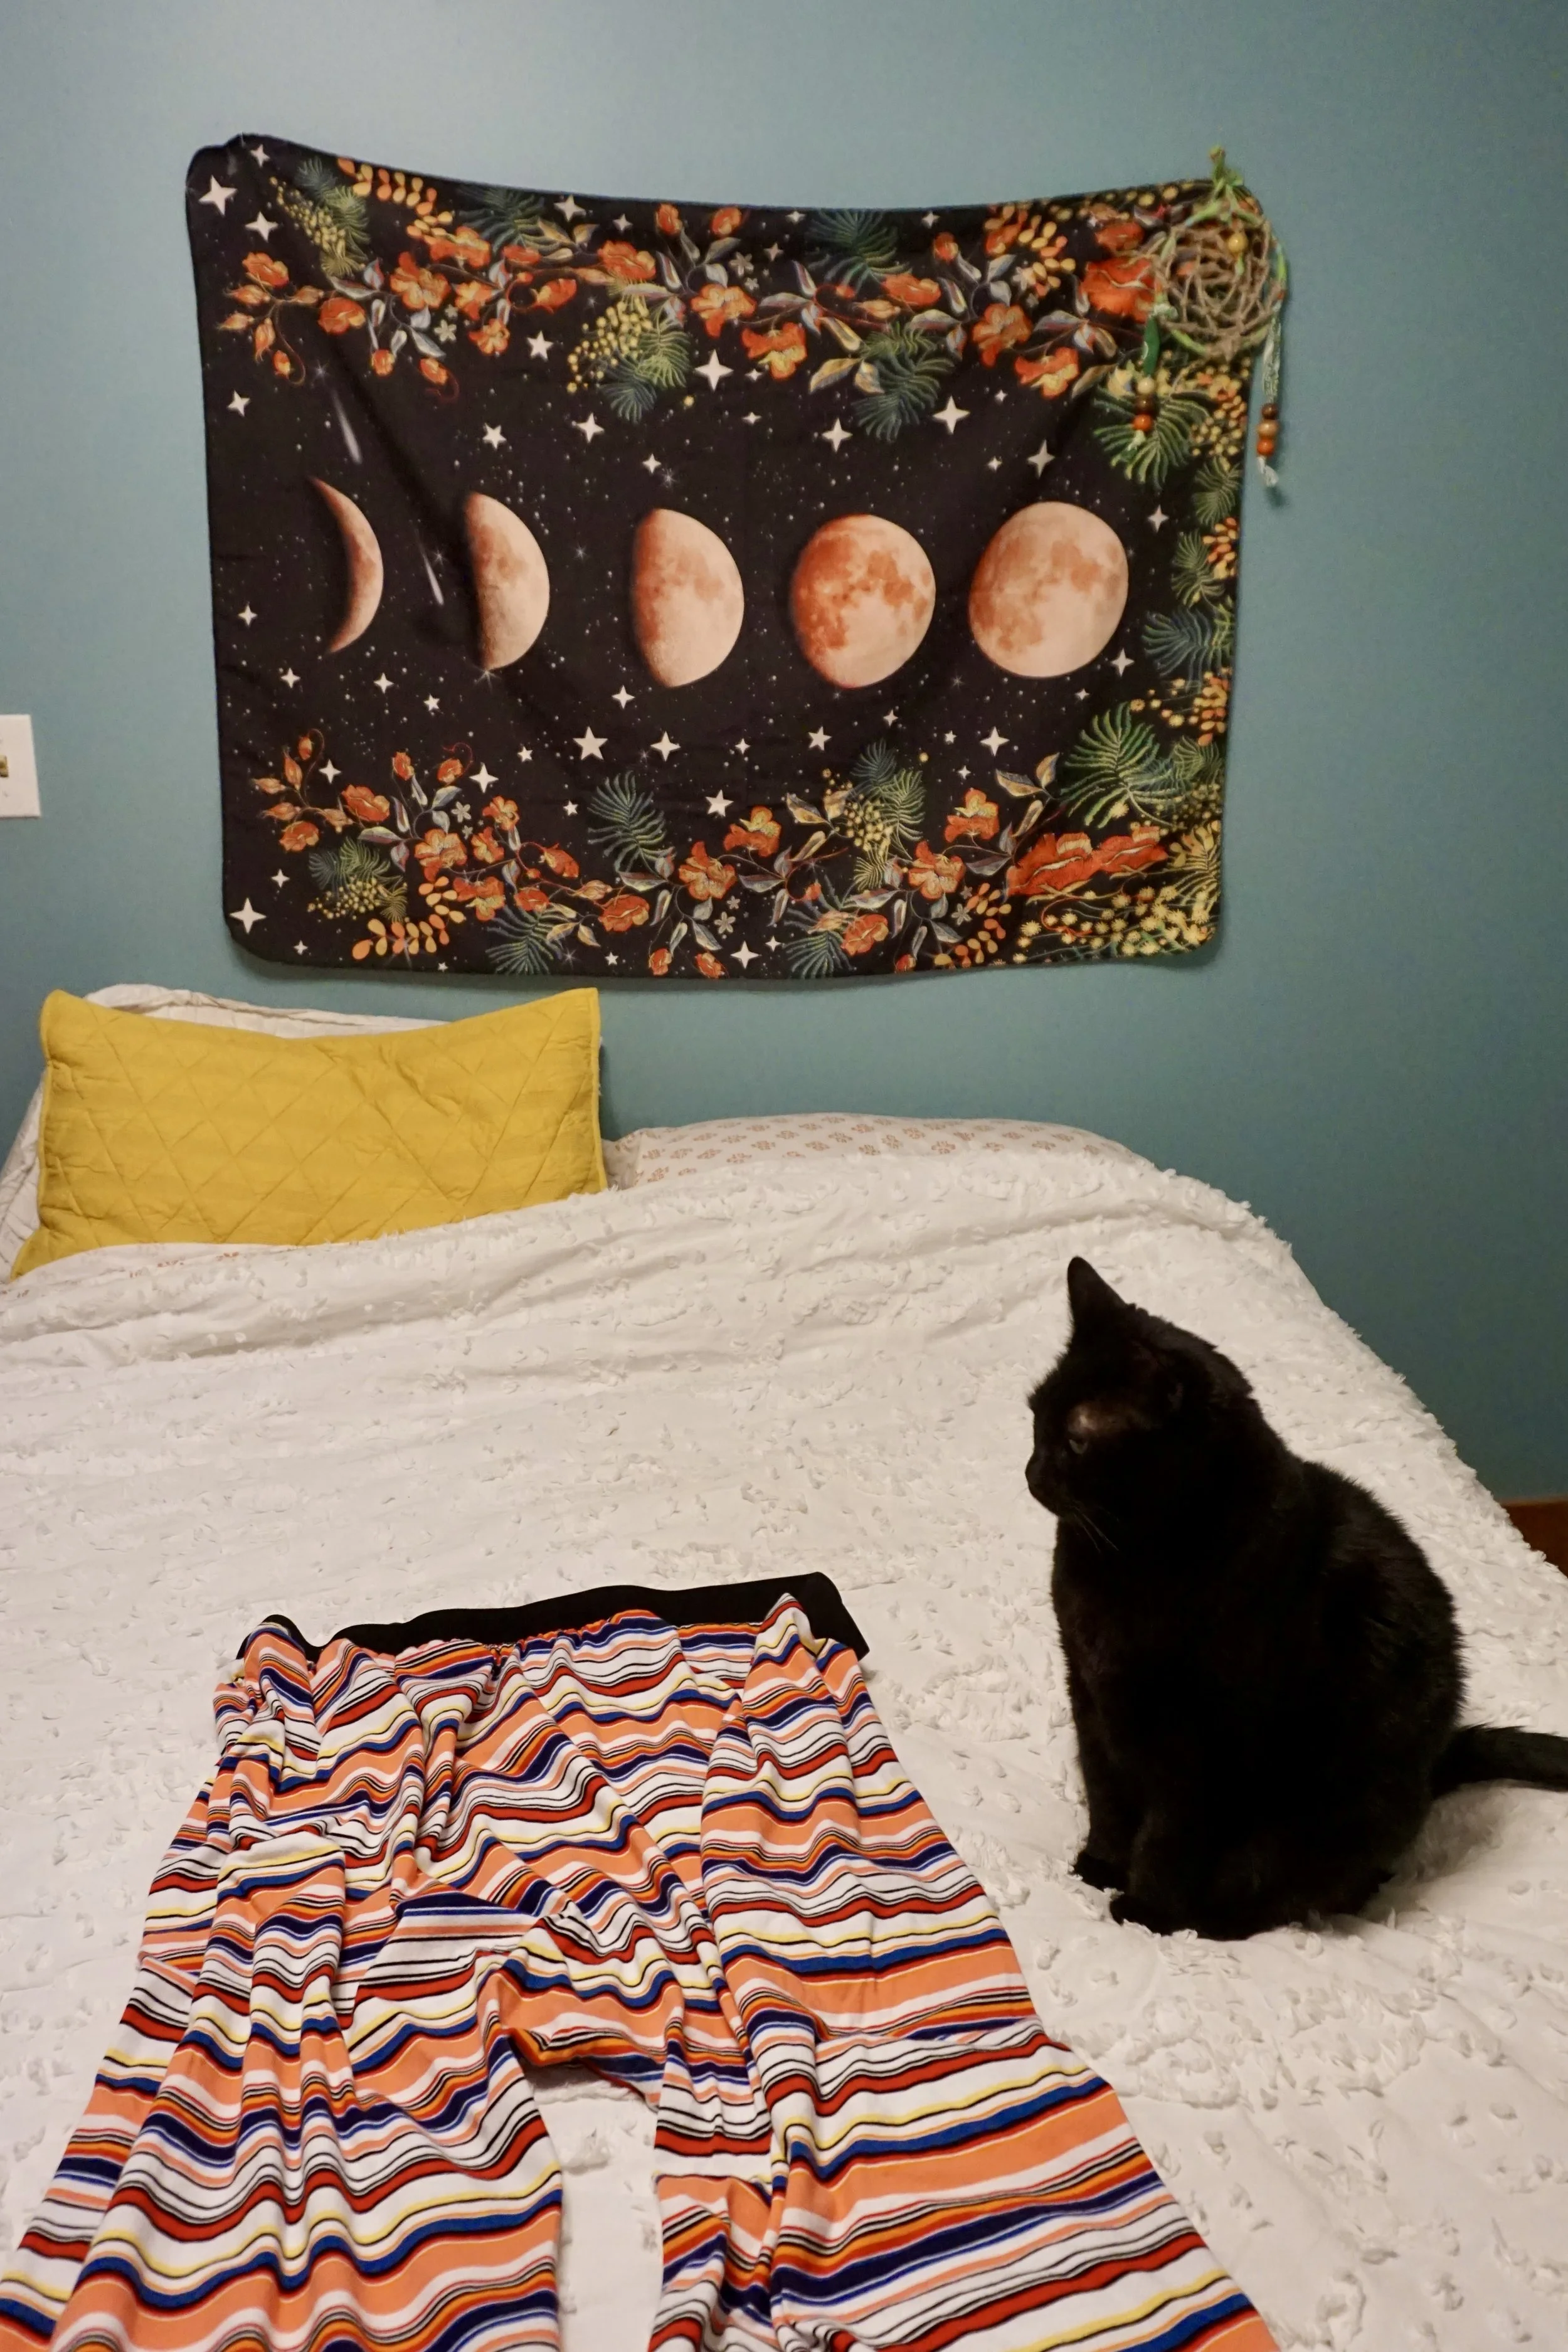
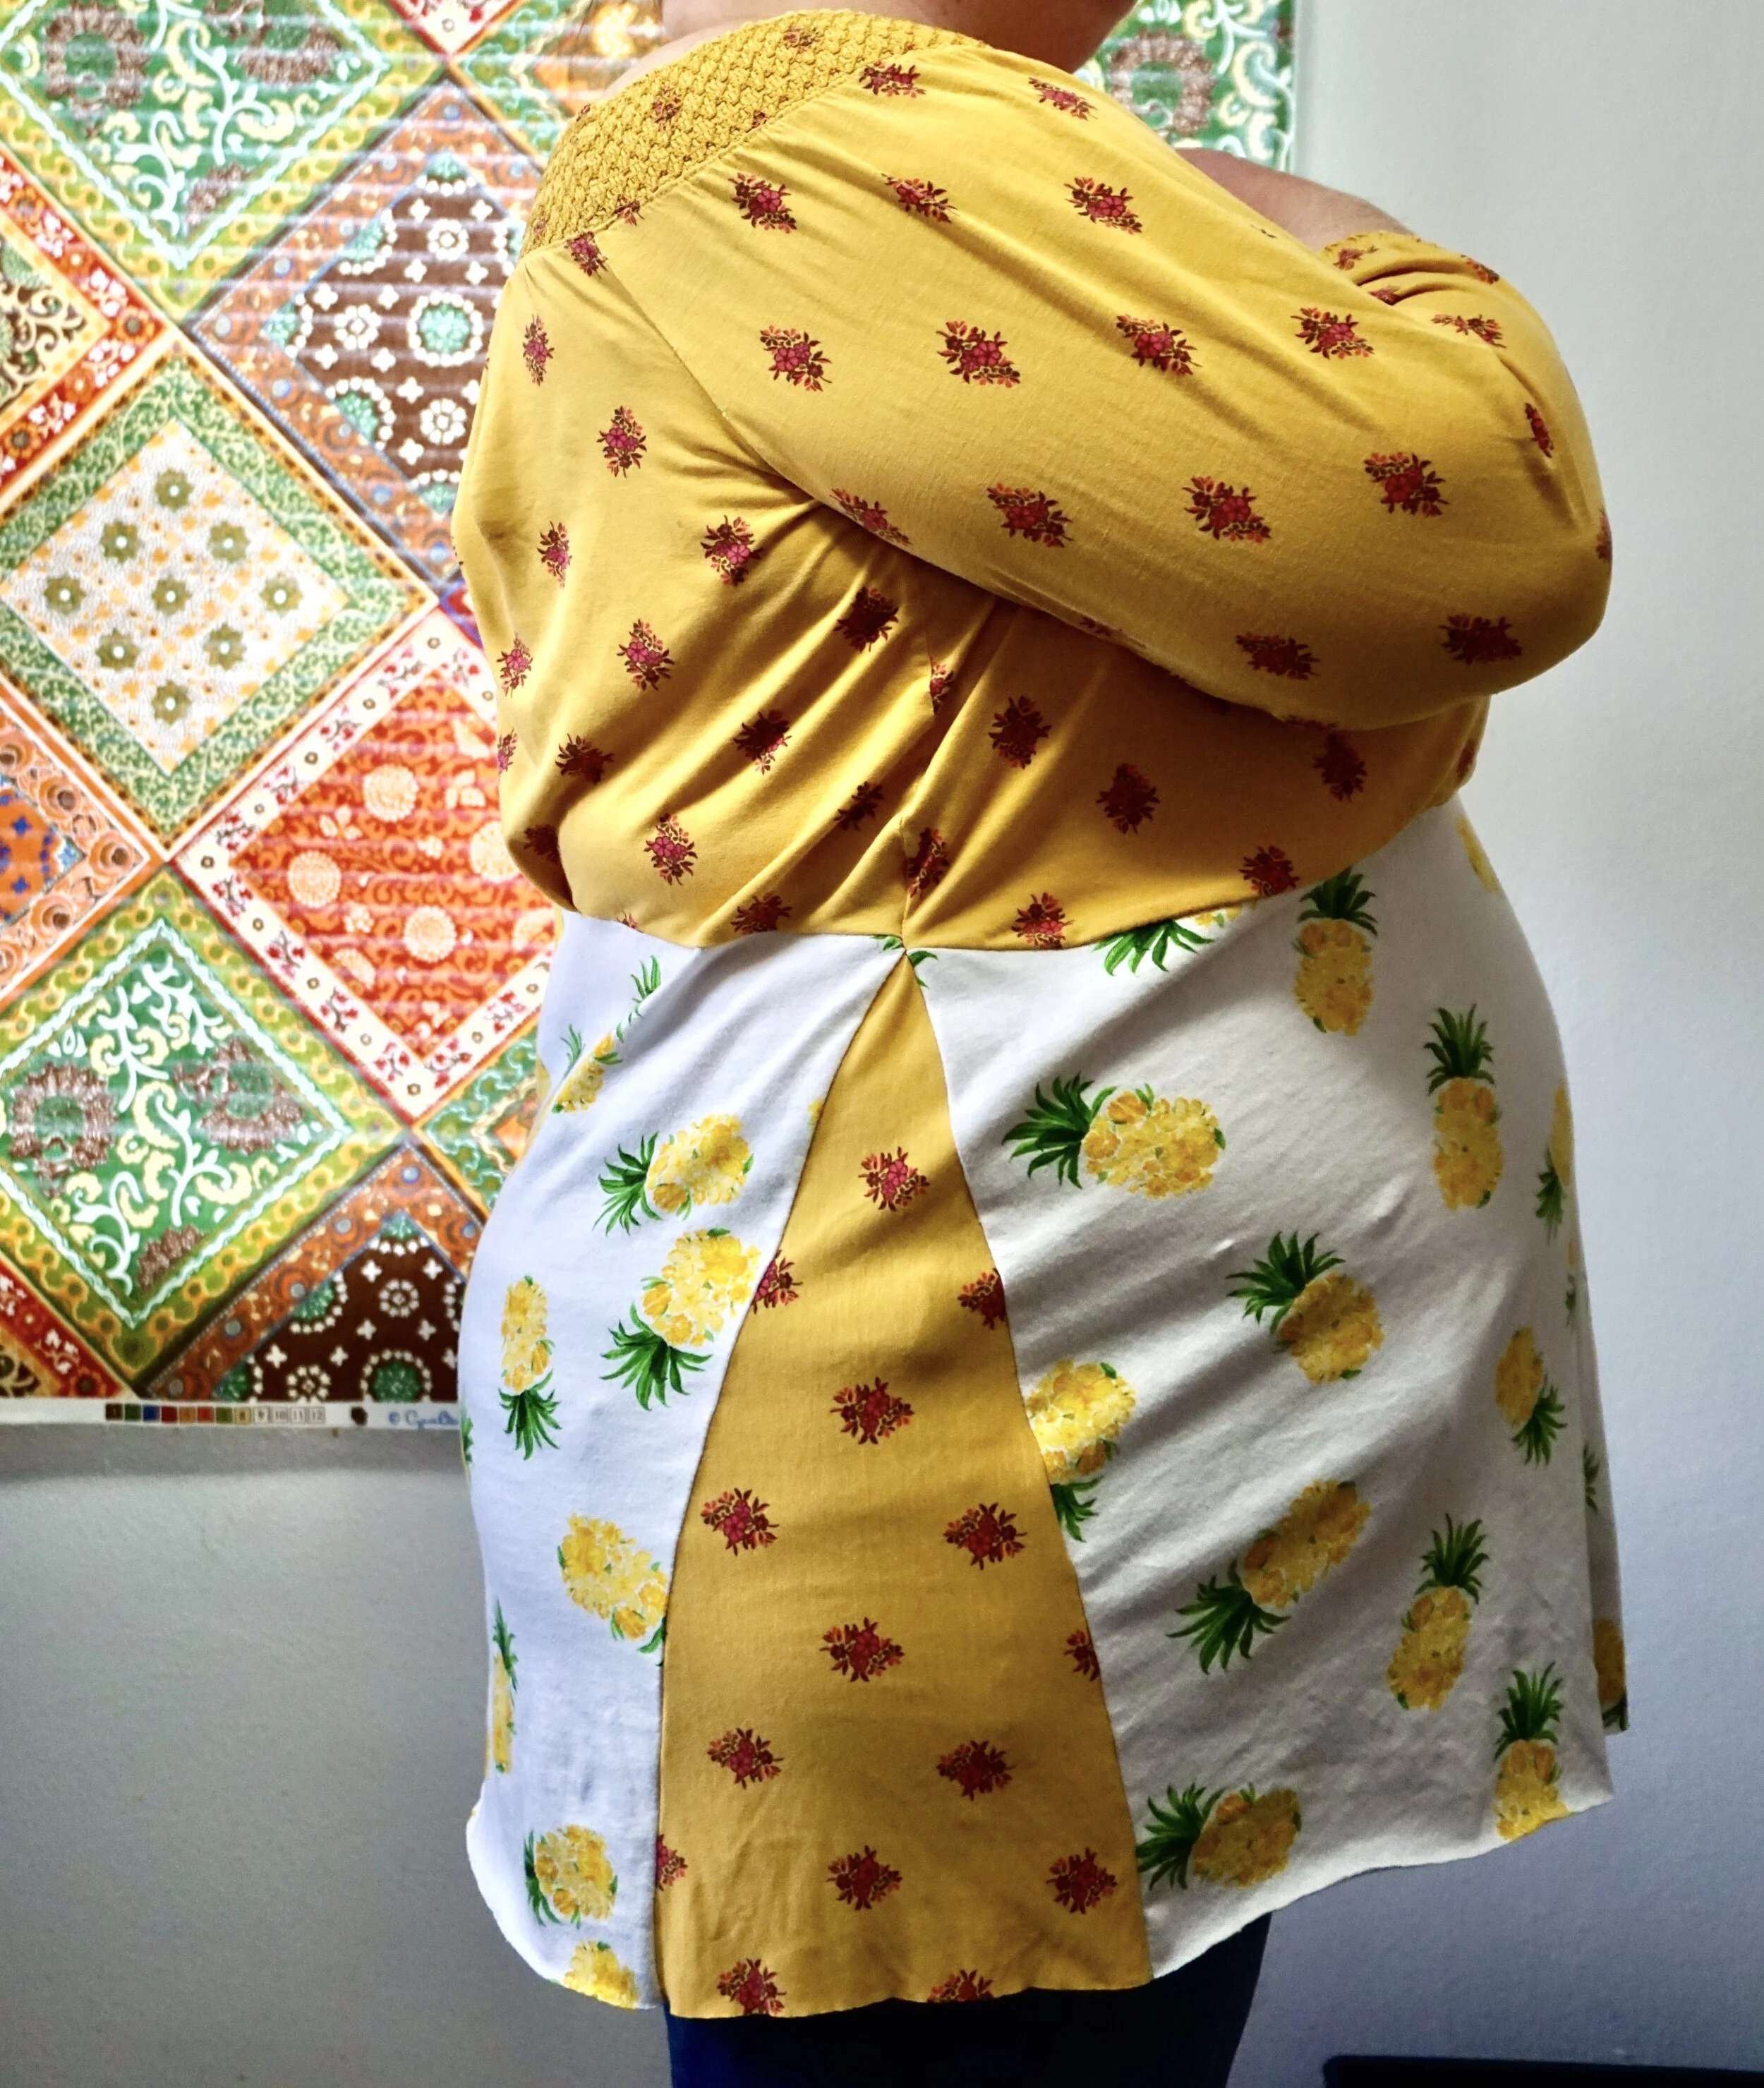
Almost fifteen years ago I had a bubble hem top. It was pink and white striped, and I loved it so! I wound up donating it, I threw it in the donation bag because I thought someone shopping second hand needed something super fashionable to buy. And I totally regretted donating that top!
Lately the bubble hem kept nagging at me, taunting me. So I started researching how to sew a bubble hem skirt. A lot of the directions call for some wacky kind of lining, or to tweak an existing skirt with fabric glue. And I wanted to sew mine from scratch, but in a simple way. I did some experimenting, watched some Youtubes, and lo and behond…I discovered a way to make a chic bubble hem skirt in a couple of hours! This is a perfect evening or weekend project, when you feel like whipping up something quick.
Materials:
Wide elastic, approx. 3 yards for Plus Sizes
2 1/2 yards lightweight fabric, preferably with some stretch
sewing machine, rotary cutter and mat or scissors
safety pins
Ready…Set…Sew!
Step One: wrap a piece of elastic around your waistline at the spot you normally wear skirts at, and then pull the elastic taught so that it is a bit smaller than that measurement. When I did this I didn’t pull the elastic enough, so my skirt just fits but is slightly too big. A good rule of thumb is four to six inches smaller than your waist measurement, depending on how stretchy the elastic is.

Step Two: Bubble Hem Skirt
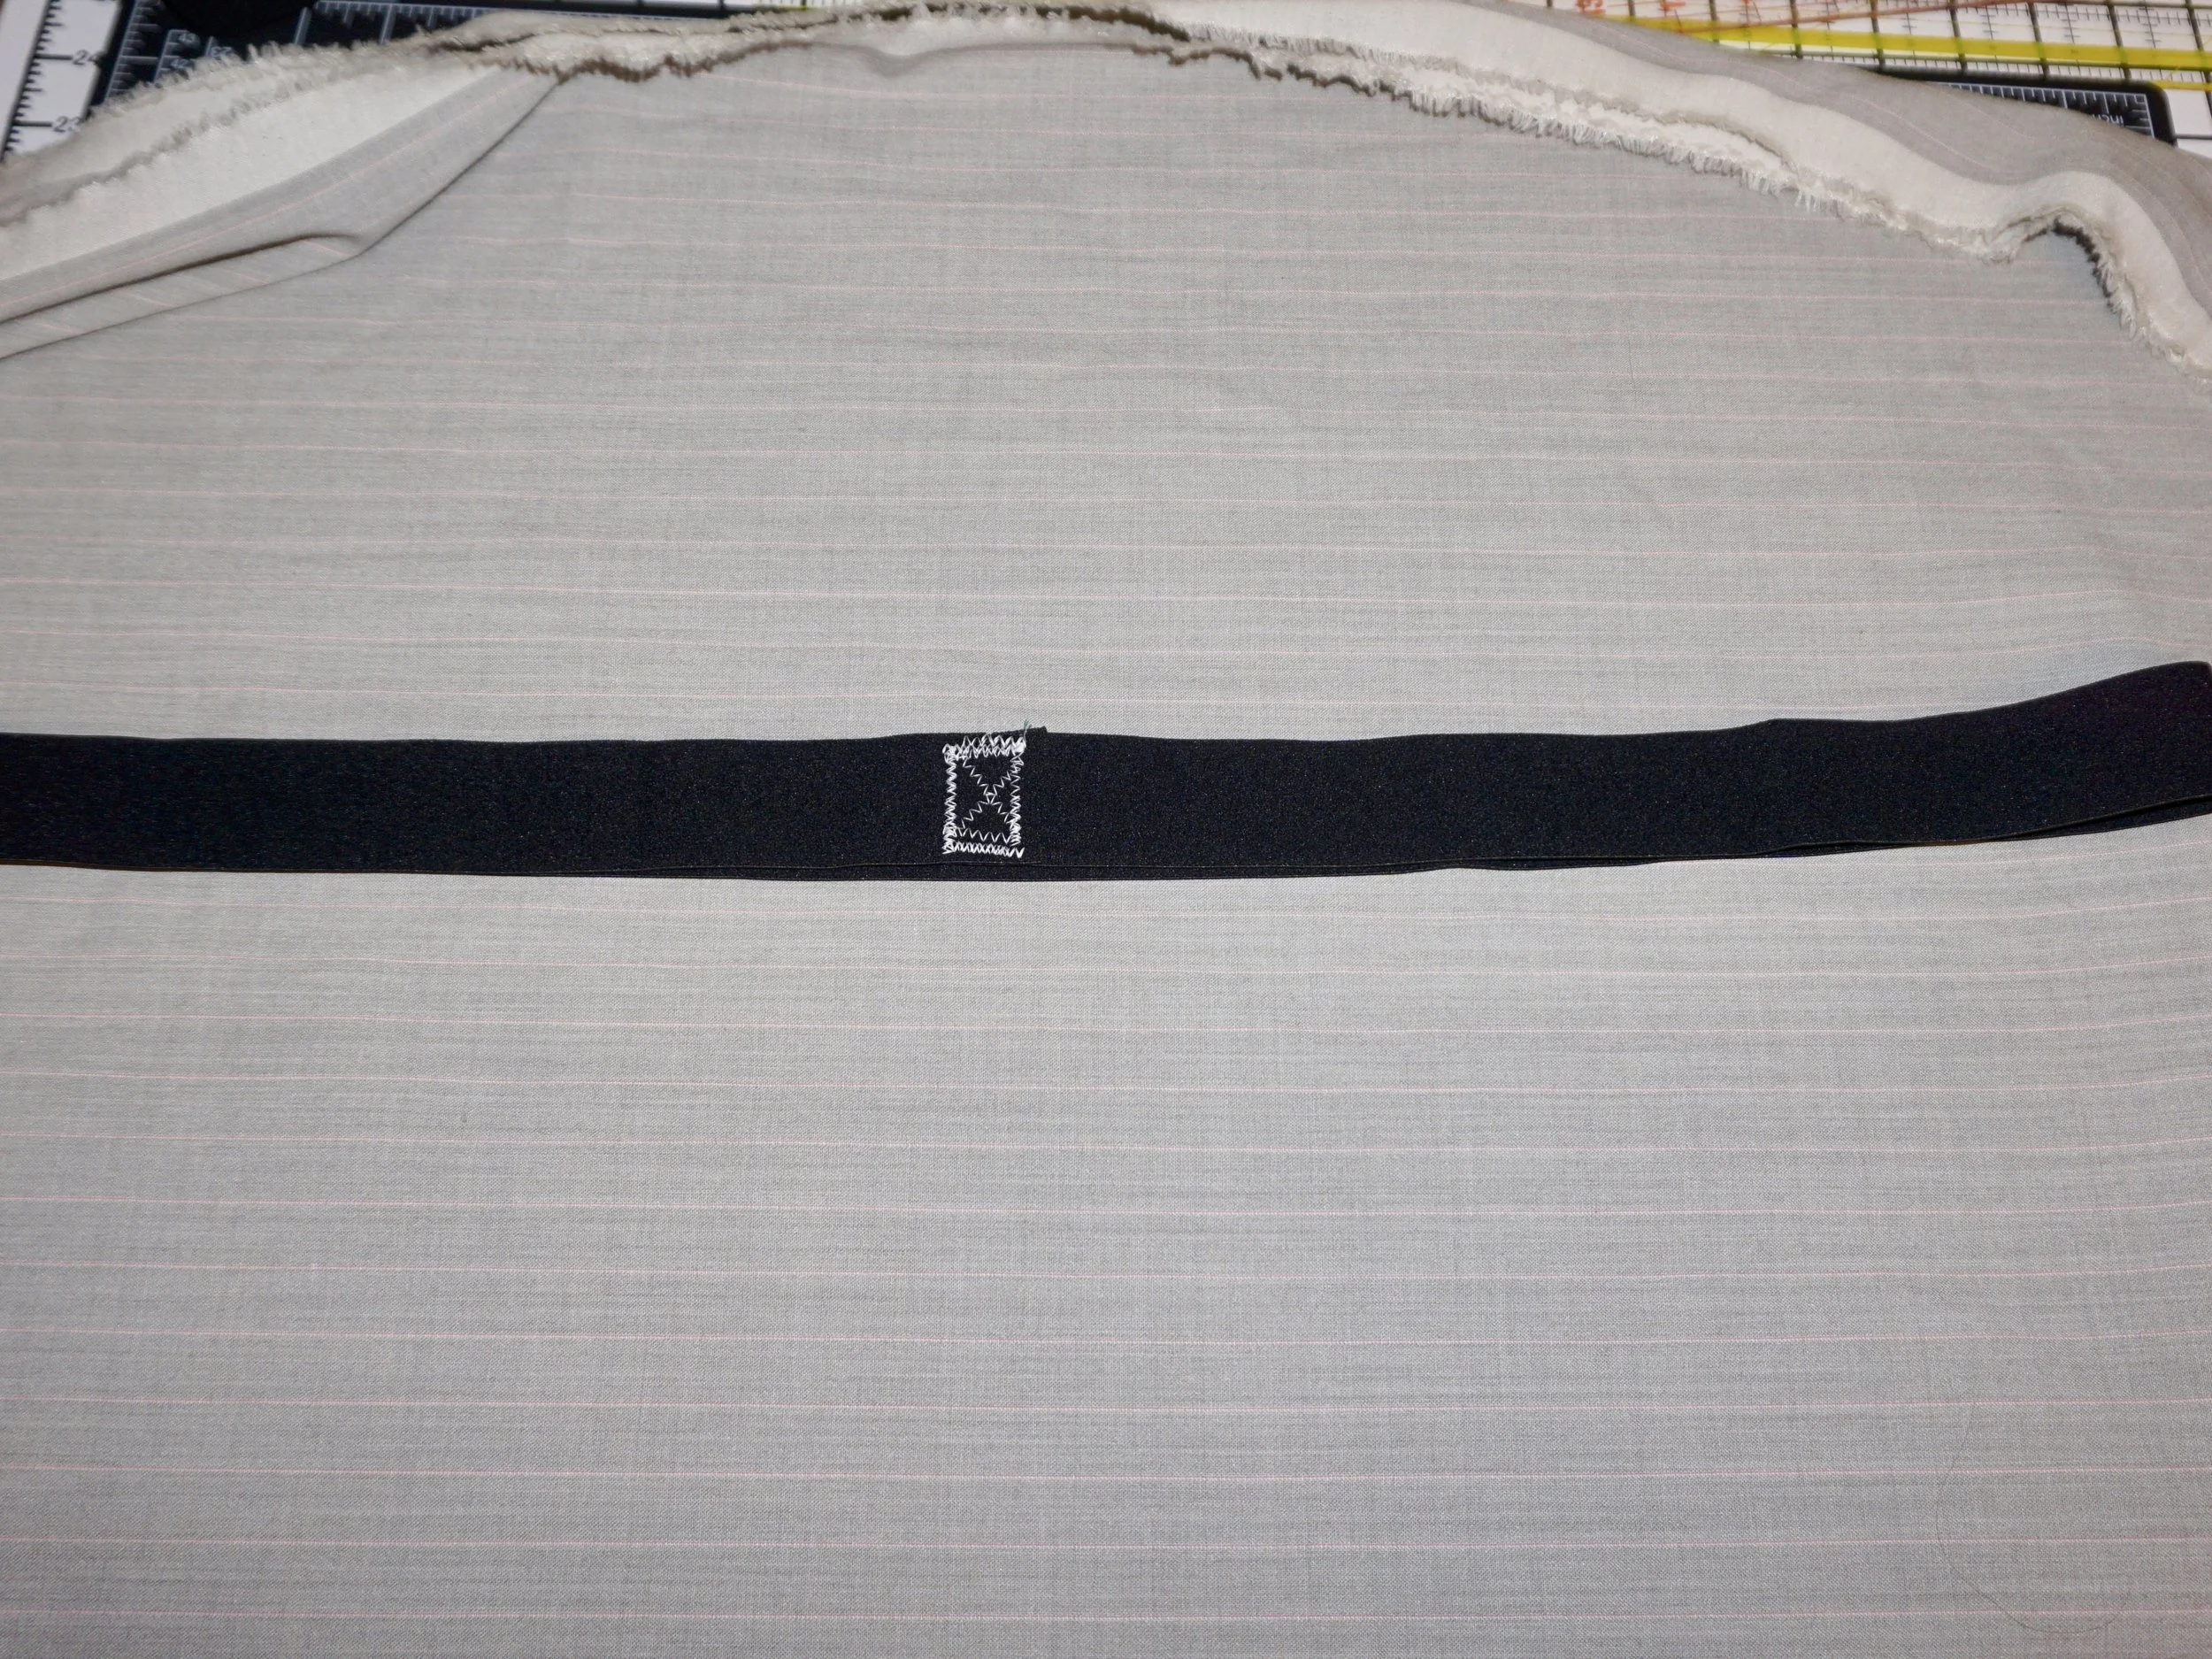
Step Two: Overlap the raw ends of the elastic and sew to create a loop. I like to use a narrow zig zag stitch and sew an x through a rectangle to reinforce the seam. If you want to be sure the skirt will fit, try on the elastic by pulling it around your waistband, and adjust the measurement before you do the next step.
Step Three: Bubble Hem Skirt
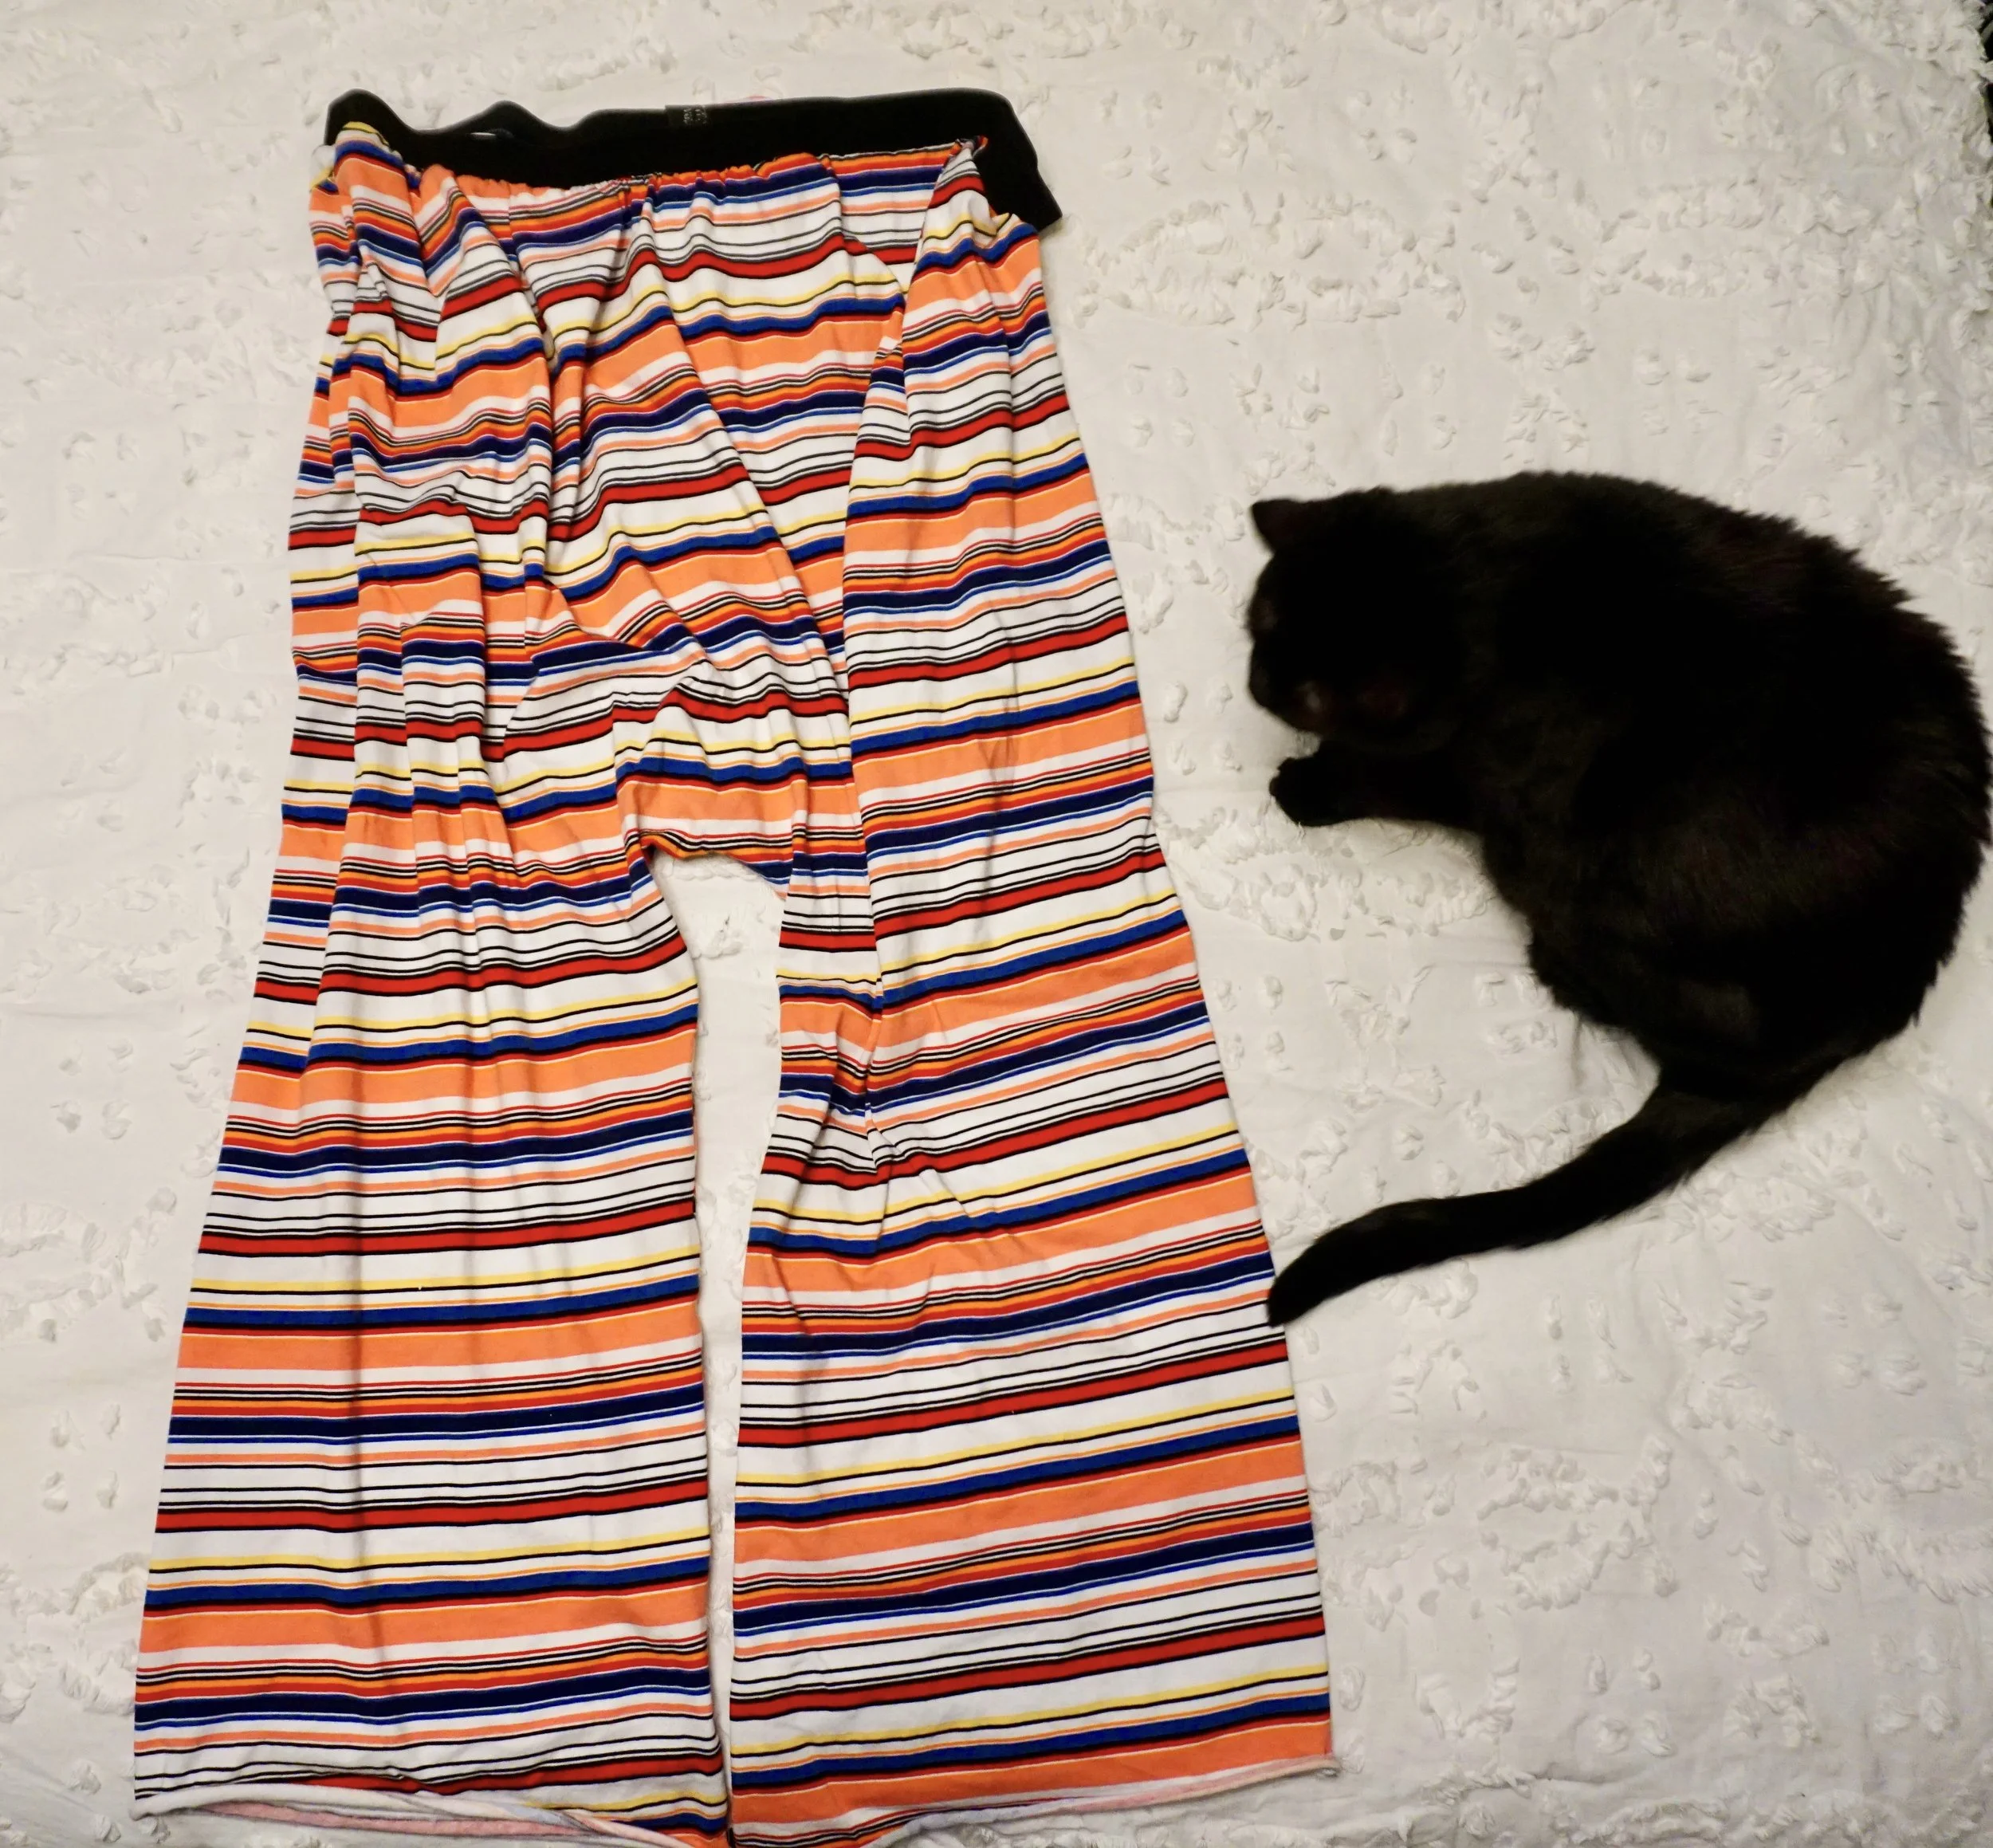
Step Three: Next up is measuring and cutting out the skirt fabric. If you are using stretchy fabric, you may want the stretch to go horizontally along the width of the skirt. First, stretch the elastic loop as far as it will go and then double the measurement. This will be the width of the skirting piece. I folded my fabric and stretched the elastic from the folded edge to the middle and approximated the width. The length of the fabric will be from your waistline to your ankle. So you will have a rectangle…mine was approx. 33 inches long. Wrap the piece of fabric around your hips to be sure it is big enough if you are in doubt. Be sure the width measurement is big enough to easily go around your widest point.

Step Four: Bubble Hem Skirt
Step Four: With right sides together, stitch along the seam that goes down the length of the fabric. My fabric was stretchy so I did a small zig zag stitch. (You don’t have to use stretchy fabric, any lightweight fabric will work.)

Step Five: Bubble Hem Skirt
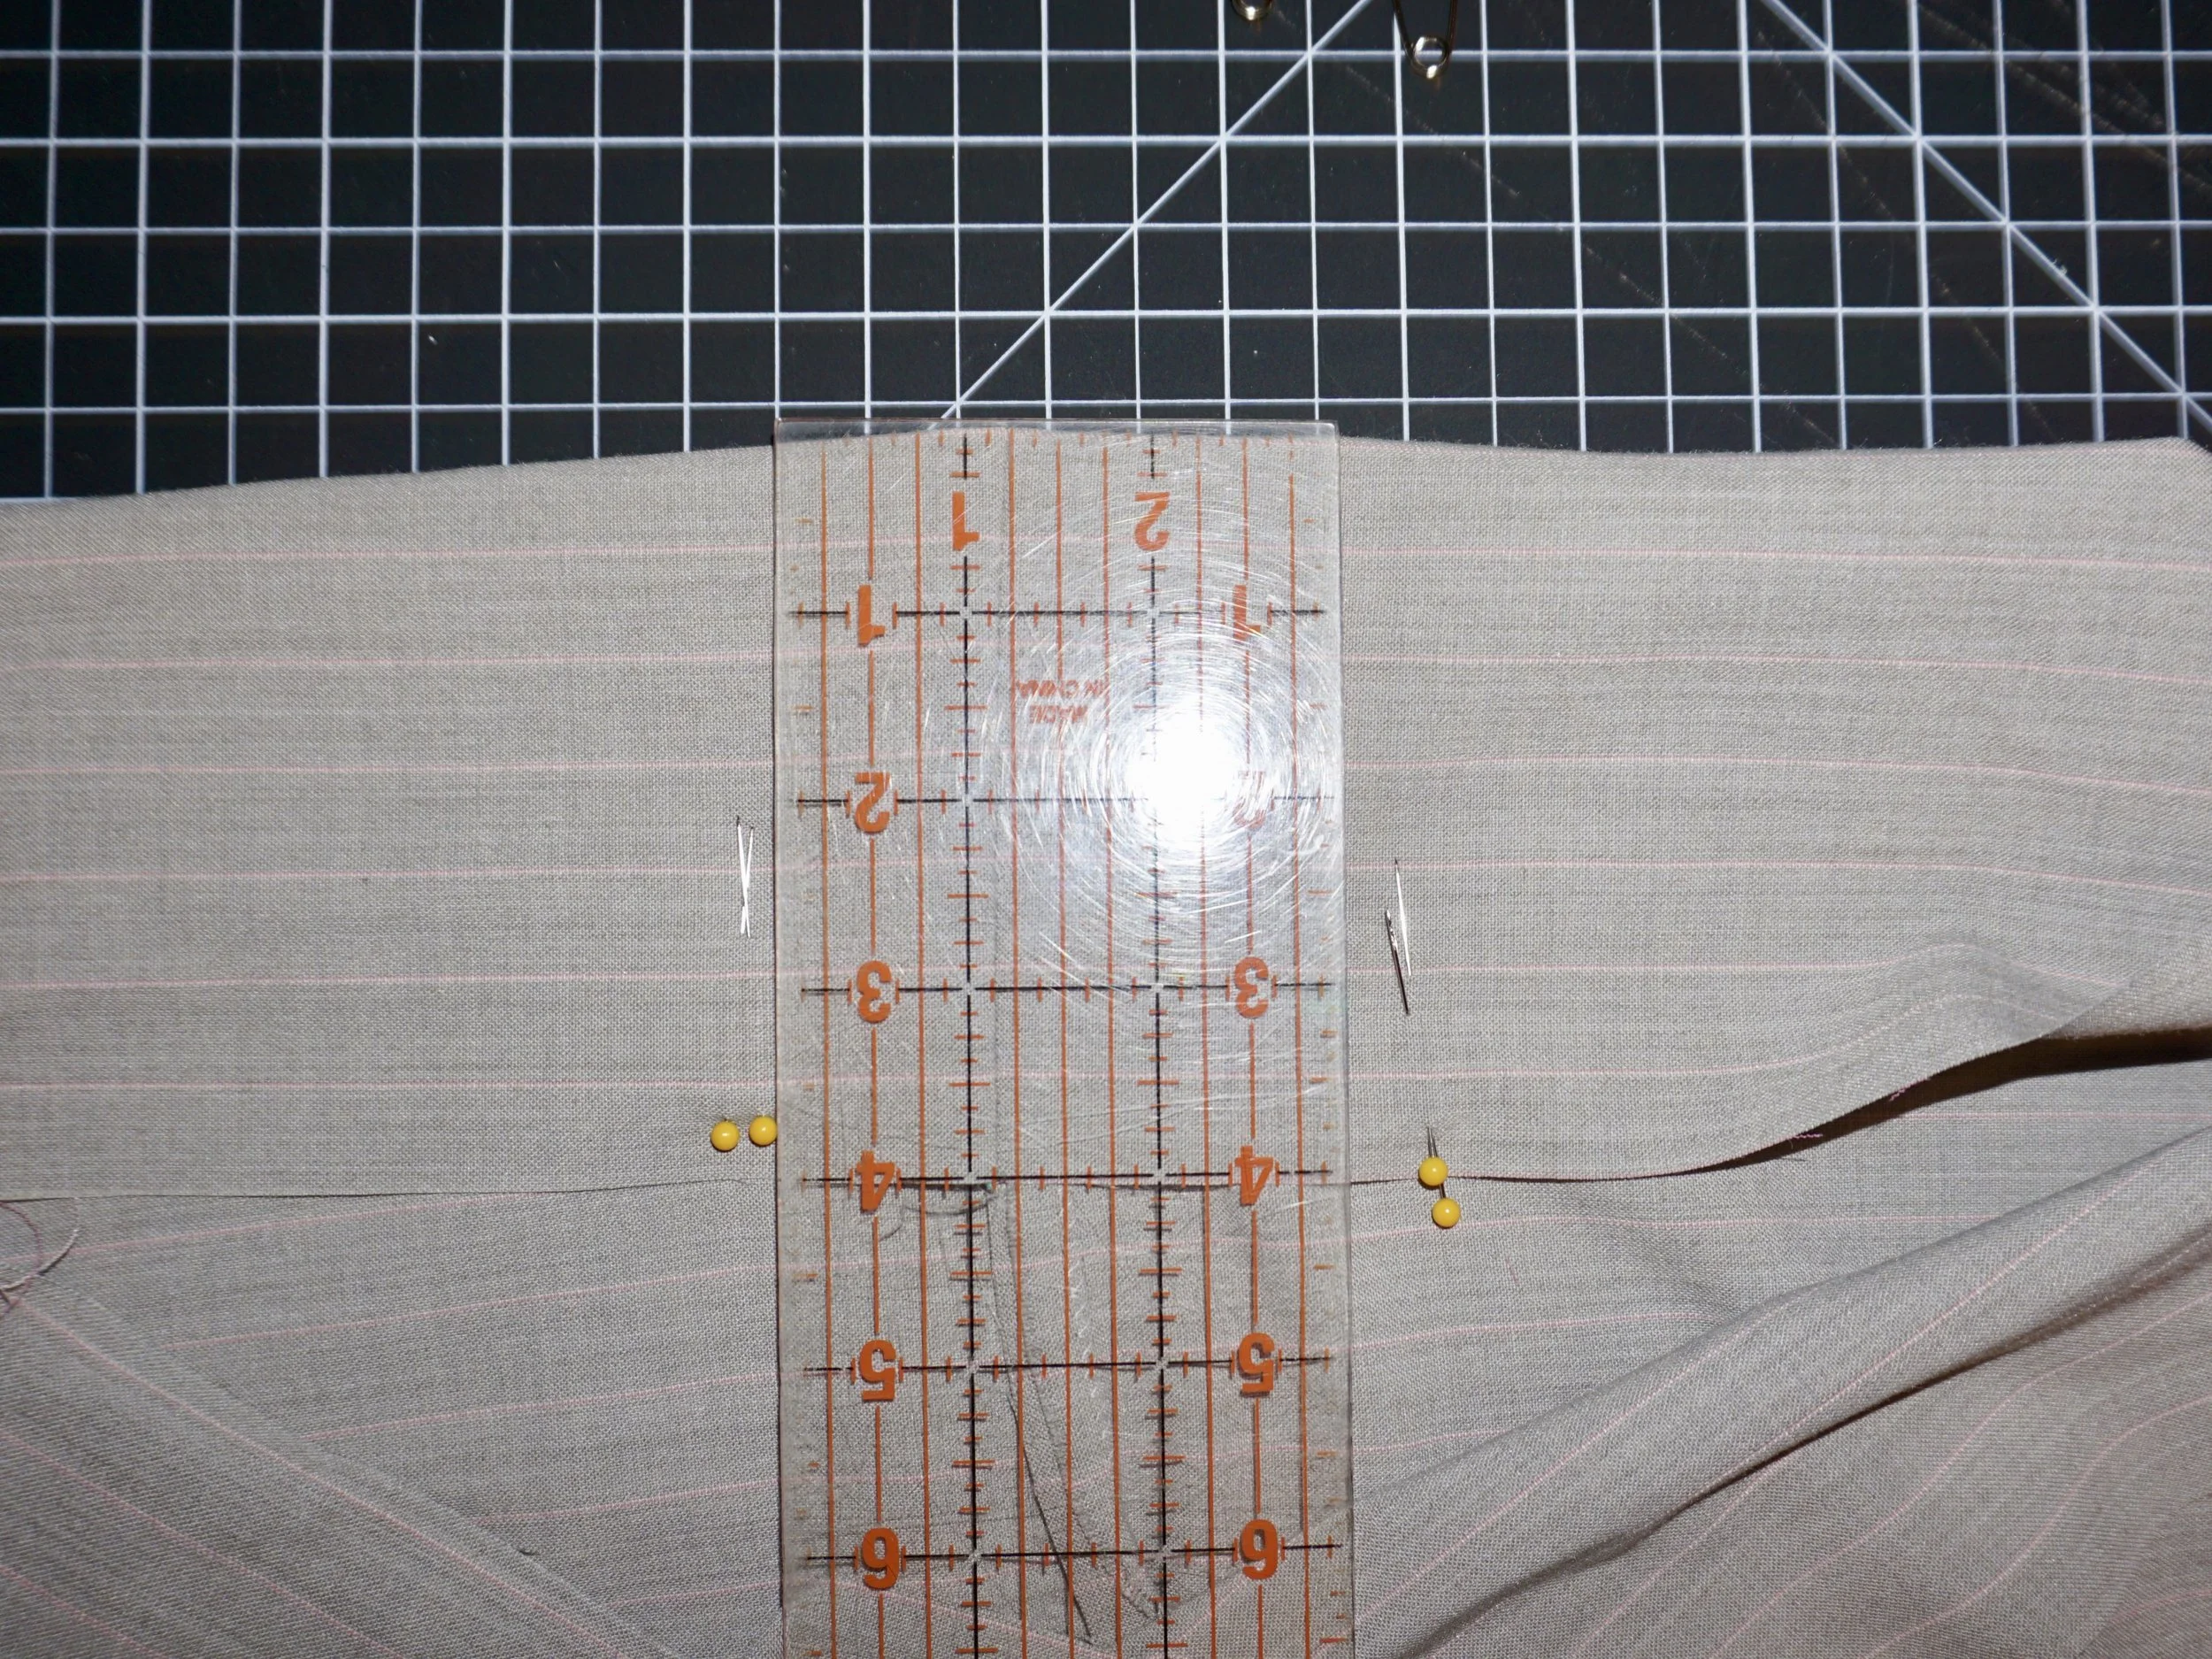
Step Five: Divide the elastic into four equal sections, then do the same for the waistline of the skirt. Place a pin at each point. Next, line up the pins on the elastic and the waistline hem and attach. The fabric will be loose in between the pins. Sew the elastic onto the waistline hem, being sure to pull the elastic tight as you go so that the fabric and elastic line up and lay flat when sewing. It helps to hold on to the elastic behind the sewing needle and in front of it.
Step Six: Bubble Hem Skirt
Step Six: Using a ruler to measure the hemline, fold the hem under three to four inches and pin as you go. I left an opening to thread my elastic through, but wound up closing the opening and hemming the skirt again. If you want a longer skirt, you can skip the next step and go ahead with the elastic after you sew the first hem. Stitch the first hem, I used a zig zag stitch set to five.
Step Seven: Bubble Hem Skirt
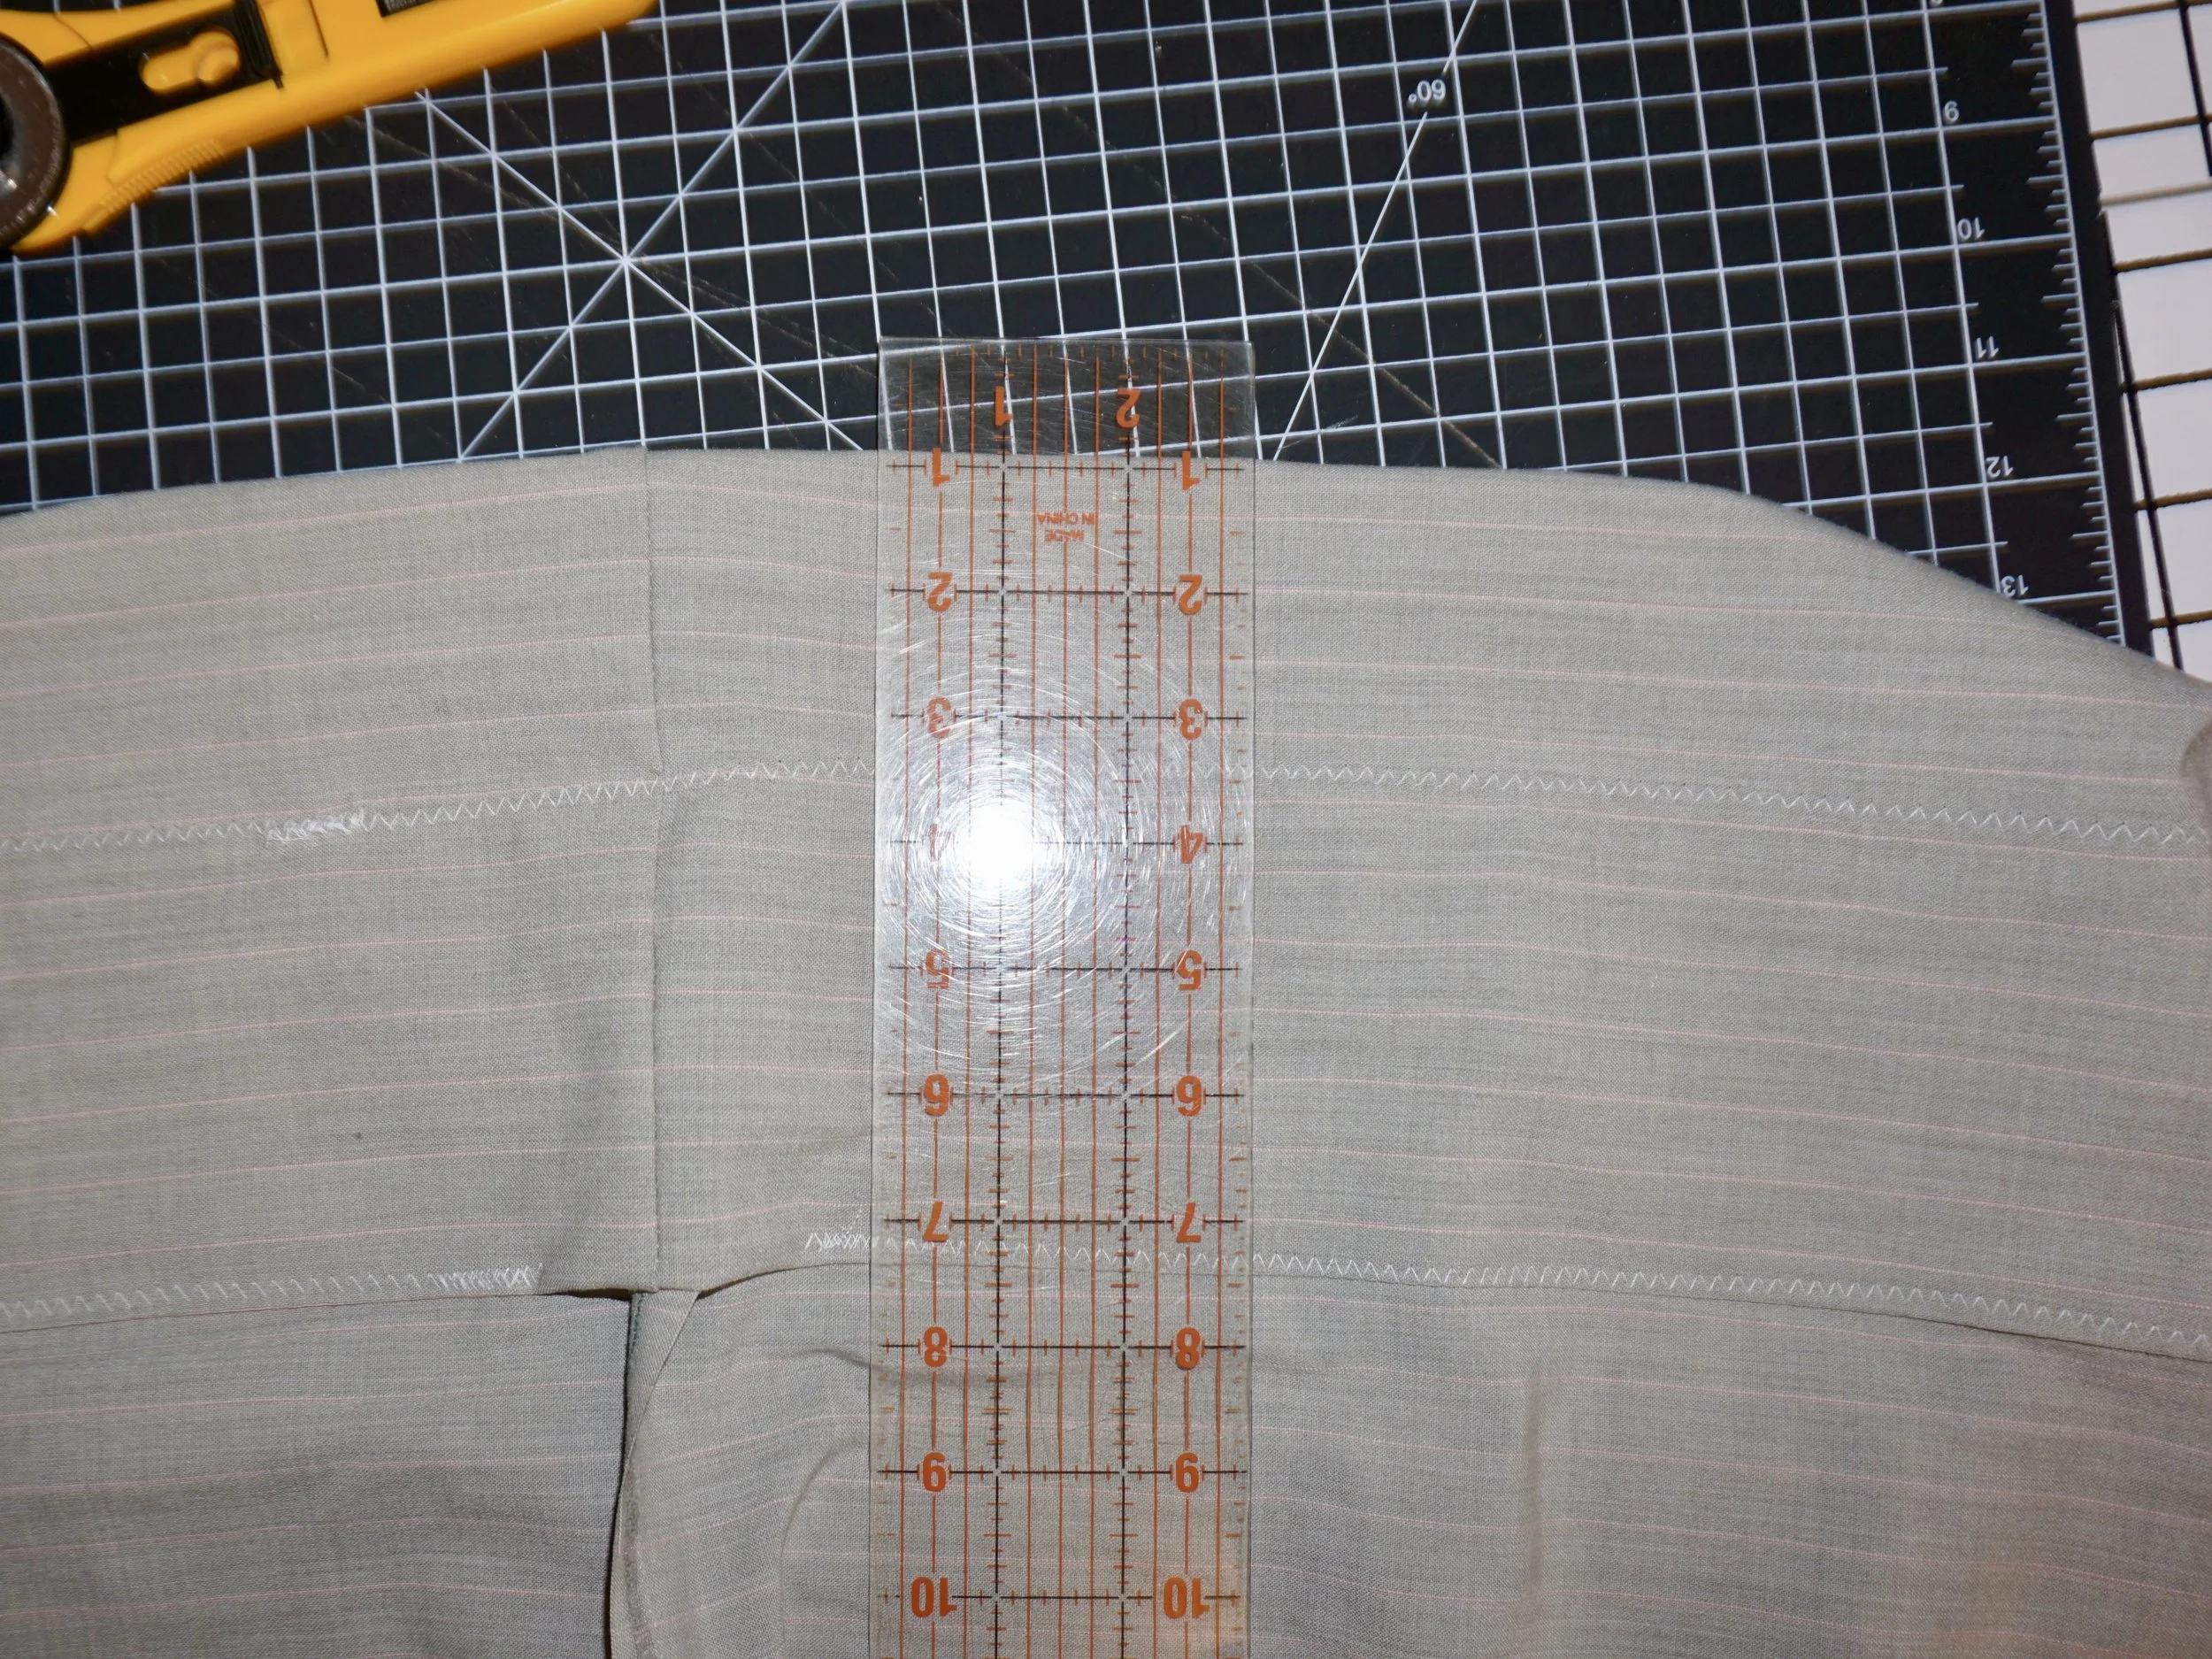
Step Seven: Try on the skirt at this point. When I did, I realized I wanted the hem to be much shorter. If you like where the hemline hits at this stage, skip to the next step. I folded my hem up another six inches and sewed it down with another zig zag stitch, leaving an opening about three inches wide at the middle back. The extra fabric bulkiness adds to the overall effect. Be sure you fold the hem further than where the bottom of the original hem hit, so that the bottom of the hemline is just two layers of fabric. This will add to the light fluffy look of the bubble hem.

Step Eight: Bubble Hem Skirt
Step Eight: Cut a piece of elastic about 25 to 30 inches long. Pin one end to the opening in the hemline, then place a pin in the other end. Feed the elastic through the hem, like you would if you were making a drawstring bag. Once you go all the way around and have both ends of elastic through the hemline, pull on the elastic. Adjust the fabric along the elastic until you get the bubble hem look. You can pin together the elastic at this point to try on the skirt again before the final step if you want to. Next, sew the elastic together and cut off the remainder and close the opening.
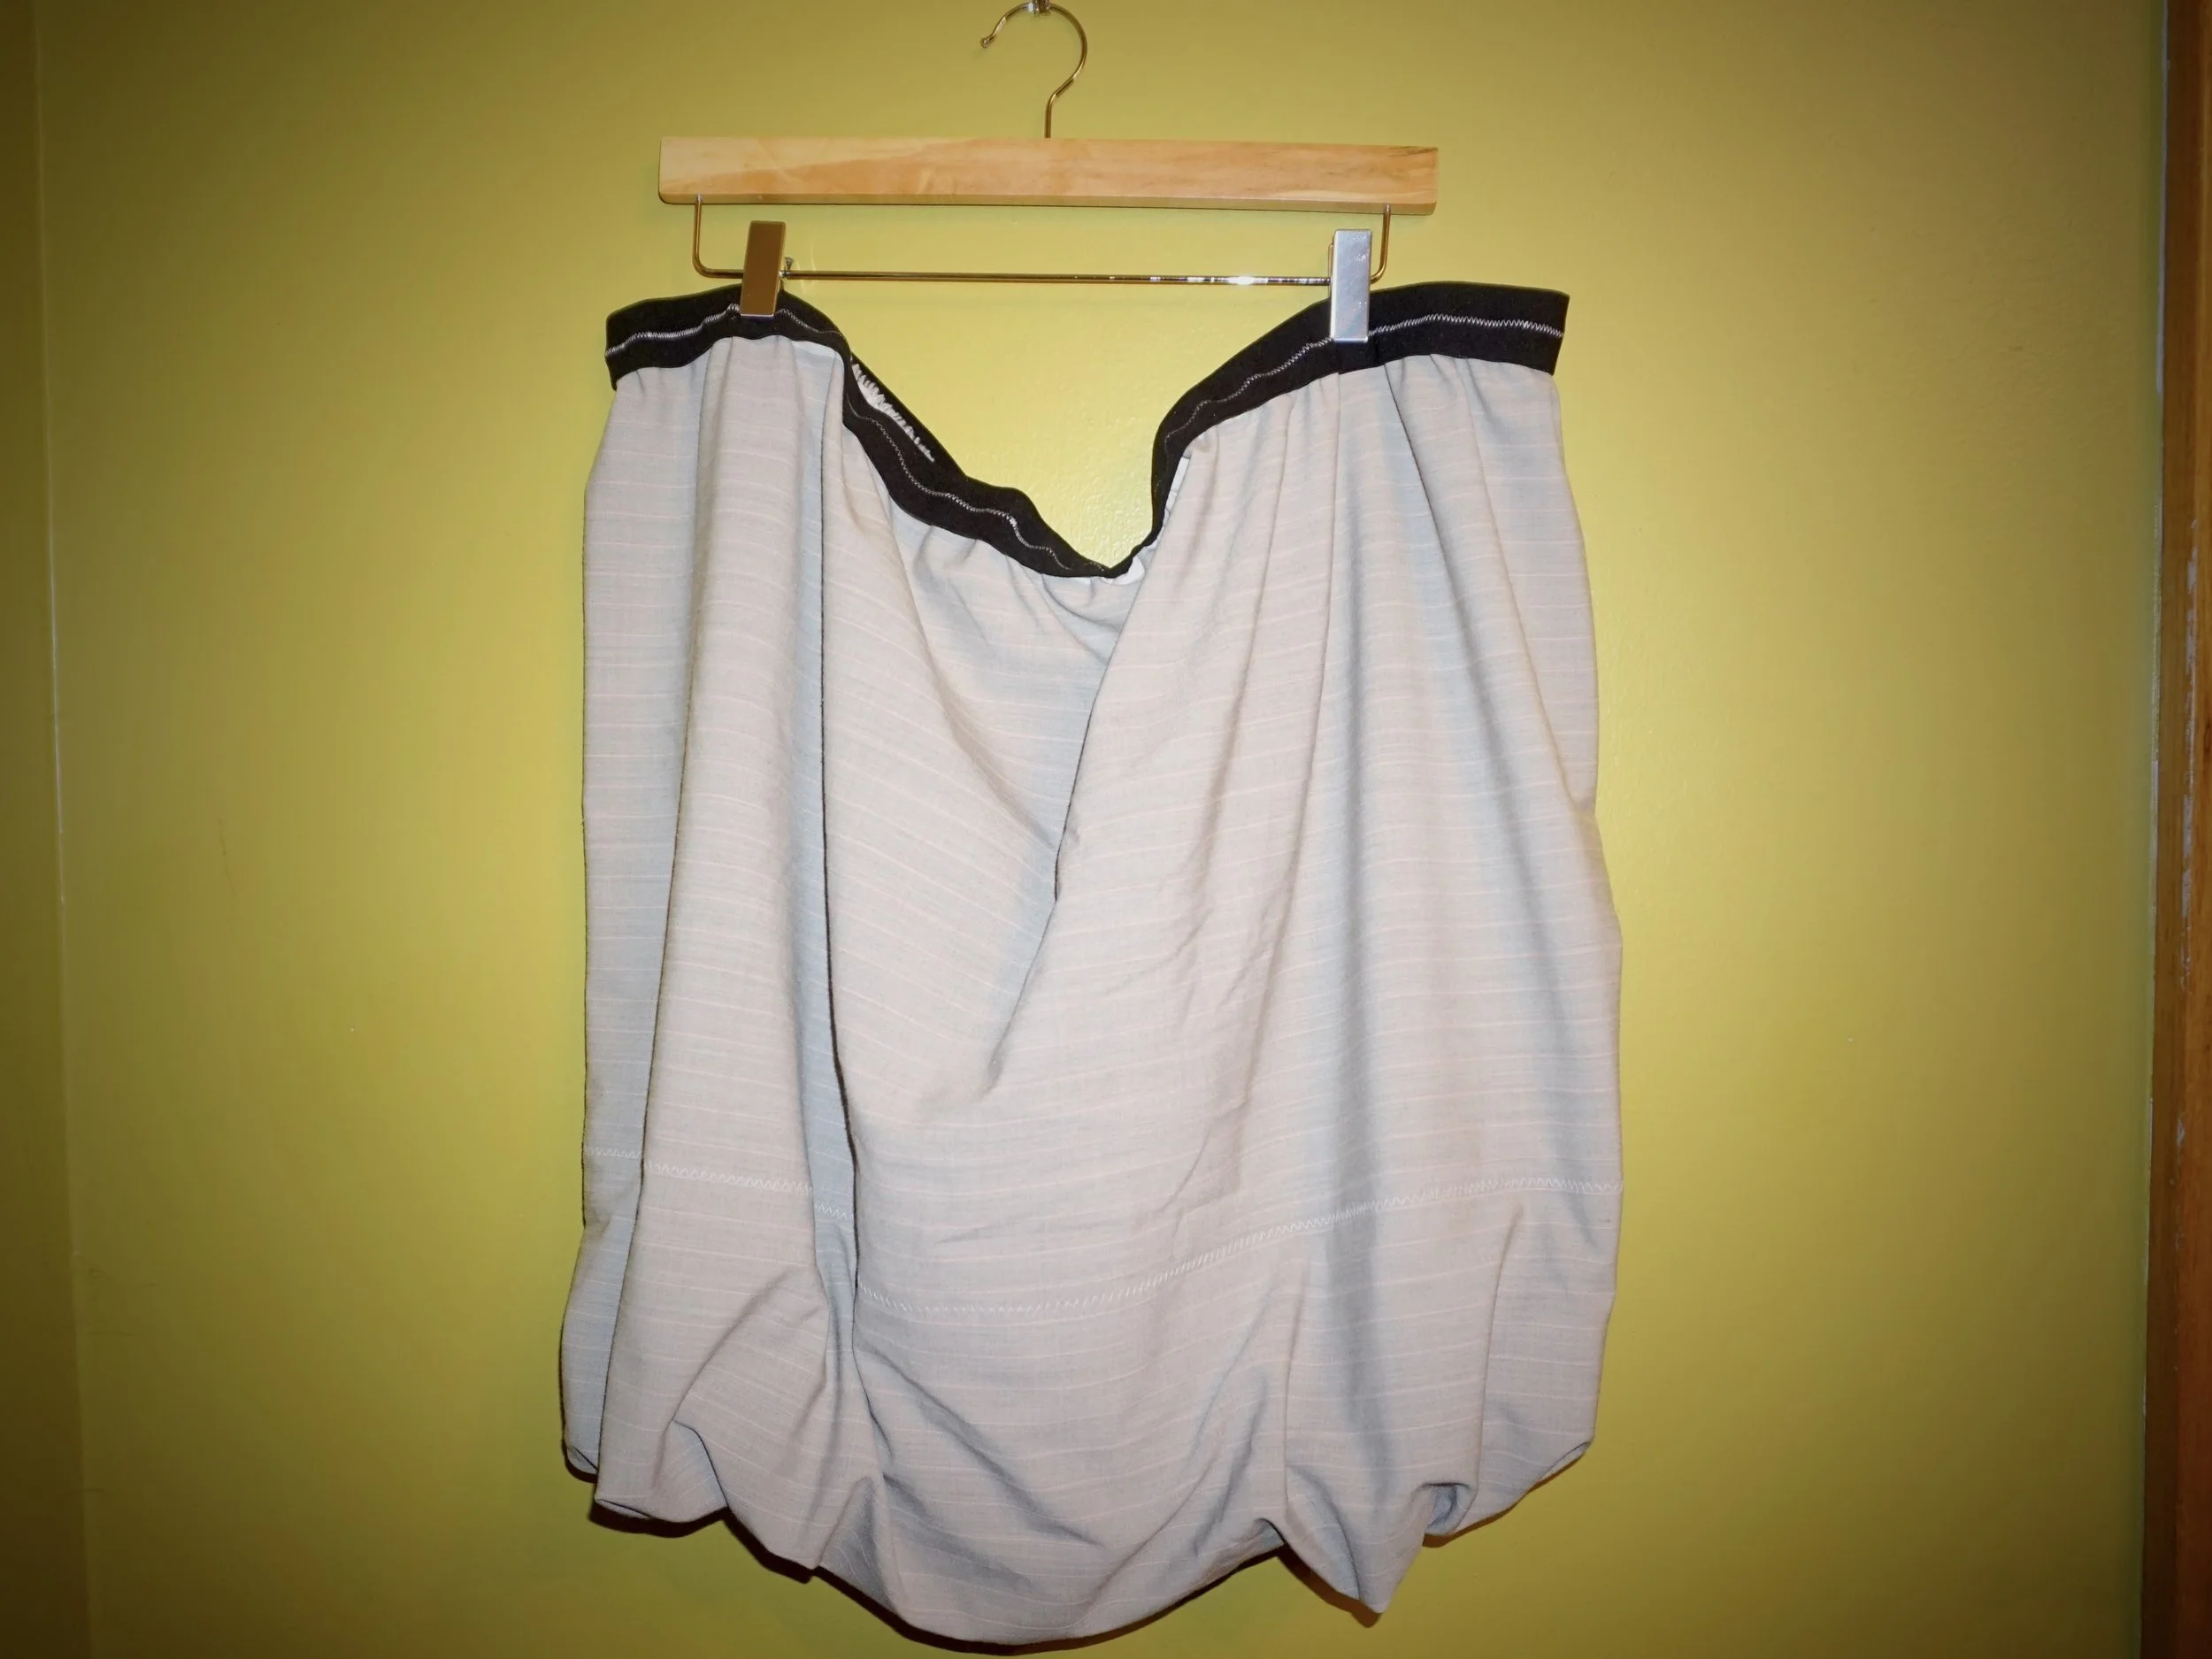
Rock this Bubble Hem Skirt by Kathryn Sturges