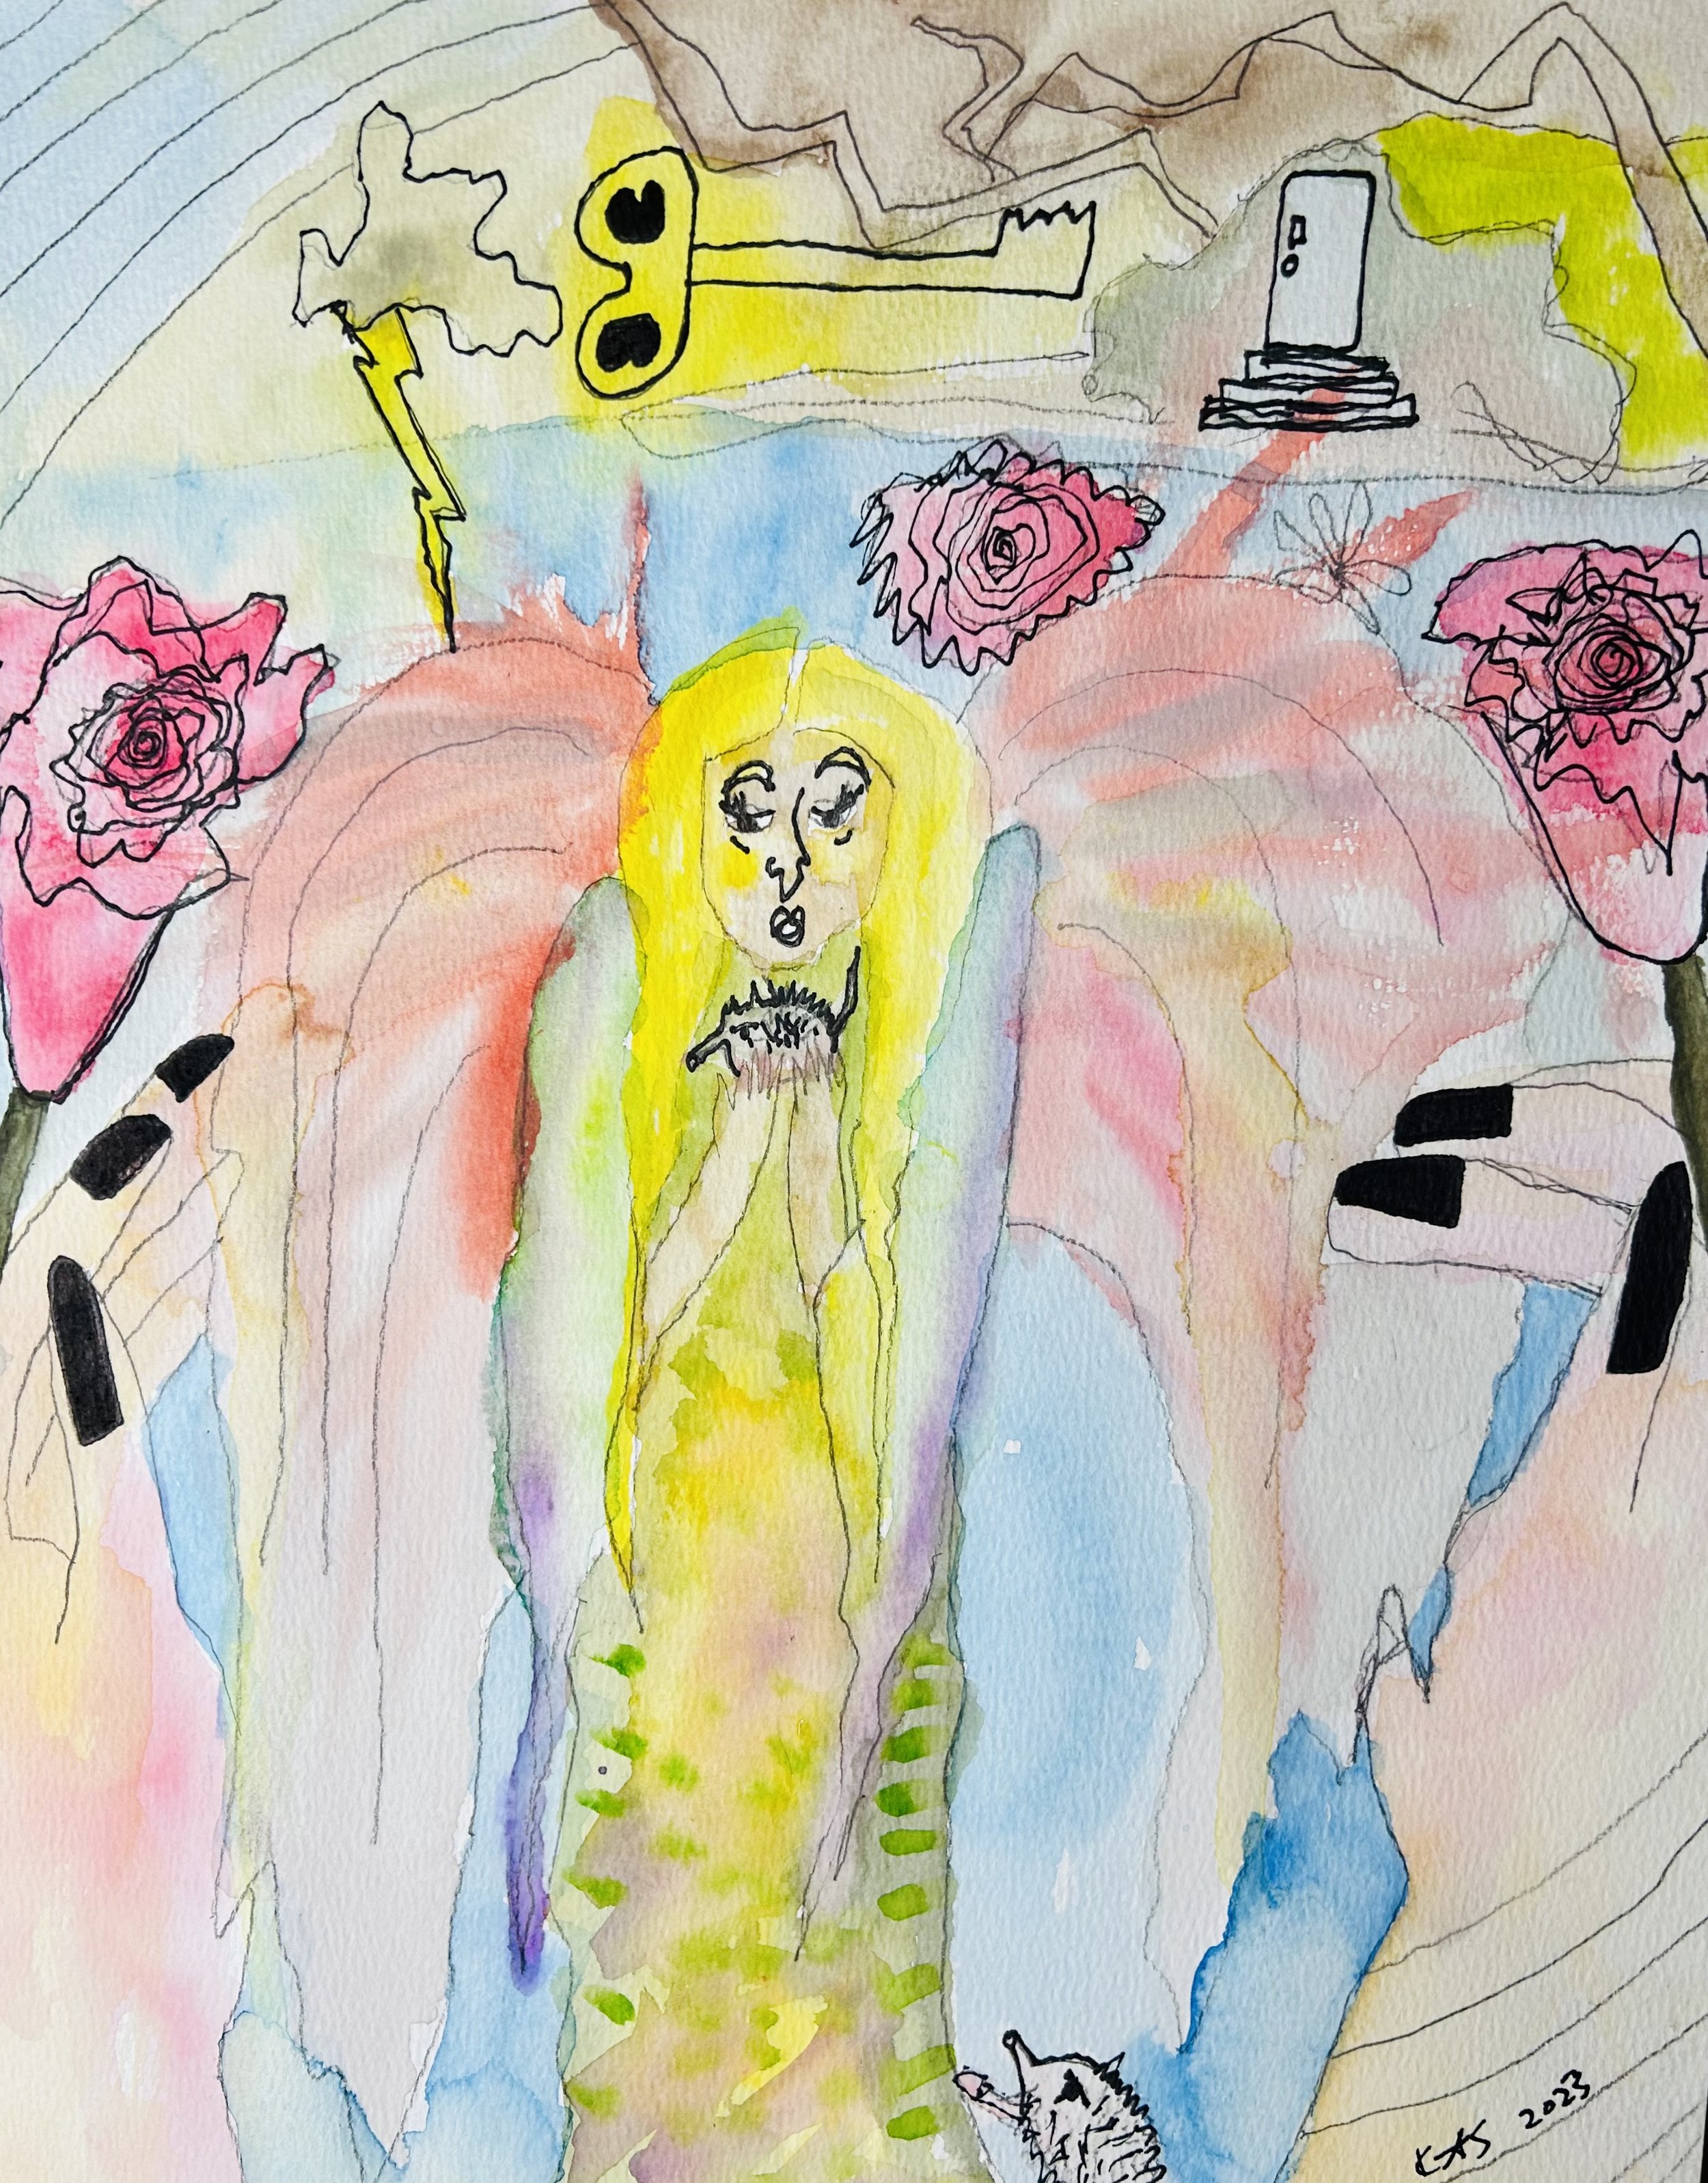
I’ve been obsessed with legacy for many years now. I never had children and don’t plan to, and my social circle is very small. I have long wondered, how will I be remembered and what will I leave behind? What will my legacy be? Lately with so many health scares going on for my husband and I it has me wondering, what is all this for? Do these ideas even matter? When I stand at the pearly gates, surely I will be recounting the kind of person I was…not the things I made.
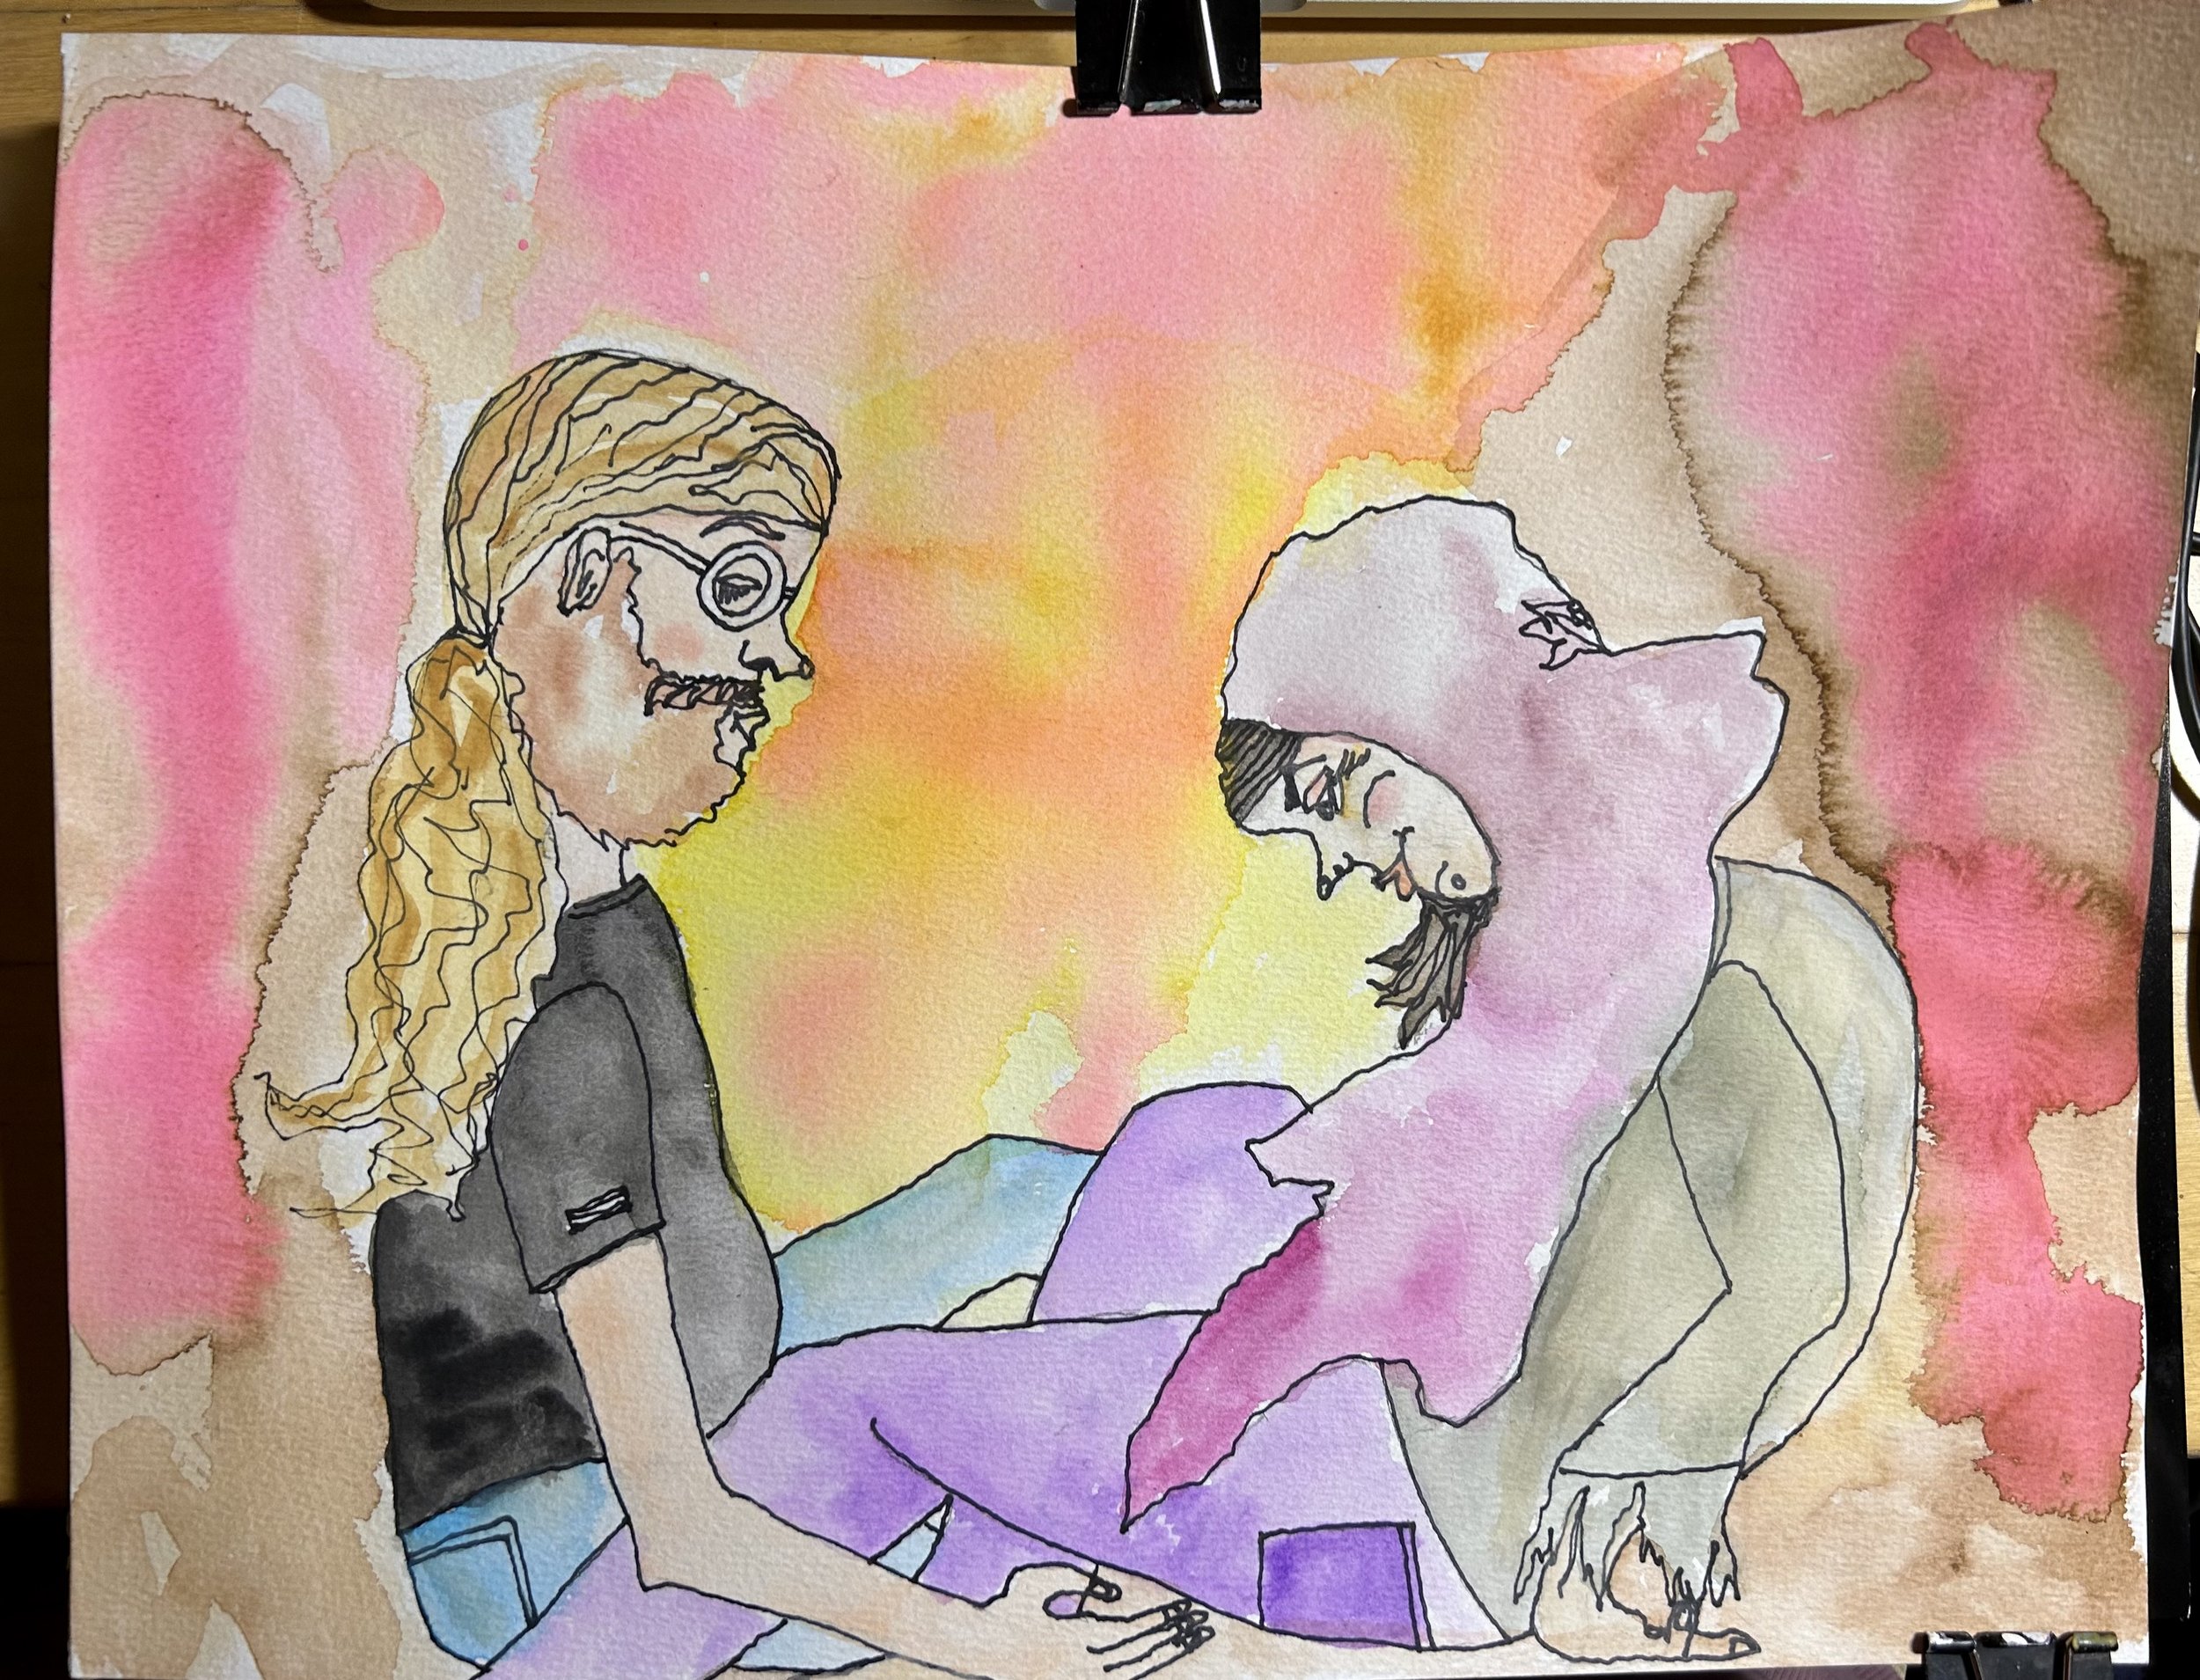
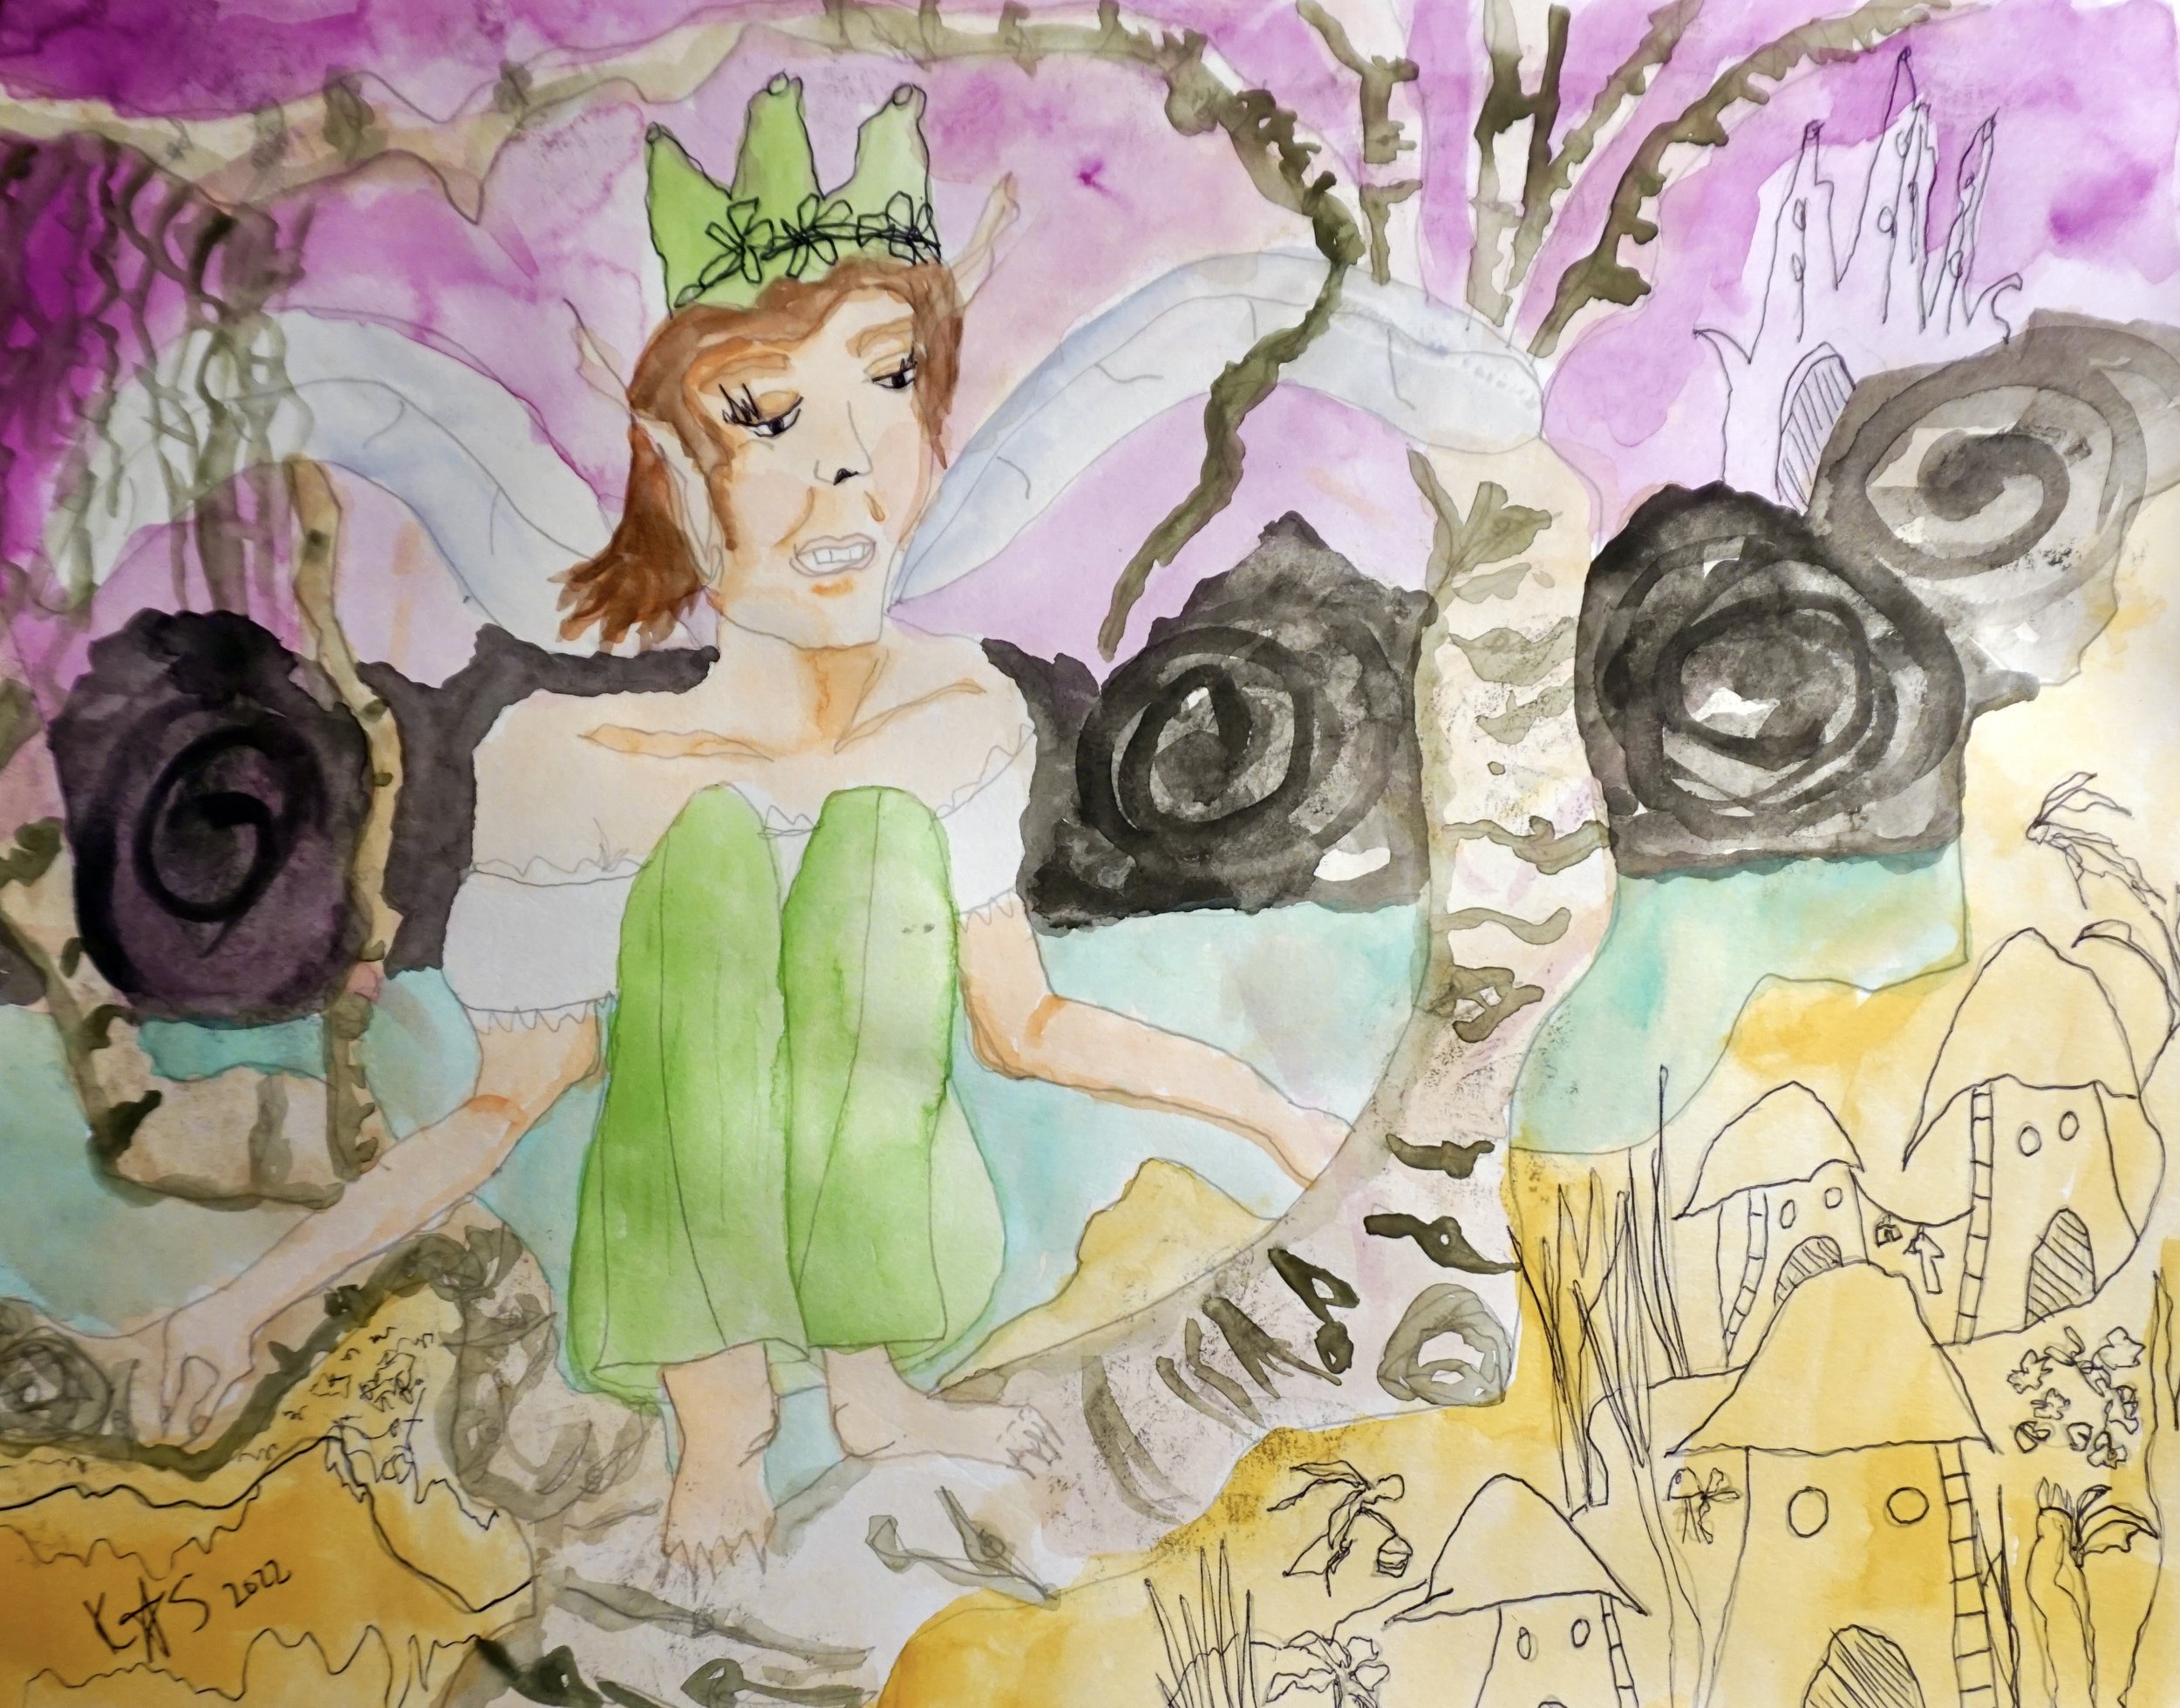
And yet…there is still a part of me who clings to the materials that my hands have collected. There is still a part of me who knows it is important…even if it is only important to me and those closest to me. Lately I’ve been getting really into the idea of journaling on fabric. I’m calling this upcoming series “Journal Quilts”. I want this series to be all about self-expression and quilt making.
Cas Holmes has some books out on using quilts to document life. She uses snippets of imagery and fodder from life, embroidery and slow stitching, along with printing on fabric to create these memory style quilts. I’m wondering though…does it need to be even that difficult? Basic marker and fabric paints can accomplish a whole lot in a poetic style…something immediate where the creative process is more like art journaling only on fabric.
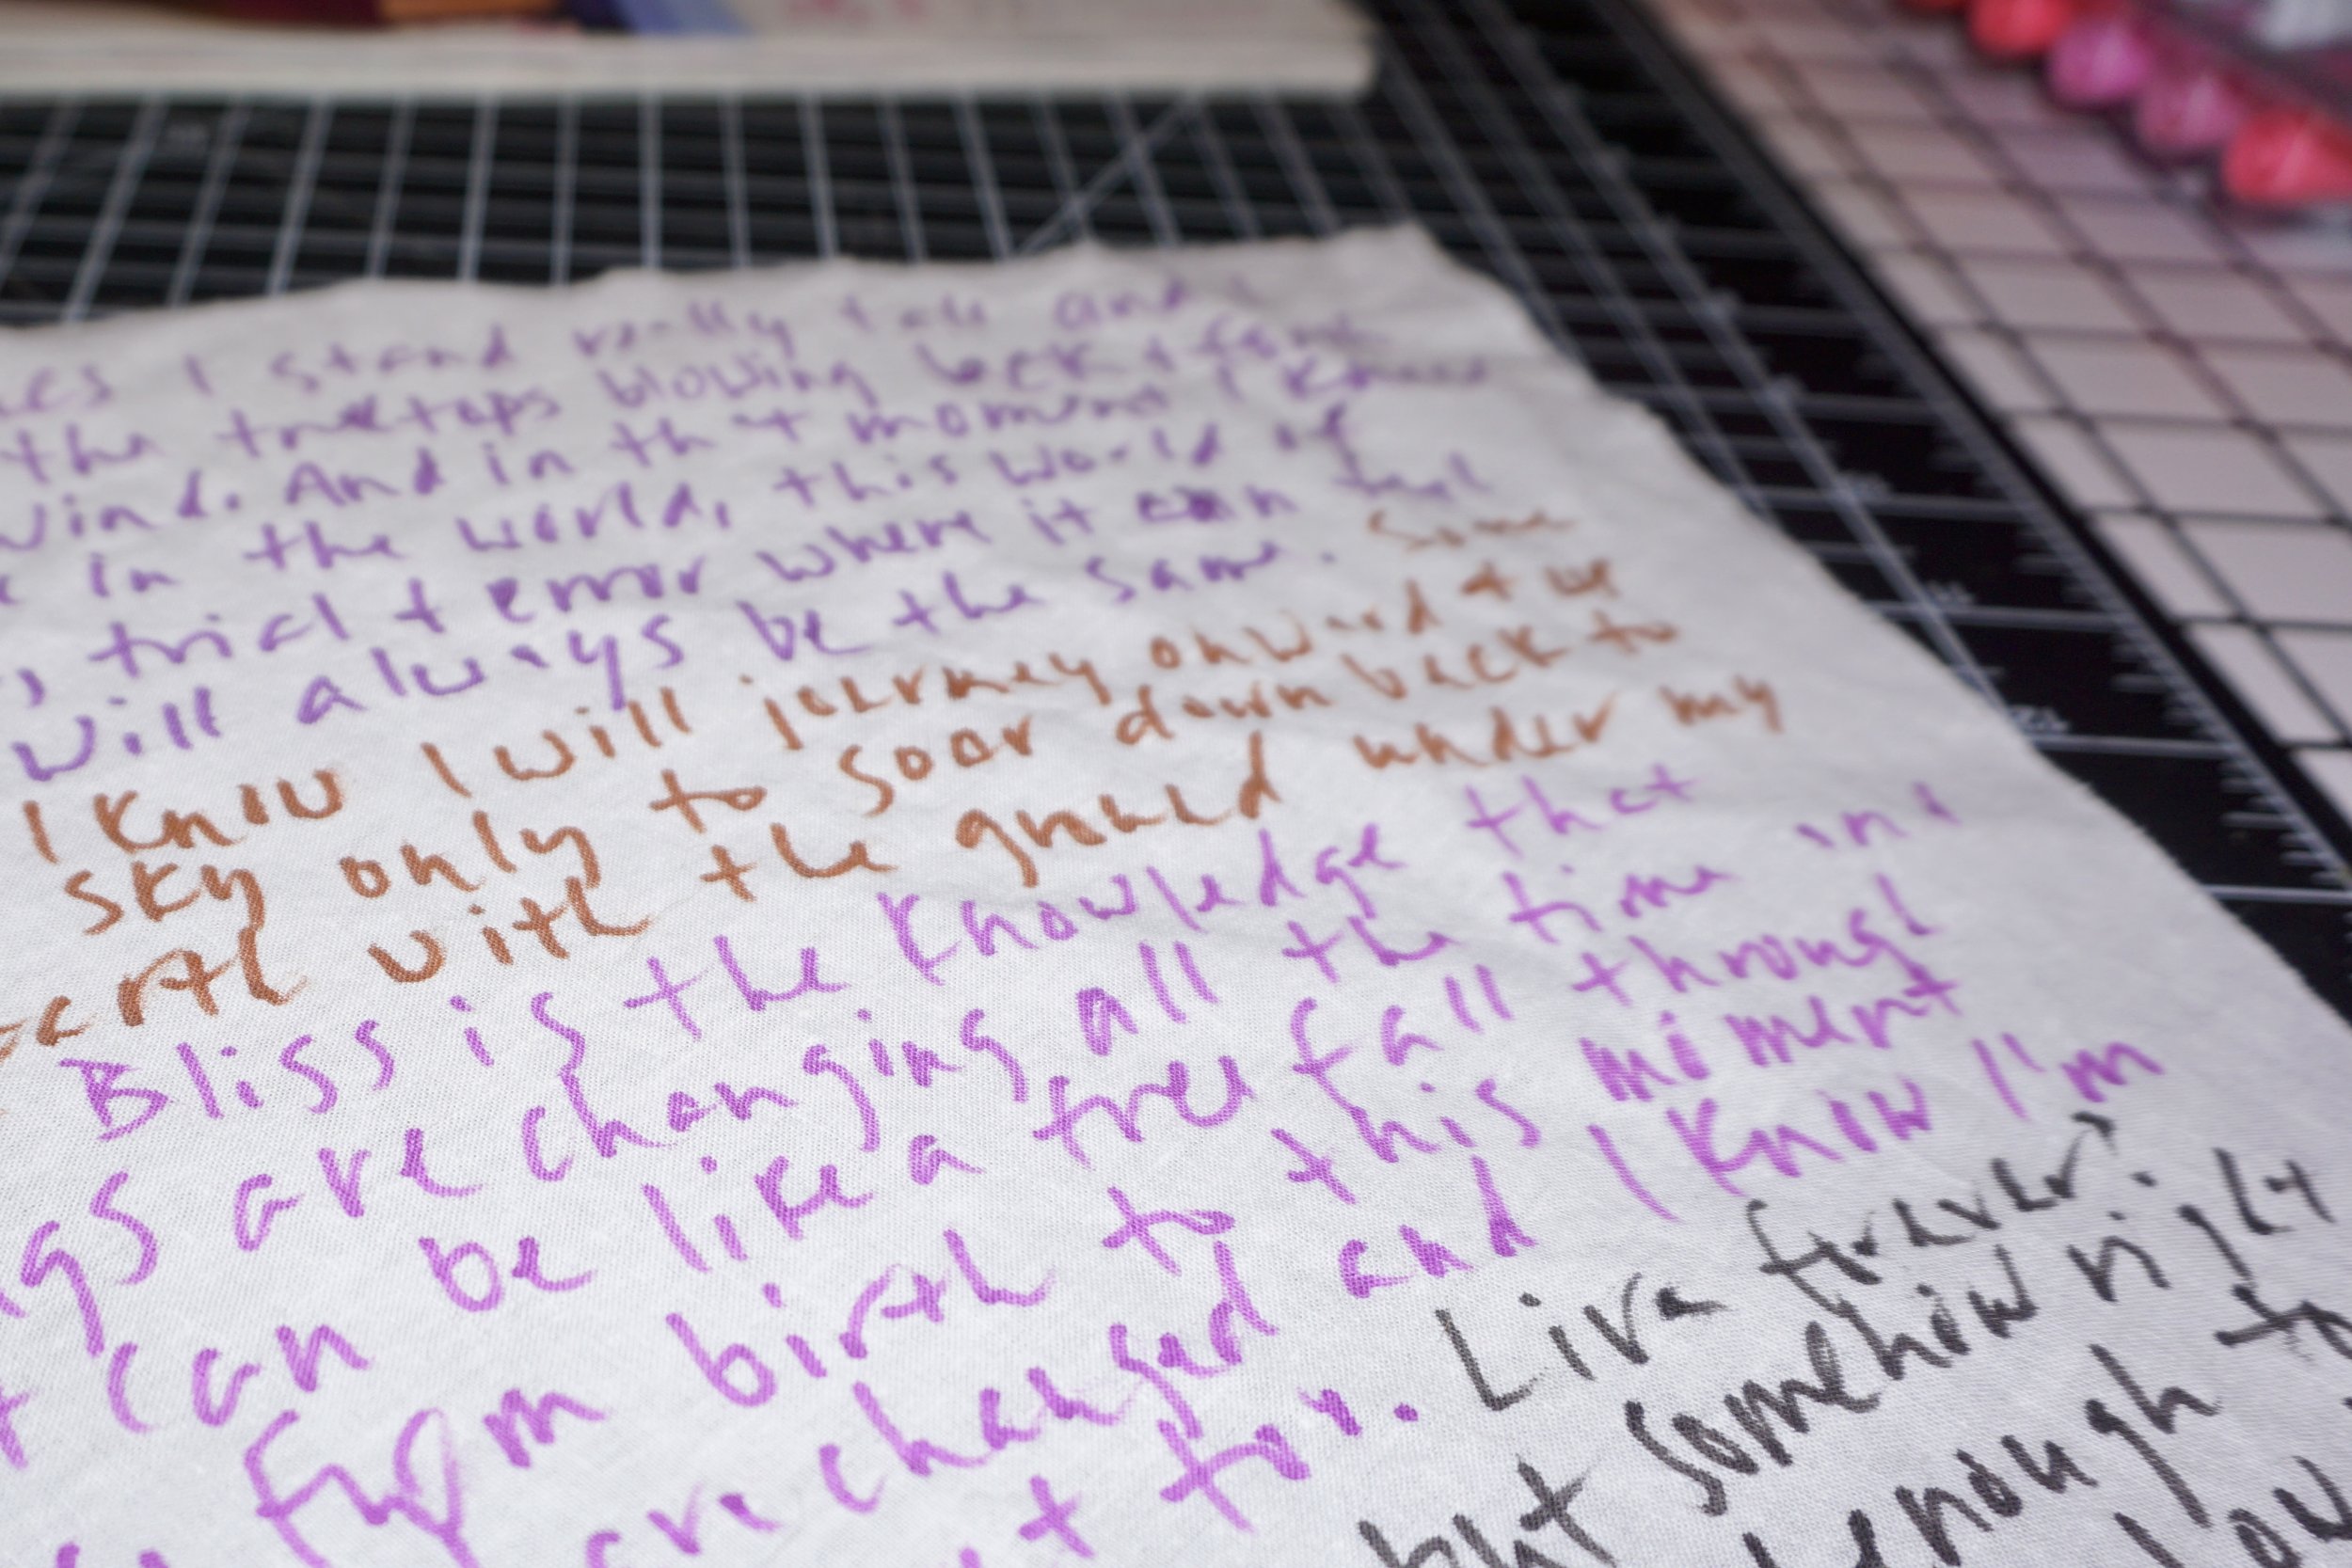
I’ve been an avid journaler for over ten years now! It all started when I read the Artist’s Way and started writing three pages in my composition book every morning. I never could have expected how much that habit would come to mean to me over the years! I pour out my heart and soul across the page, write down my thoughts on life and philosophy, and feel all the feels on those pages. When I complete a journal, I always throw it away to begin a new chapter. The journals are not really meant to be reread when they are complete, although sometimes I flip back through to see what I’ve been experiencing over the last month or two. More so though they are a way for me to process my life and emotional landscape.
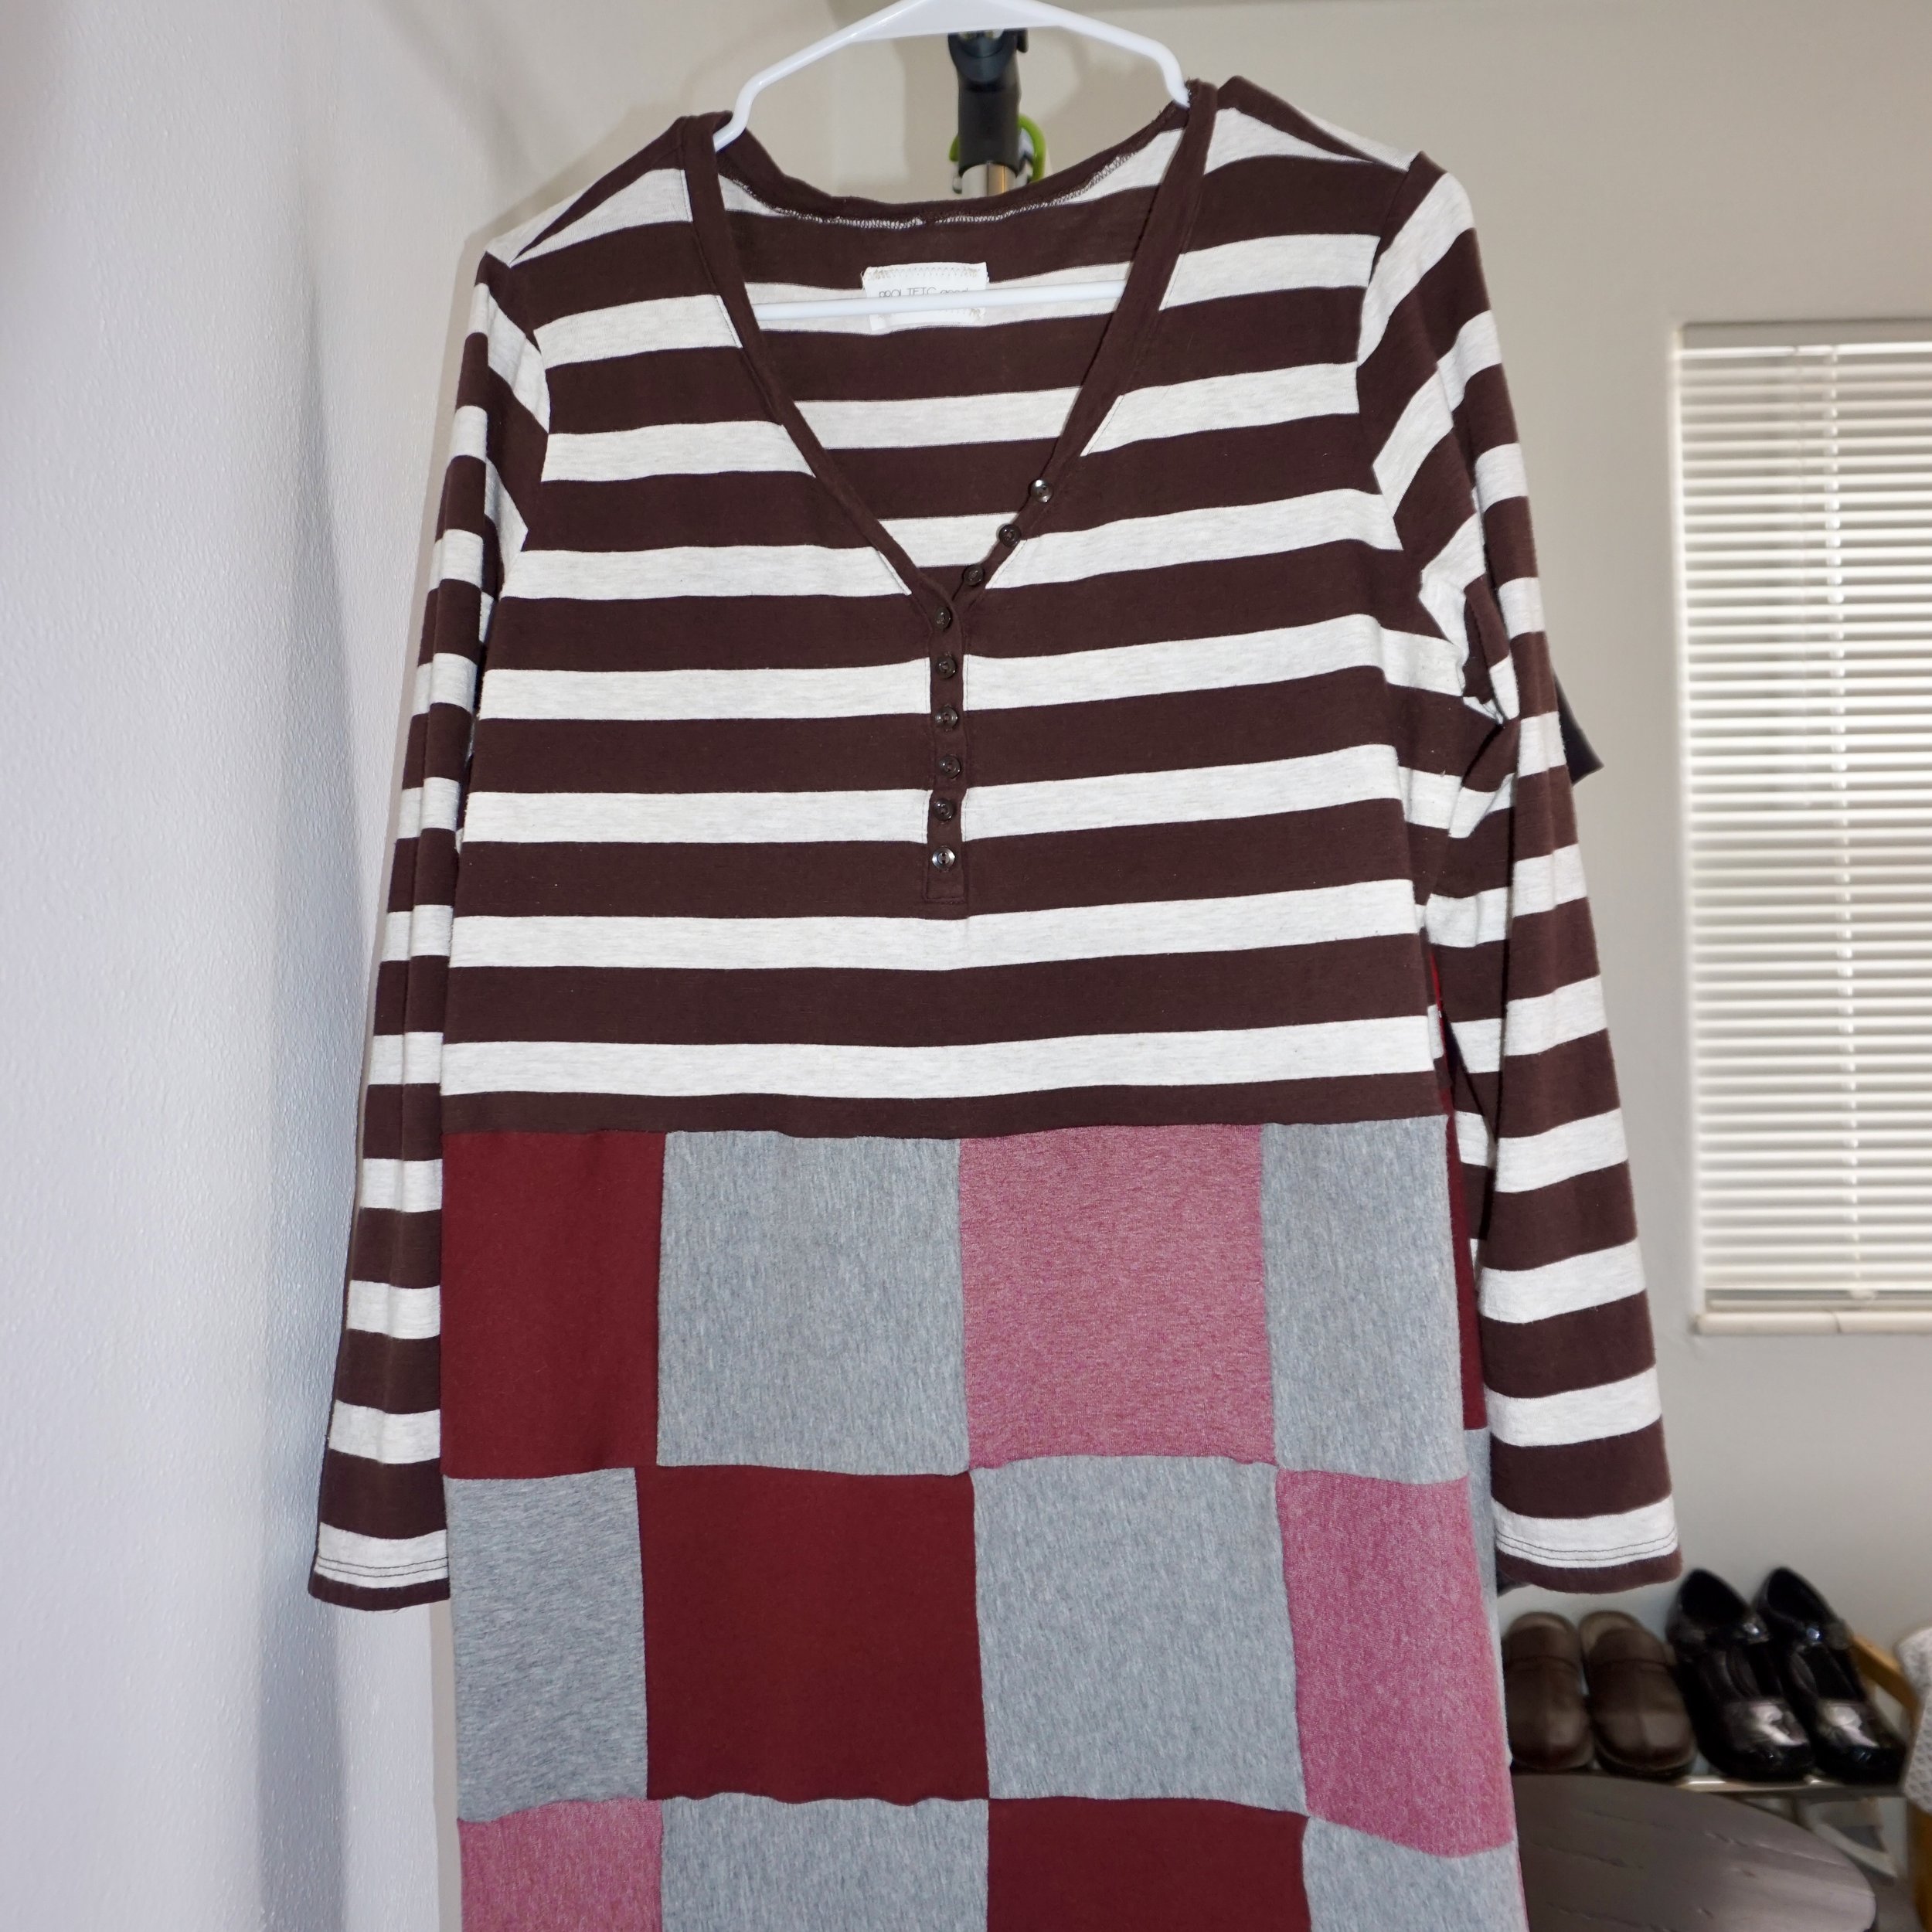
So lately I have been asking myself…could I combine journal writing with quilting to some pleasing effect? Quilters have long created art quilts and blankets as a way to commemorate events in life. Quilts made from old linens and clothing have so many memories associated with them. And even just the cathartic experience of taking marker to fabric feels so liberating…fearless even! Because there is no way to erase mistakes, so the mistakes become a part of it. Just like in life, how mistakes are woven into the tapestry of lived experience.
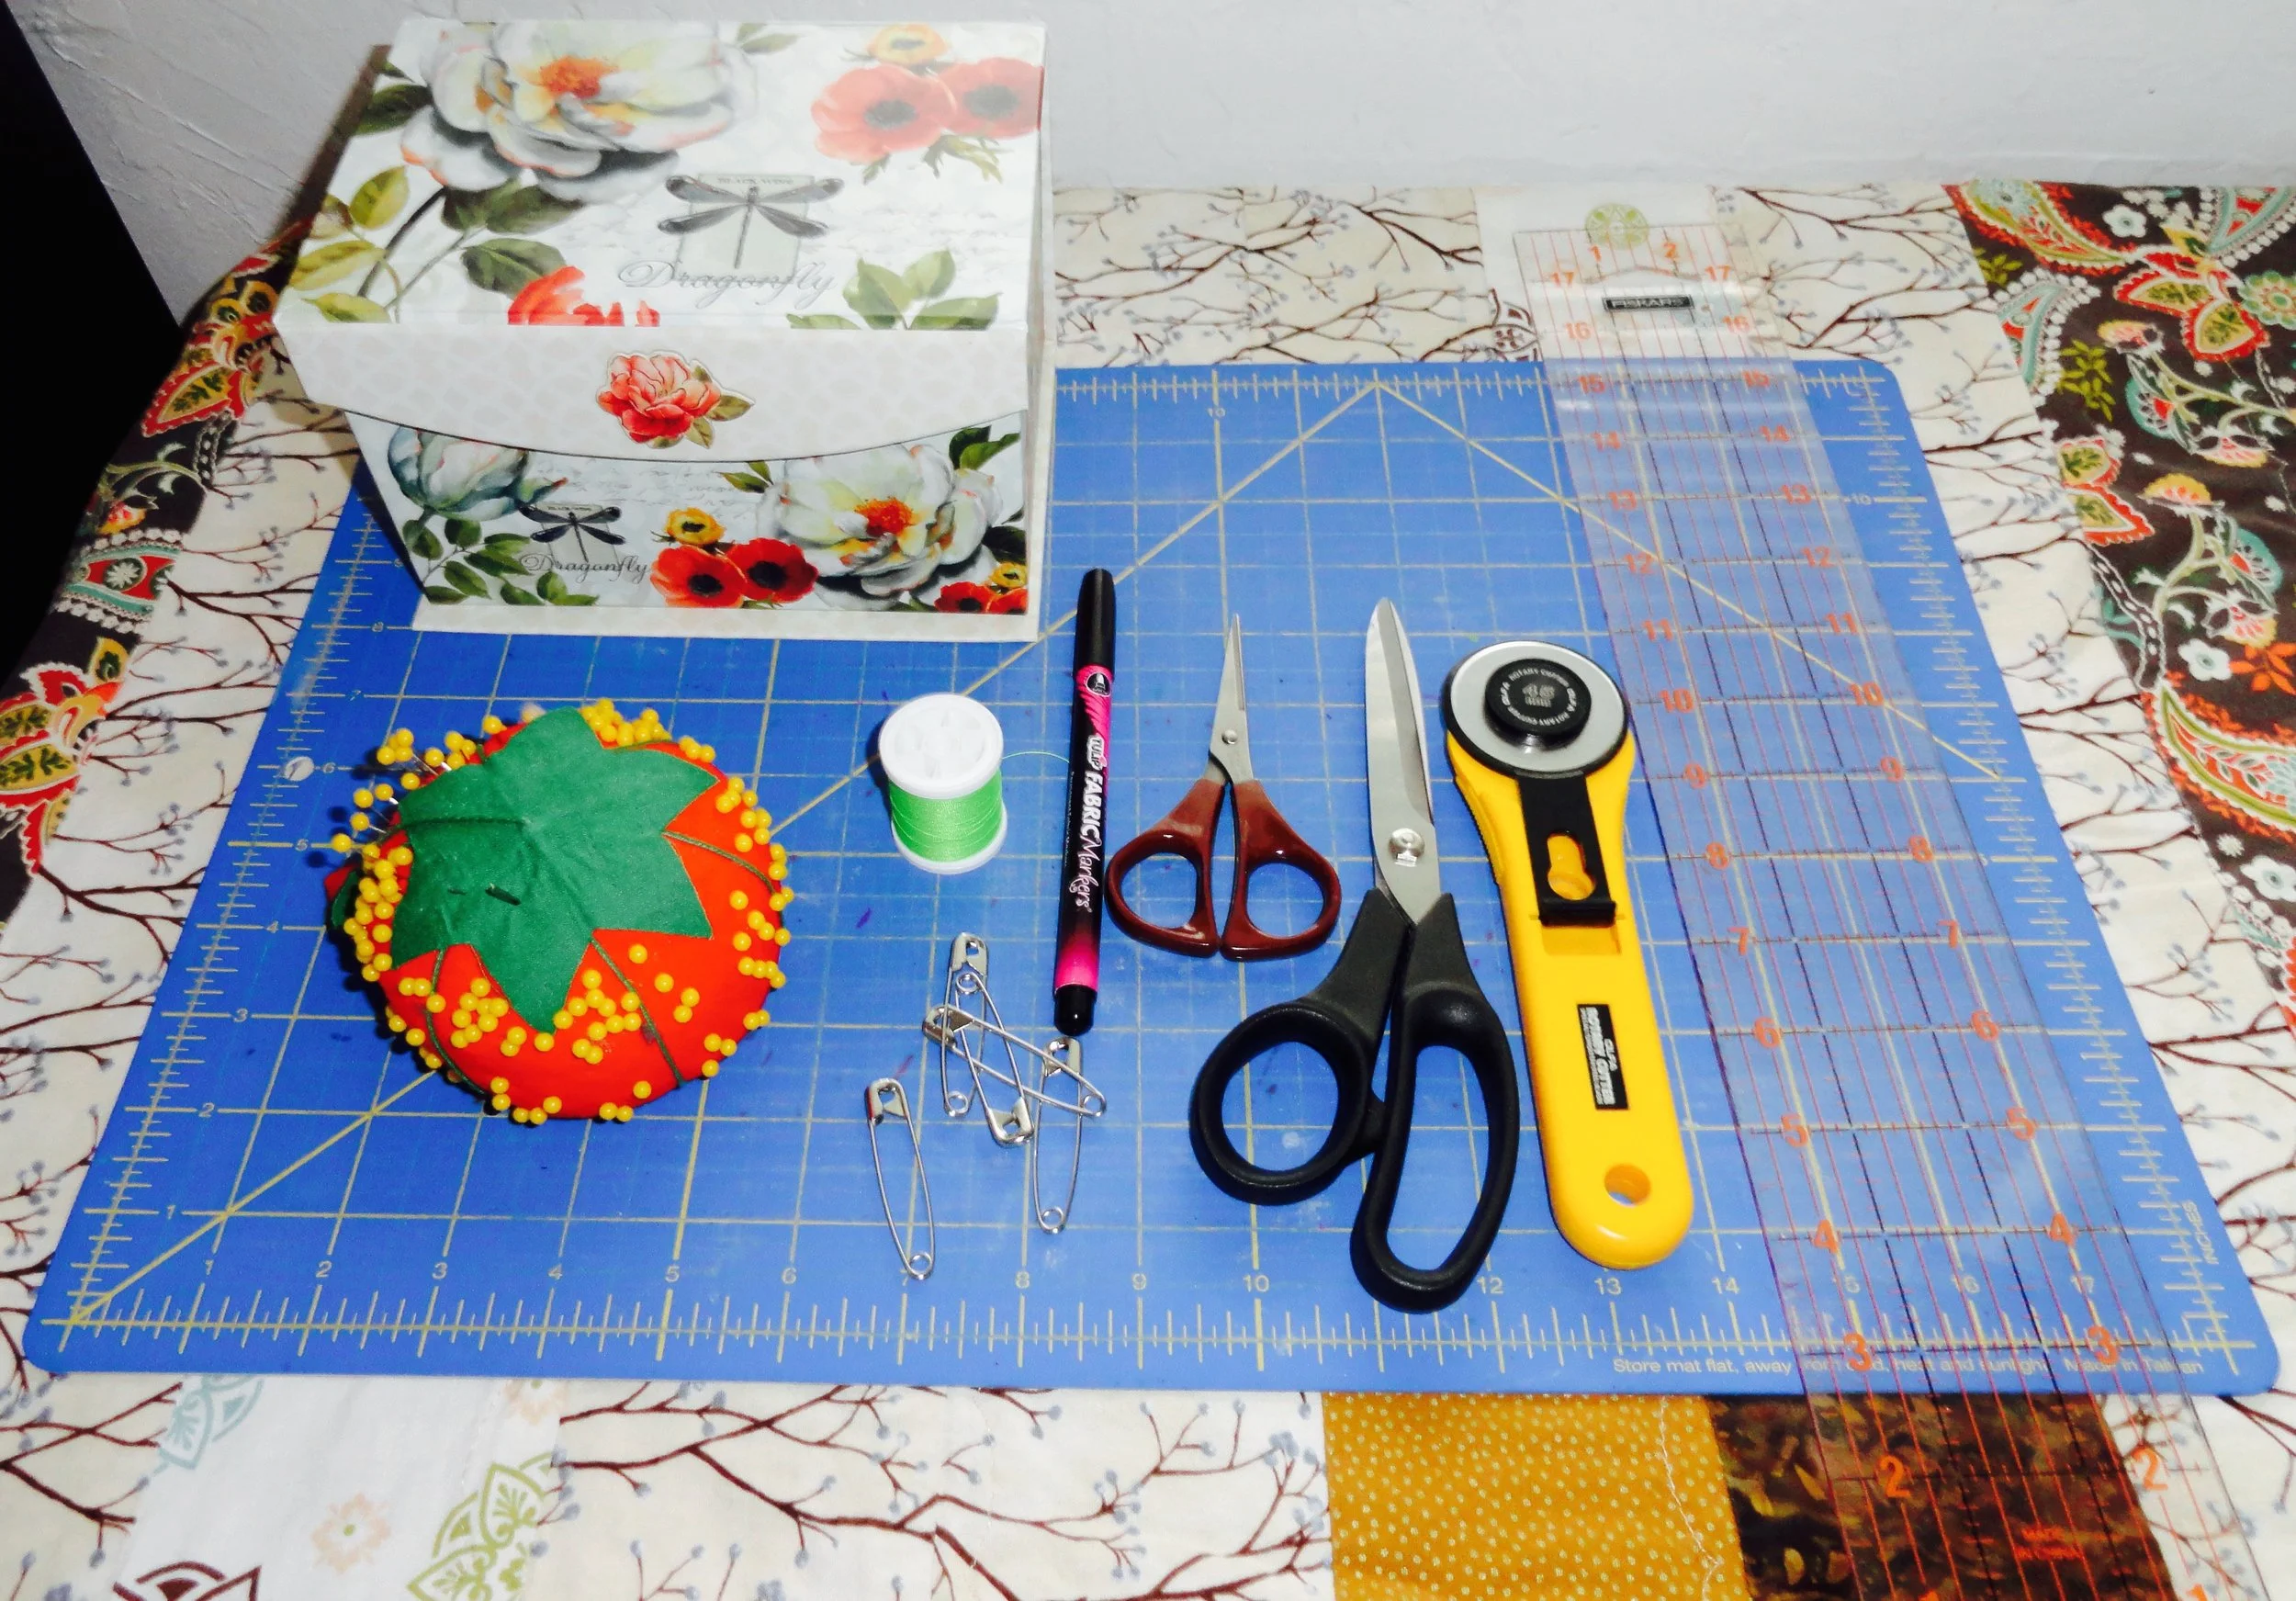
If you are interested in making journal quilts, gather some permanent markers or fabric markers and collect up some scraps. Or gather together some old clothes to work with. I have ironed a stack of neutral white and beige toned scrap fabric to begin with. Together we can explore journaling on fabric! It might just be a whole lot of fun and you will surprise yourself at the meaning you can create with a few bits of scrap.