Sewing for the Holidays

Anyone who sews will tell you how busy it gets when November rolls around! Because if you are anything like me, that often means the Christmas sewing begins! This year I’ve decided to sew a couple of gifts, and I’m making some gifts for my Mom to give to her friends. I also sewed a Christmas tree skirt for my Aunt a month or two ago! So I’ve been merrily creating a festive season for myself and others this year.

Christmas sewing can be really fun if you prepare ahead of time. And making gifts for friends can feel fun, save you lots of money, and you can be sure your gift will be original and well appreciated. This year, if I have time, I will also be making some Christmas decor for my home. Truthfully I’ve never had much by way of holiday decor, so it sounds fun to deck the halls and walls this year!

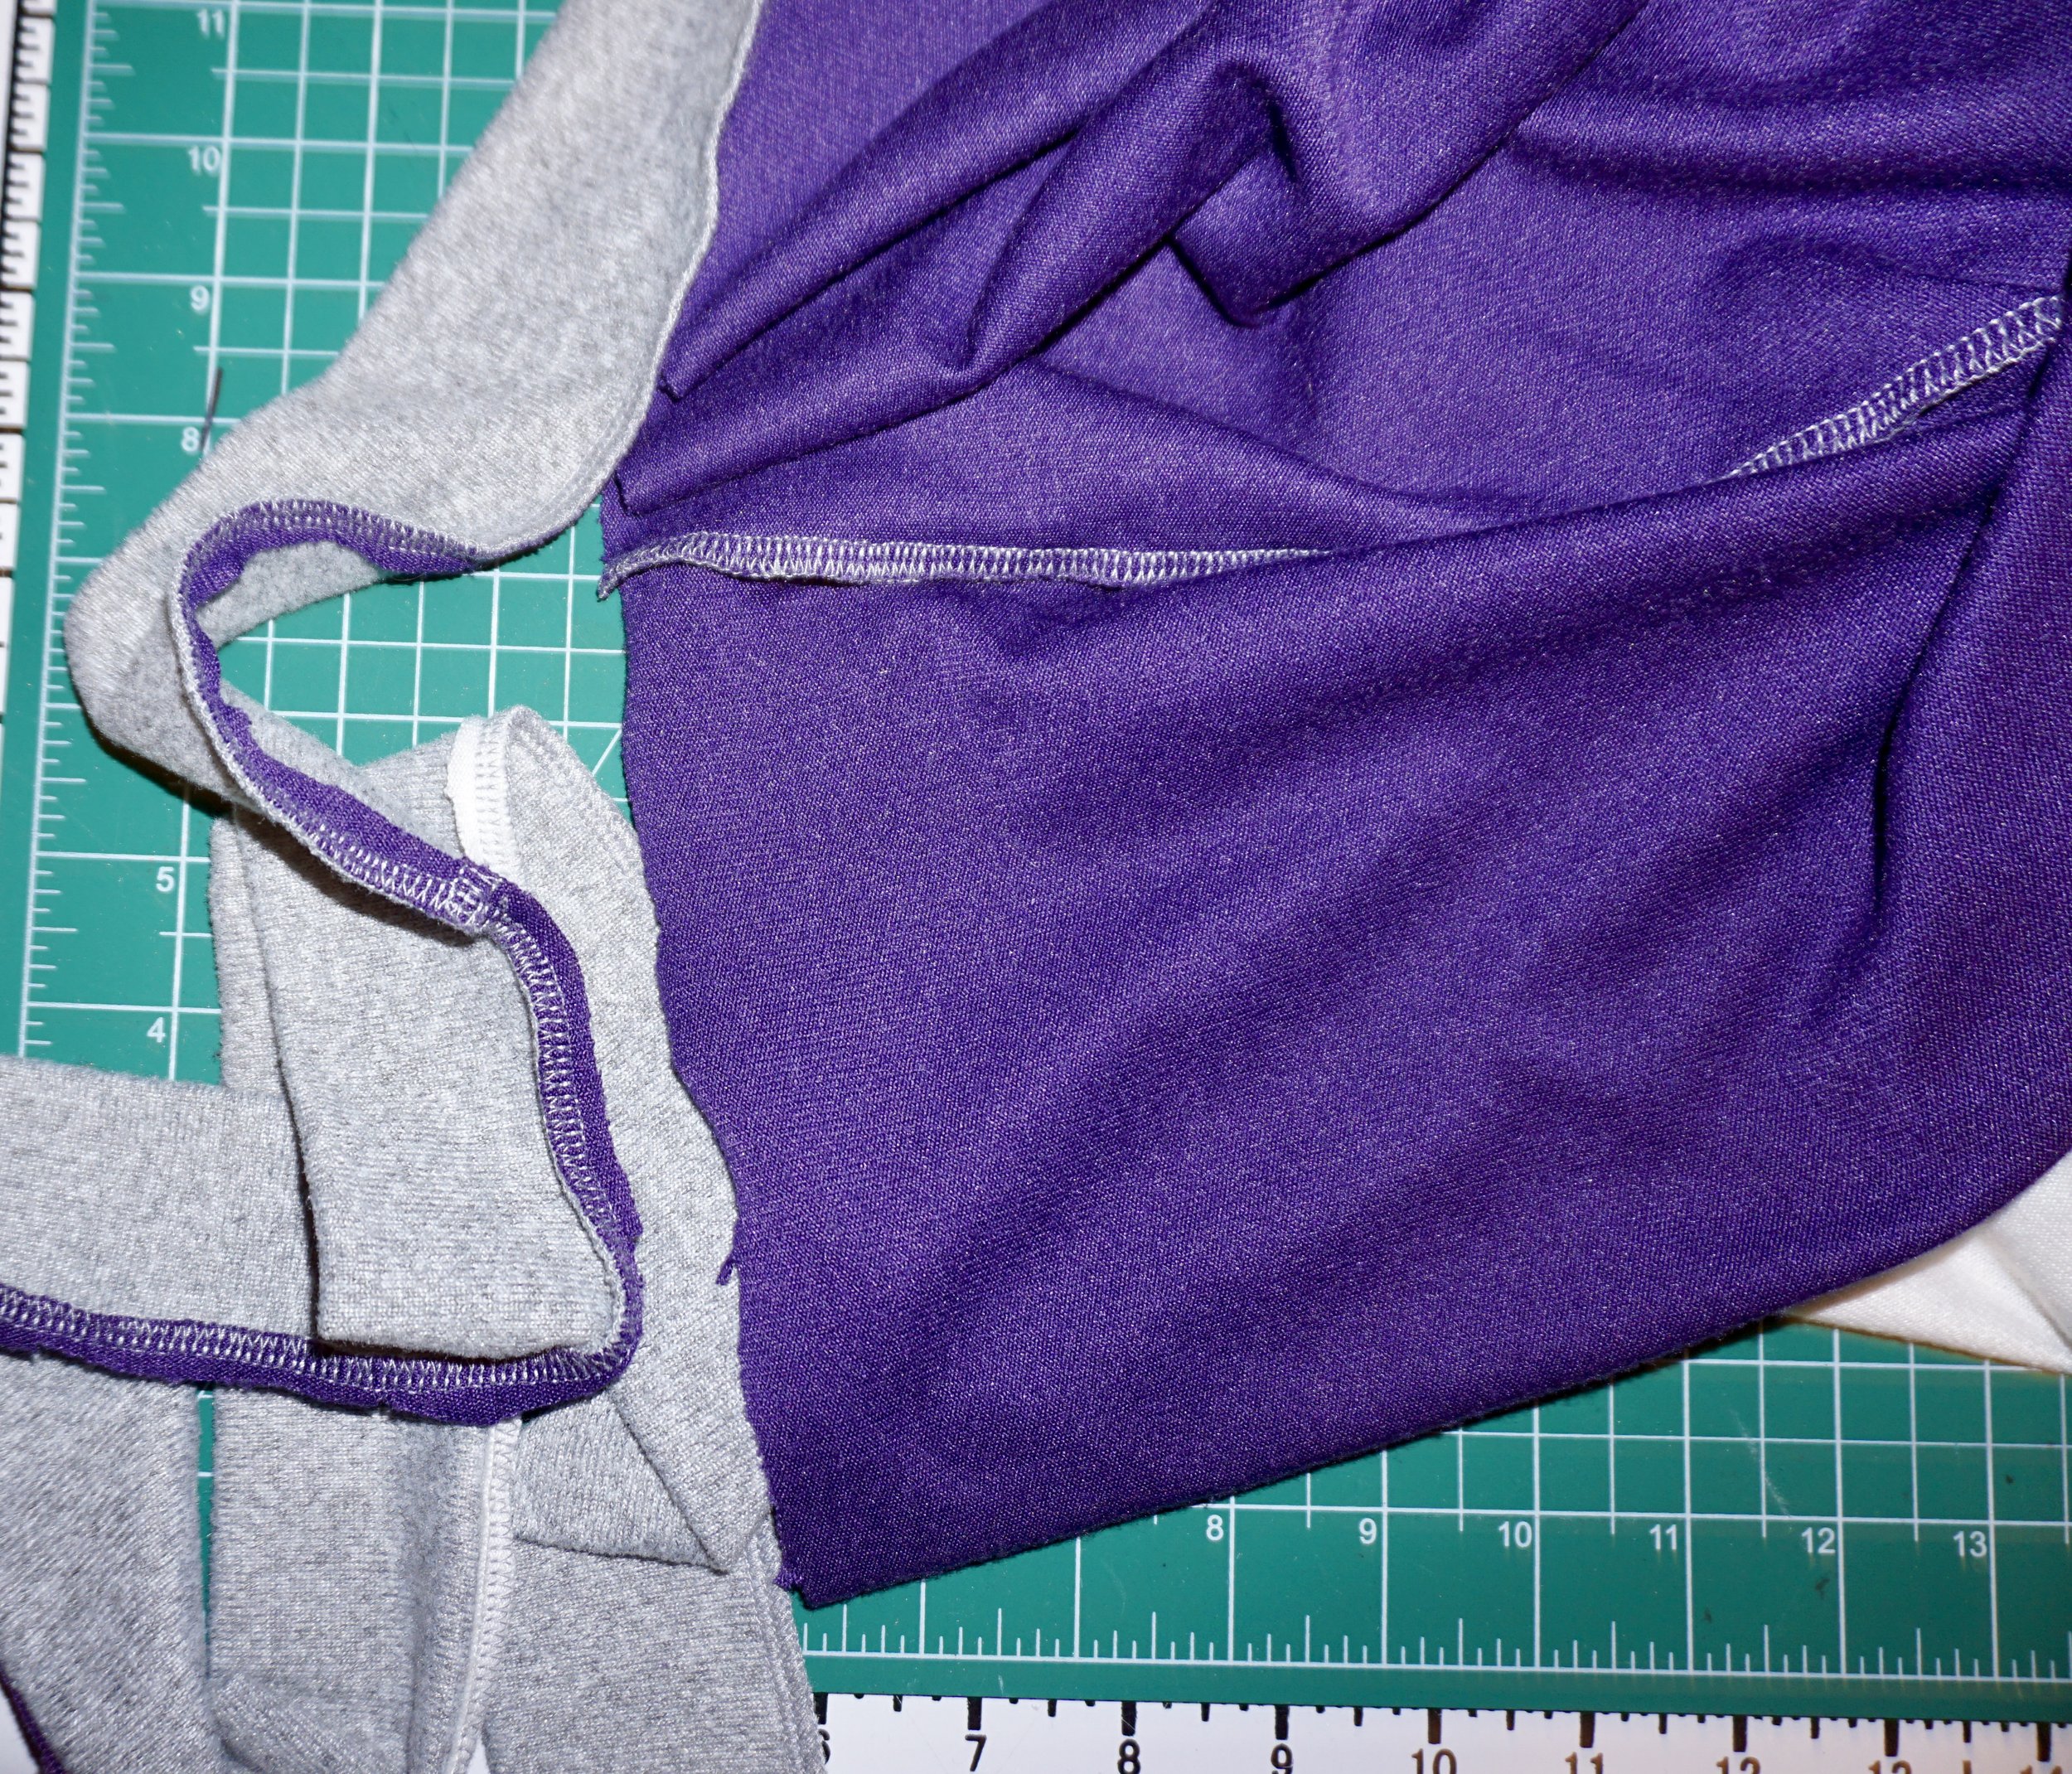
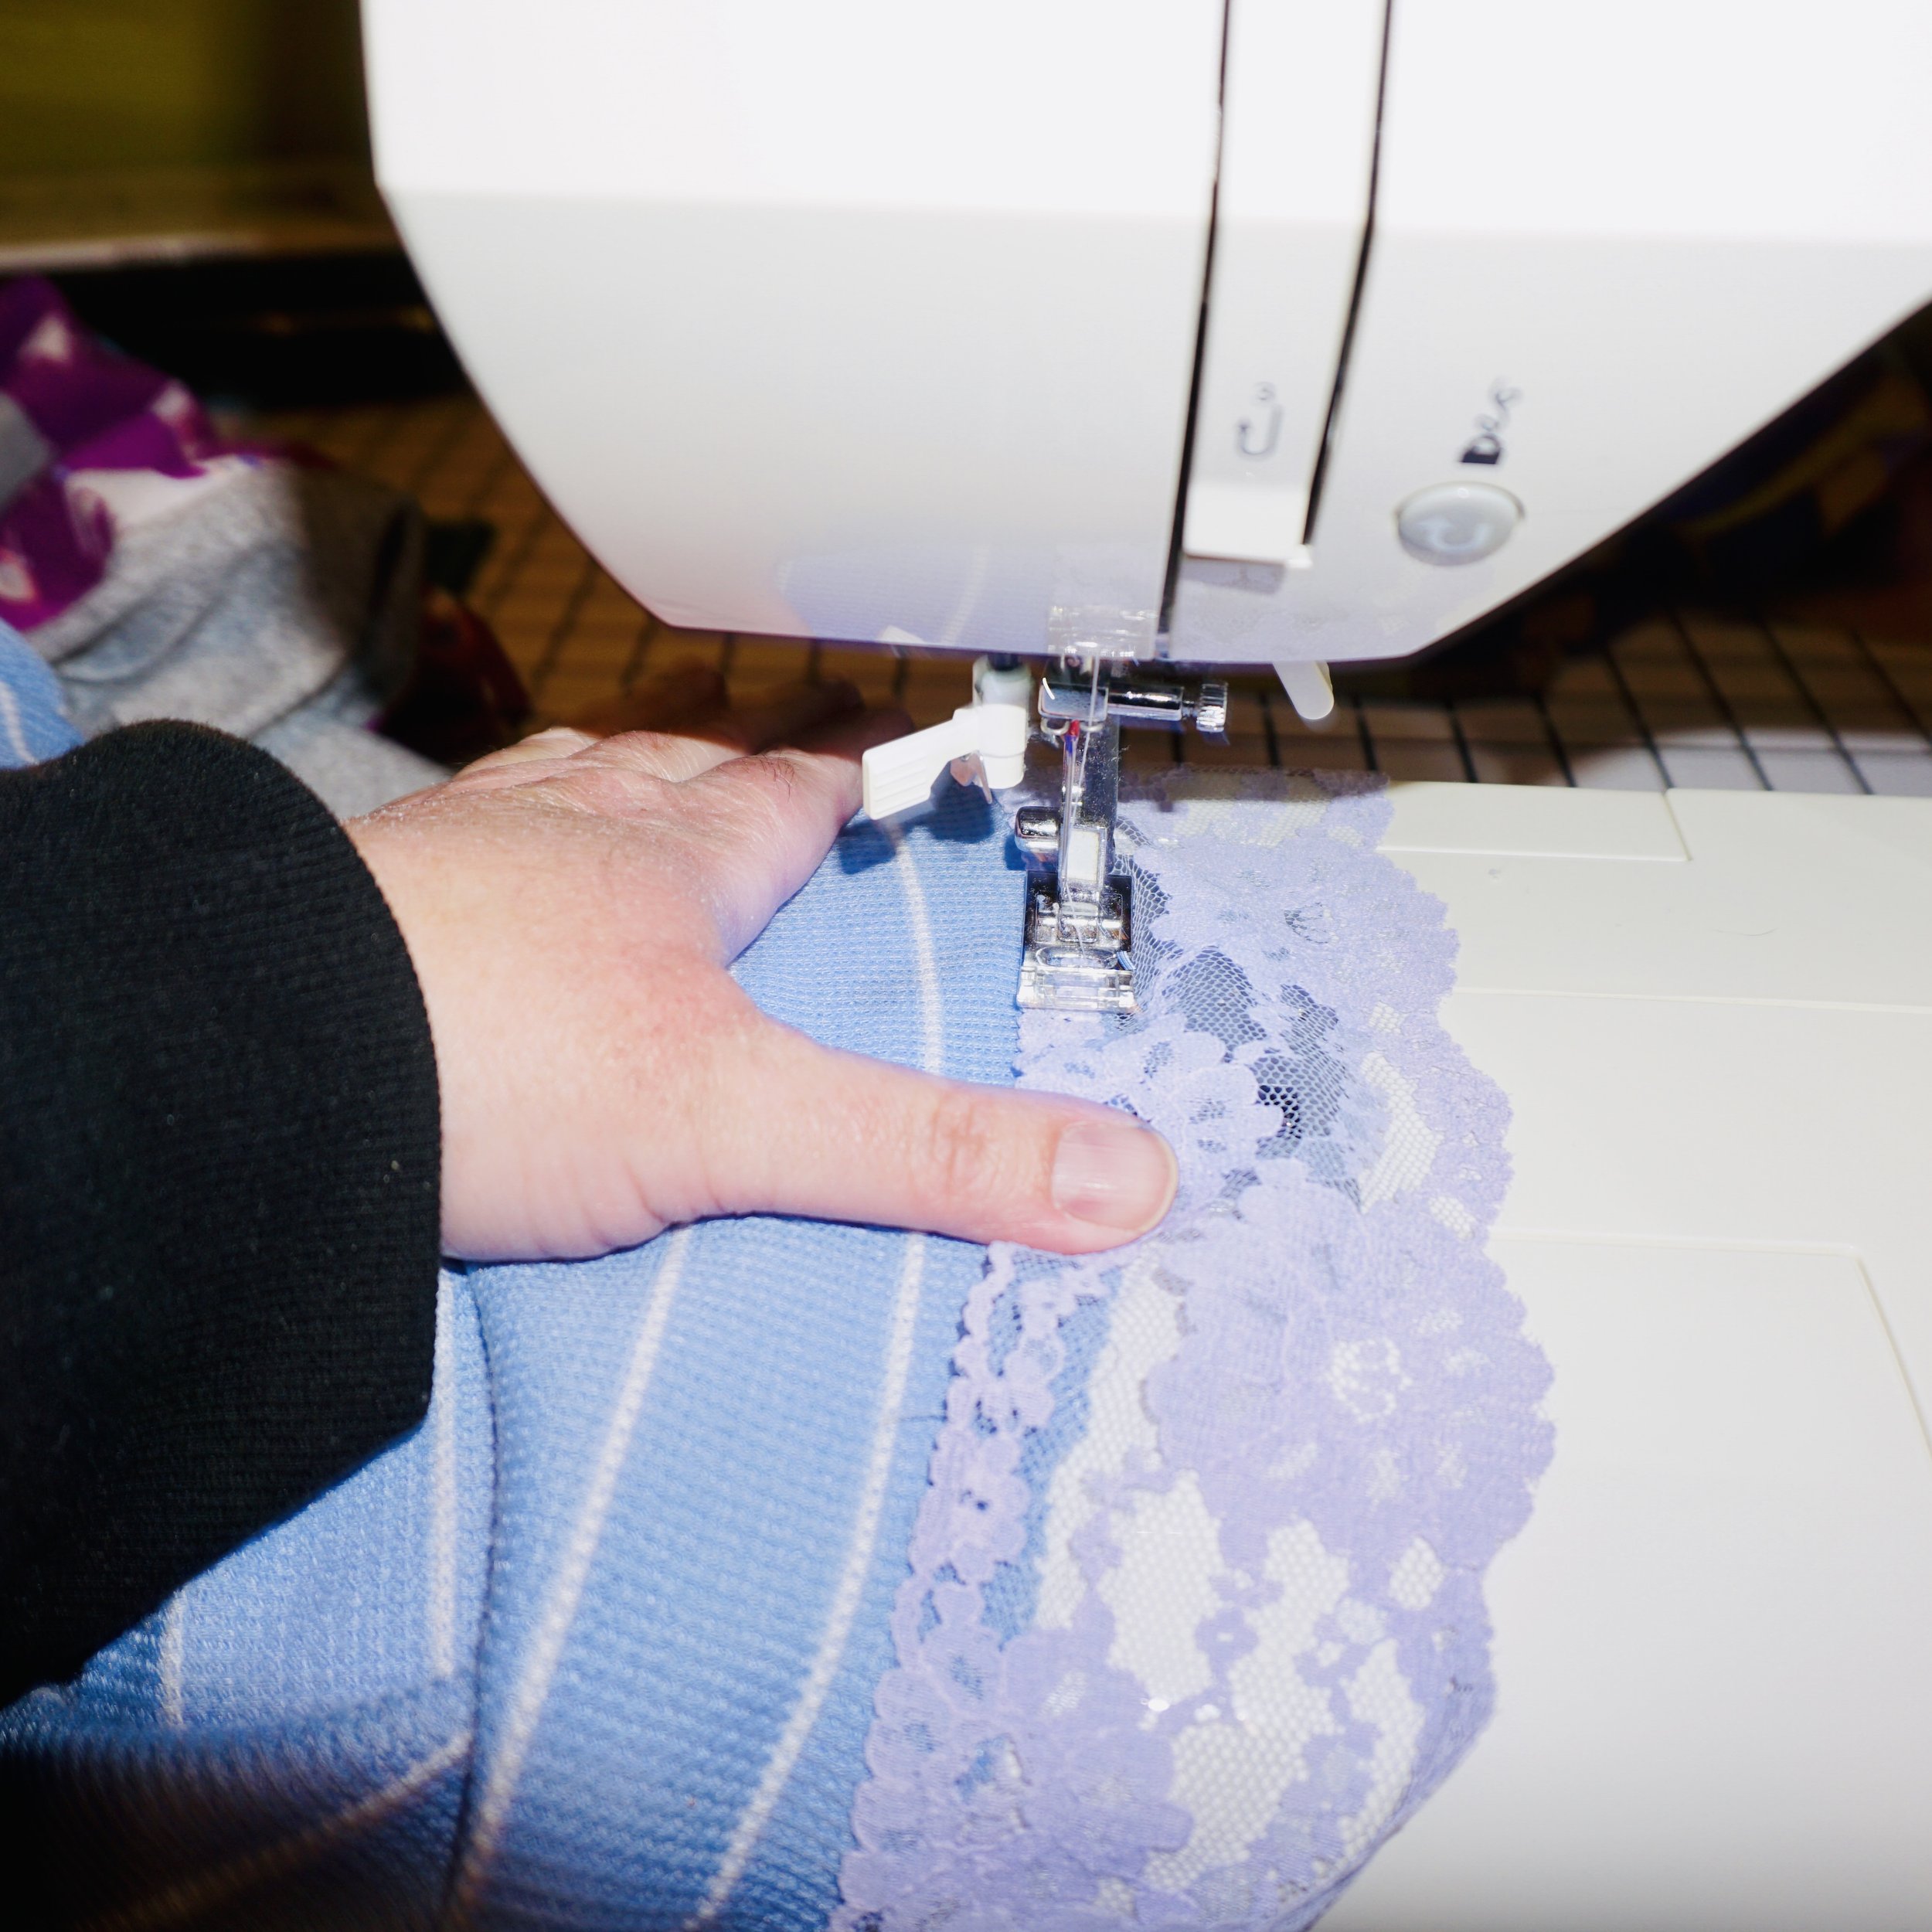
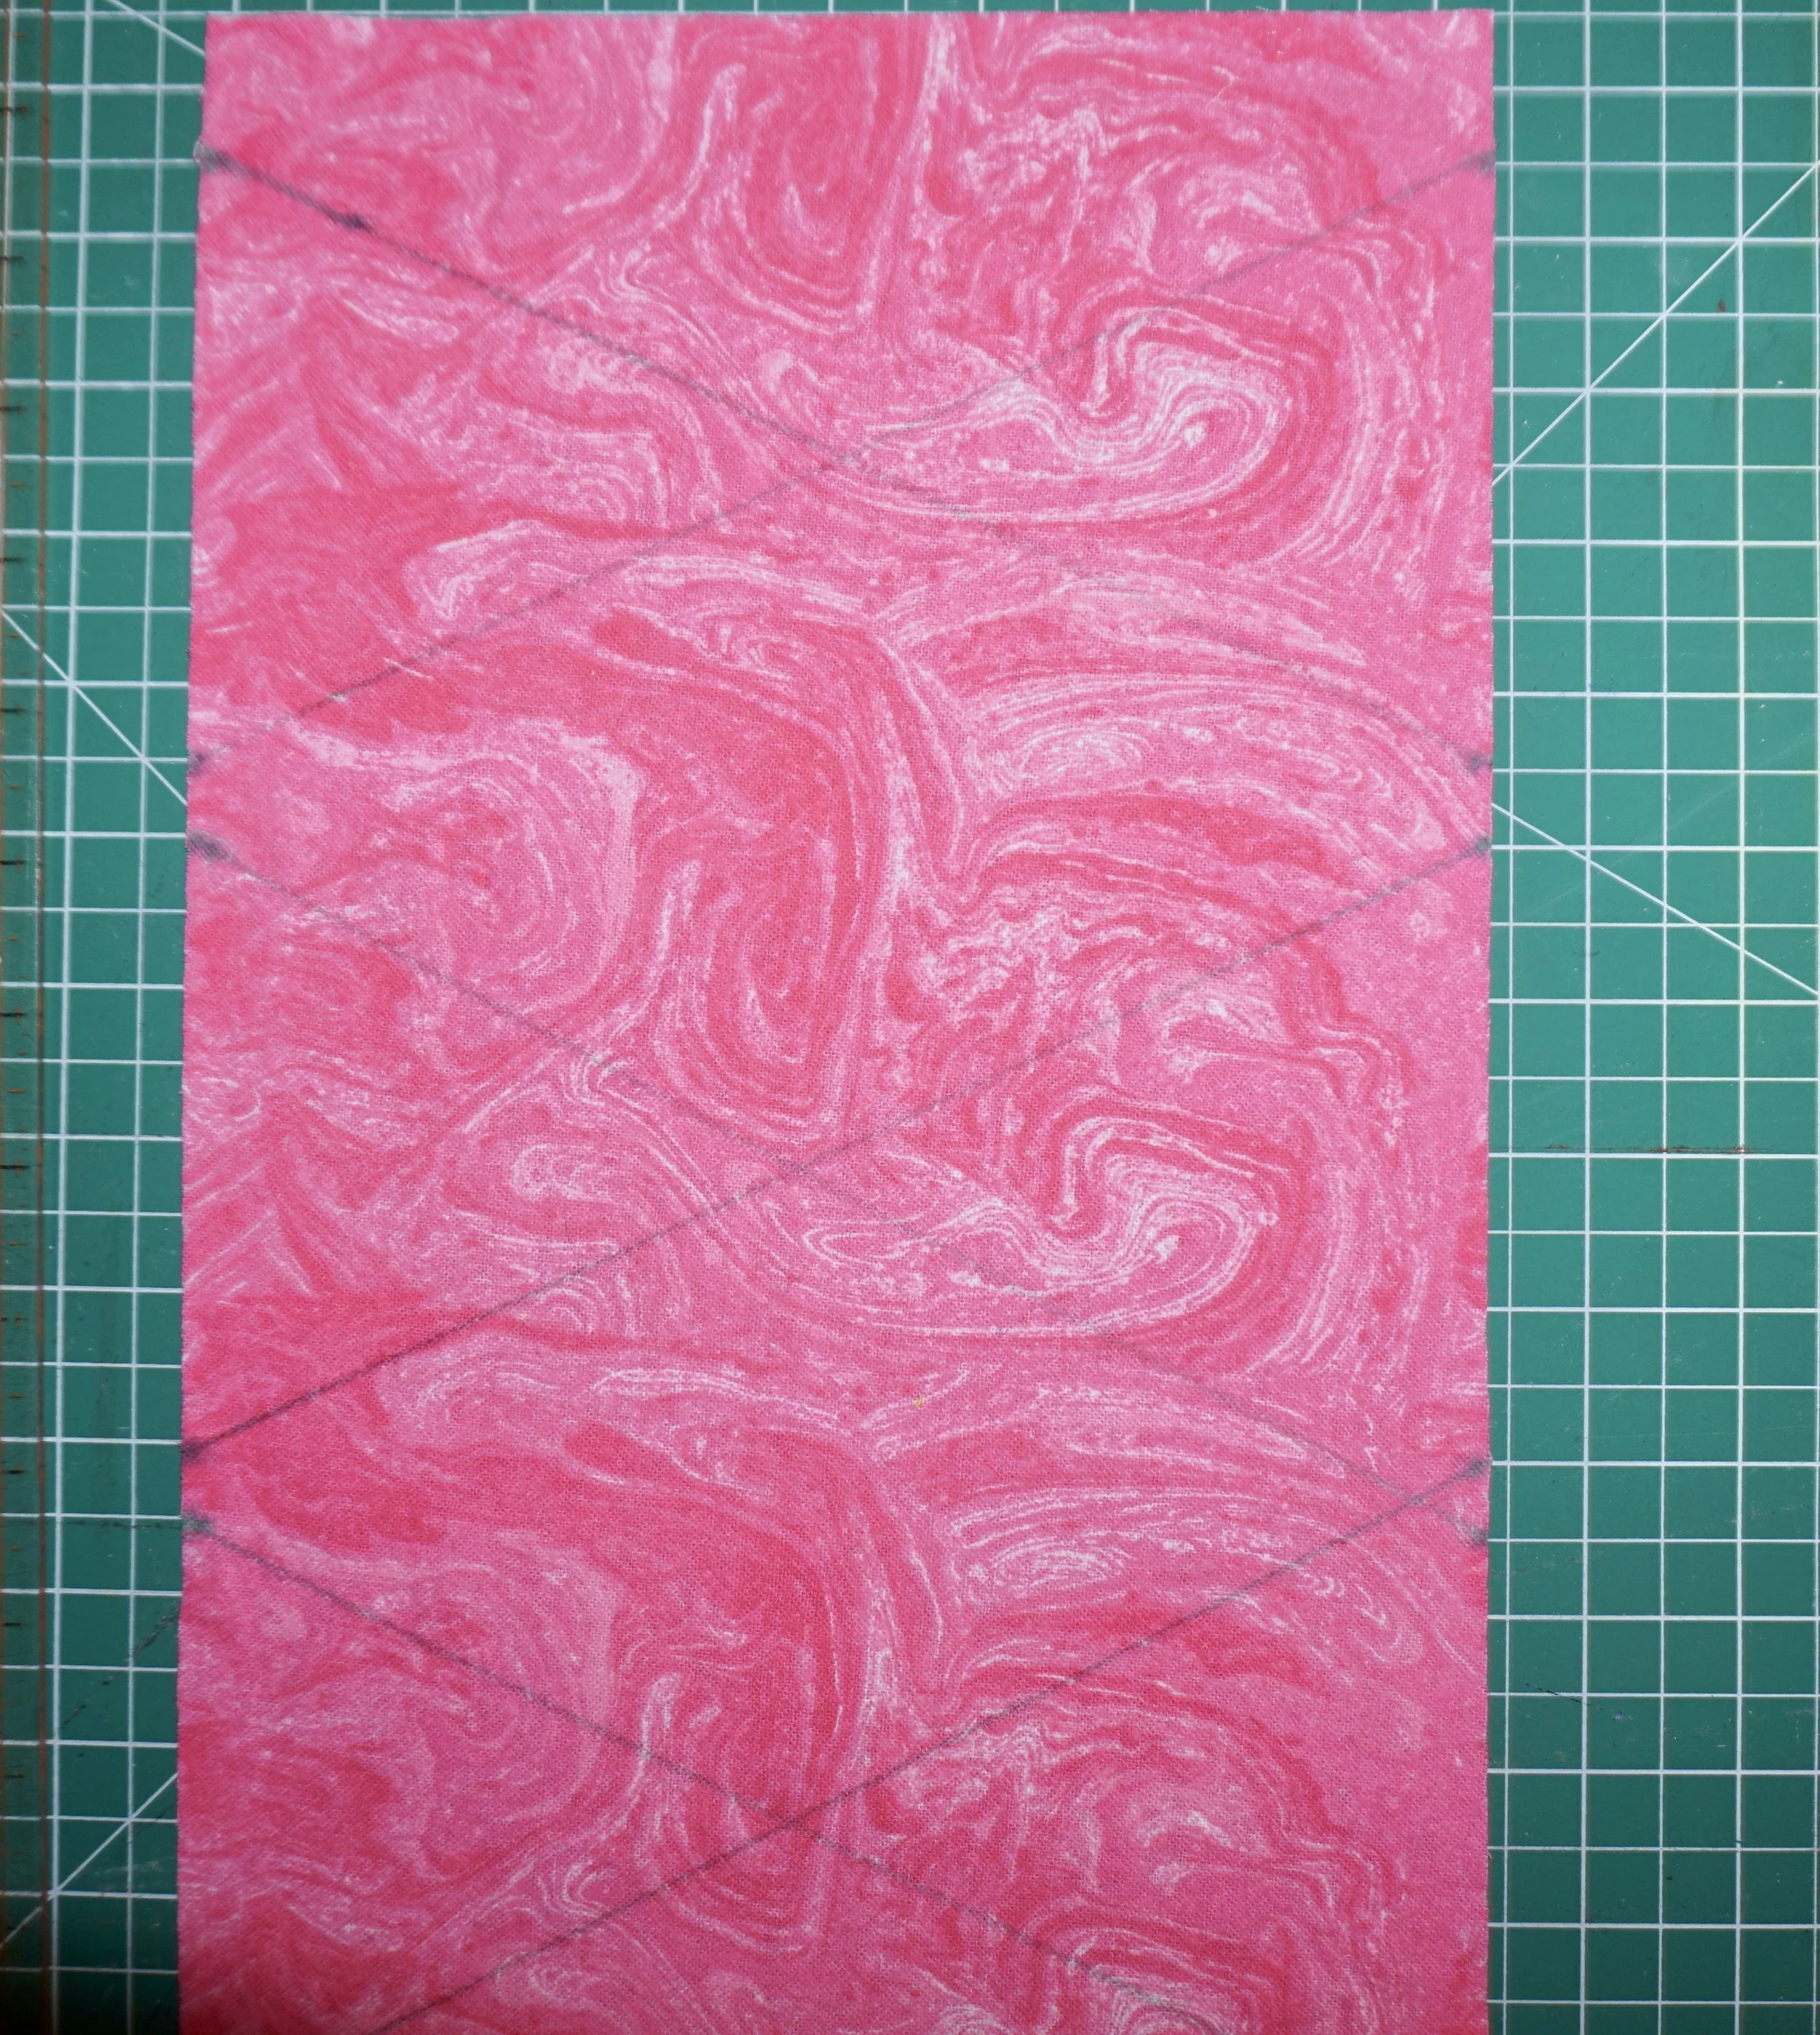
A work in progress for Christmas

Here’s a quick list of some ideas to make for the holidaze on the cheap! If you don’t feel like sewing gifts this year, consider supporting small shops on Etsy! There are so many great gift items available that have been thoughtfully created by makers everywhere.

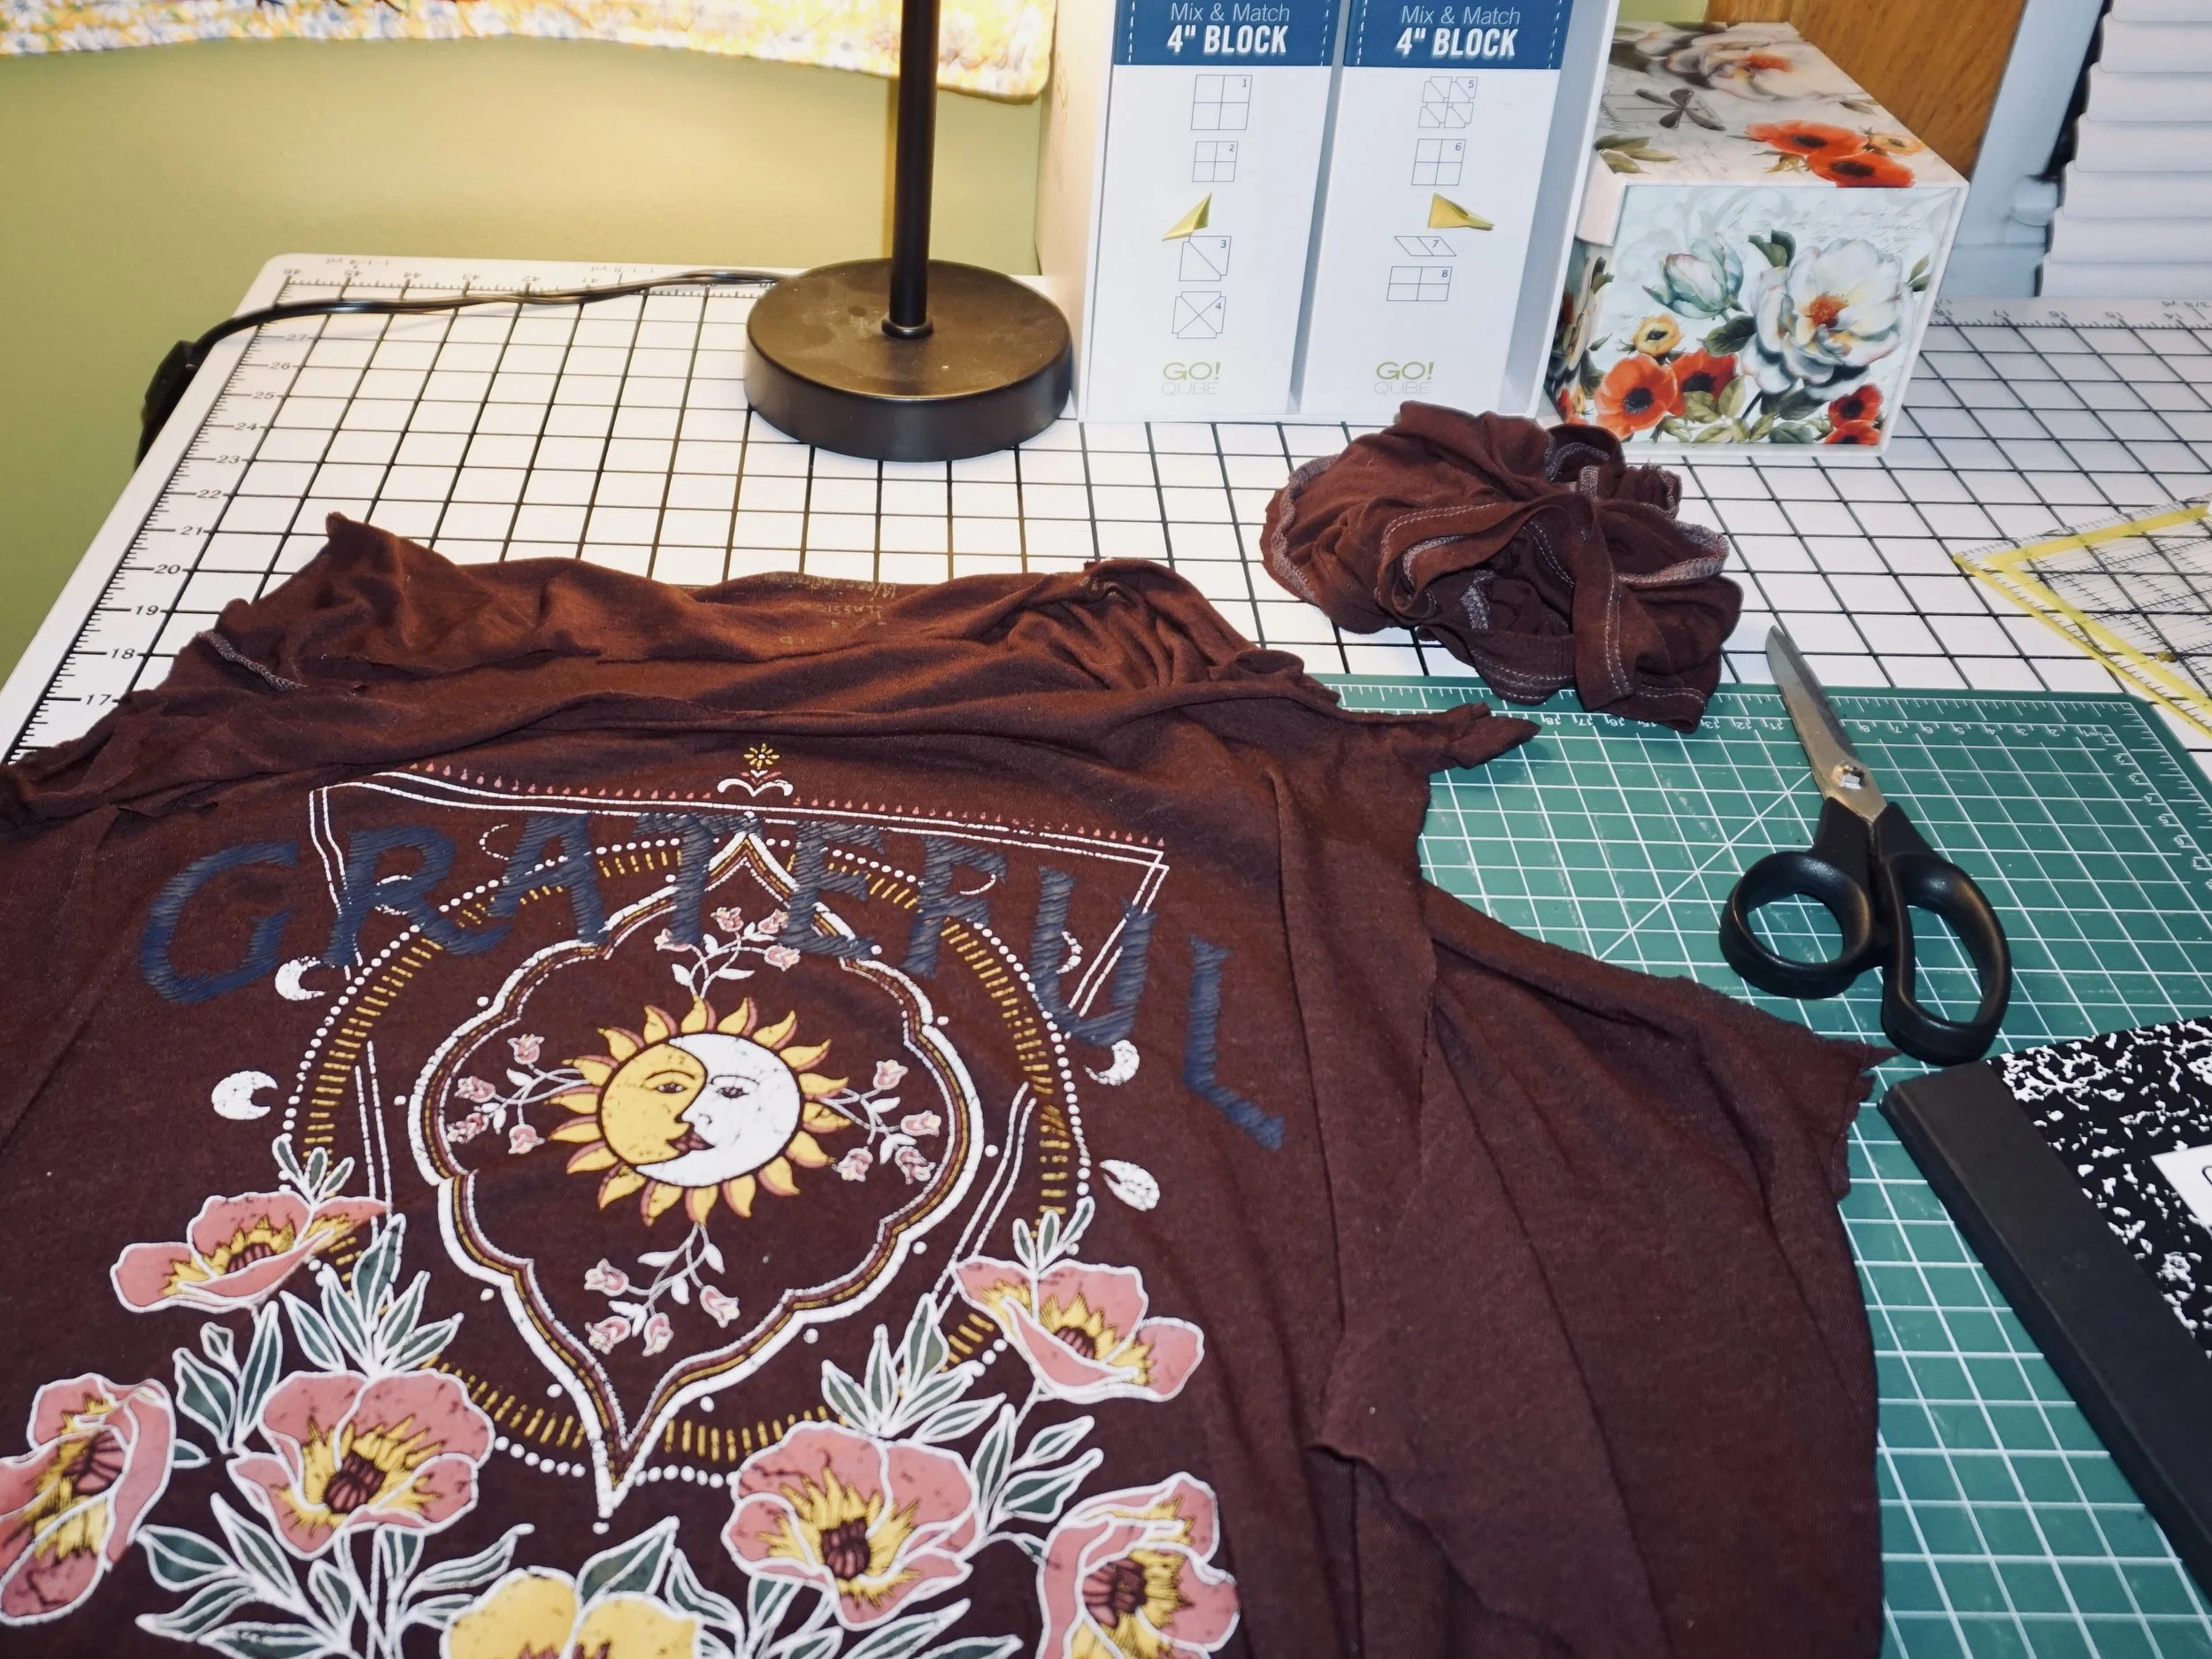
  1. A basic fleece blanket-There are sewn options and no sew options…I’m making one for a friend!

  2. A simple wall quilt-You could even paint a wall quilt with acrylic paint for a no wash option, or get some fabric markers and paints to deck out a bit of fabric. Add a little applique, lace or small touch. Pop it in a frame, and you are good to go!

  3. Sew some Christmas ornaments or other holiday decor.

  4. Simple fabric baskets filled with some self care items like lotion and aromatherapy scents.

  5. Make a wall pocket for storing smaller items.

  6. Plushies for the kids, or grown ups who love collecting!

  7. Pillows are a great gift for the home decor enthusiast, or you could even do a bedroom set for your child.

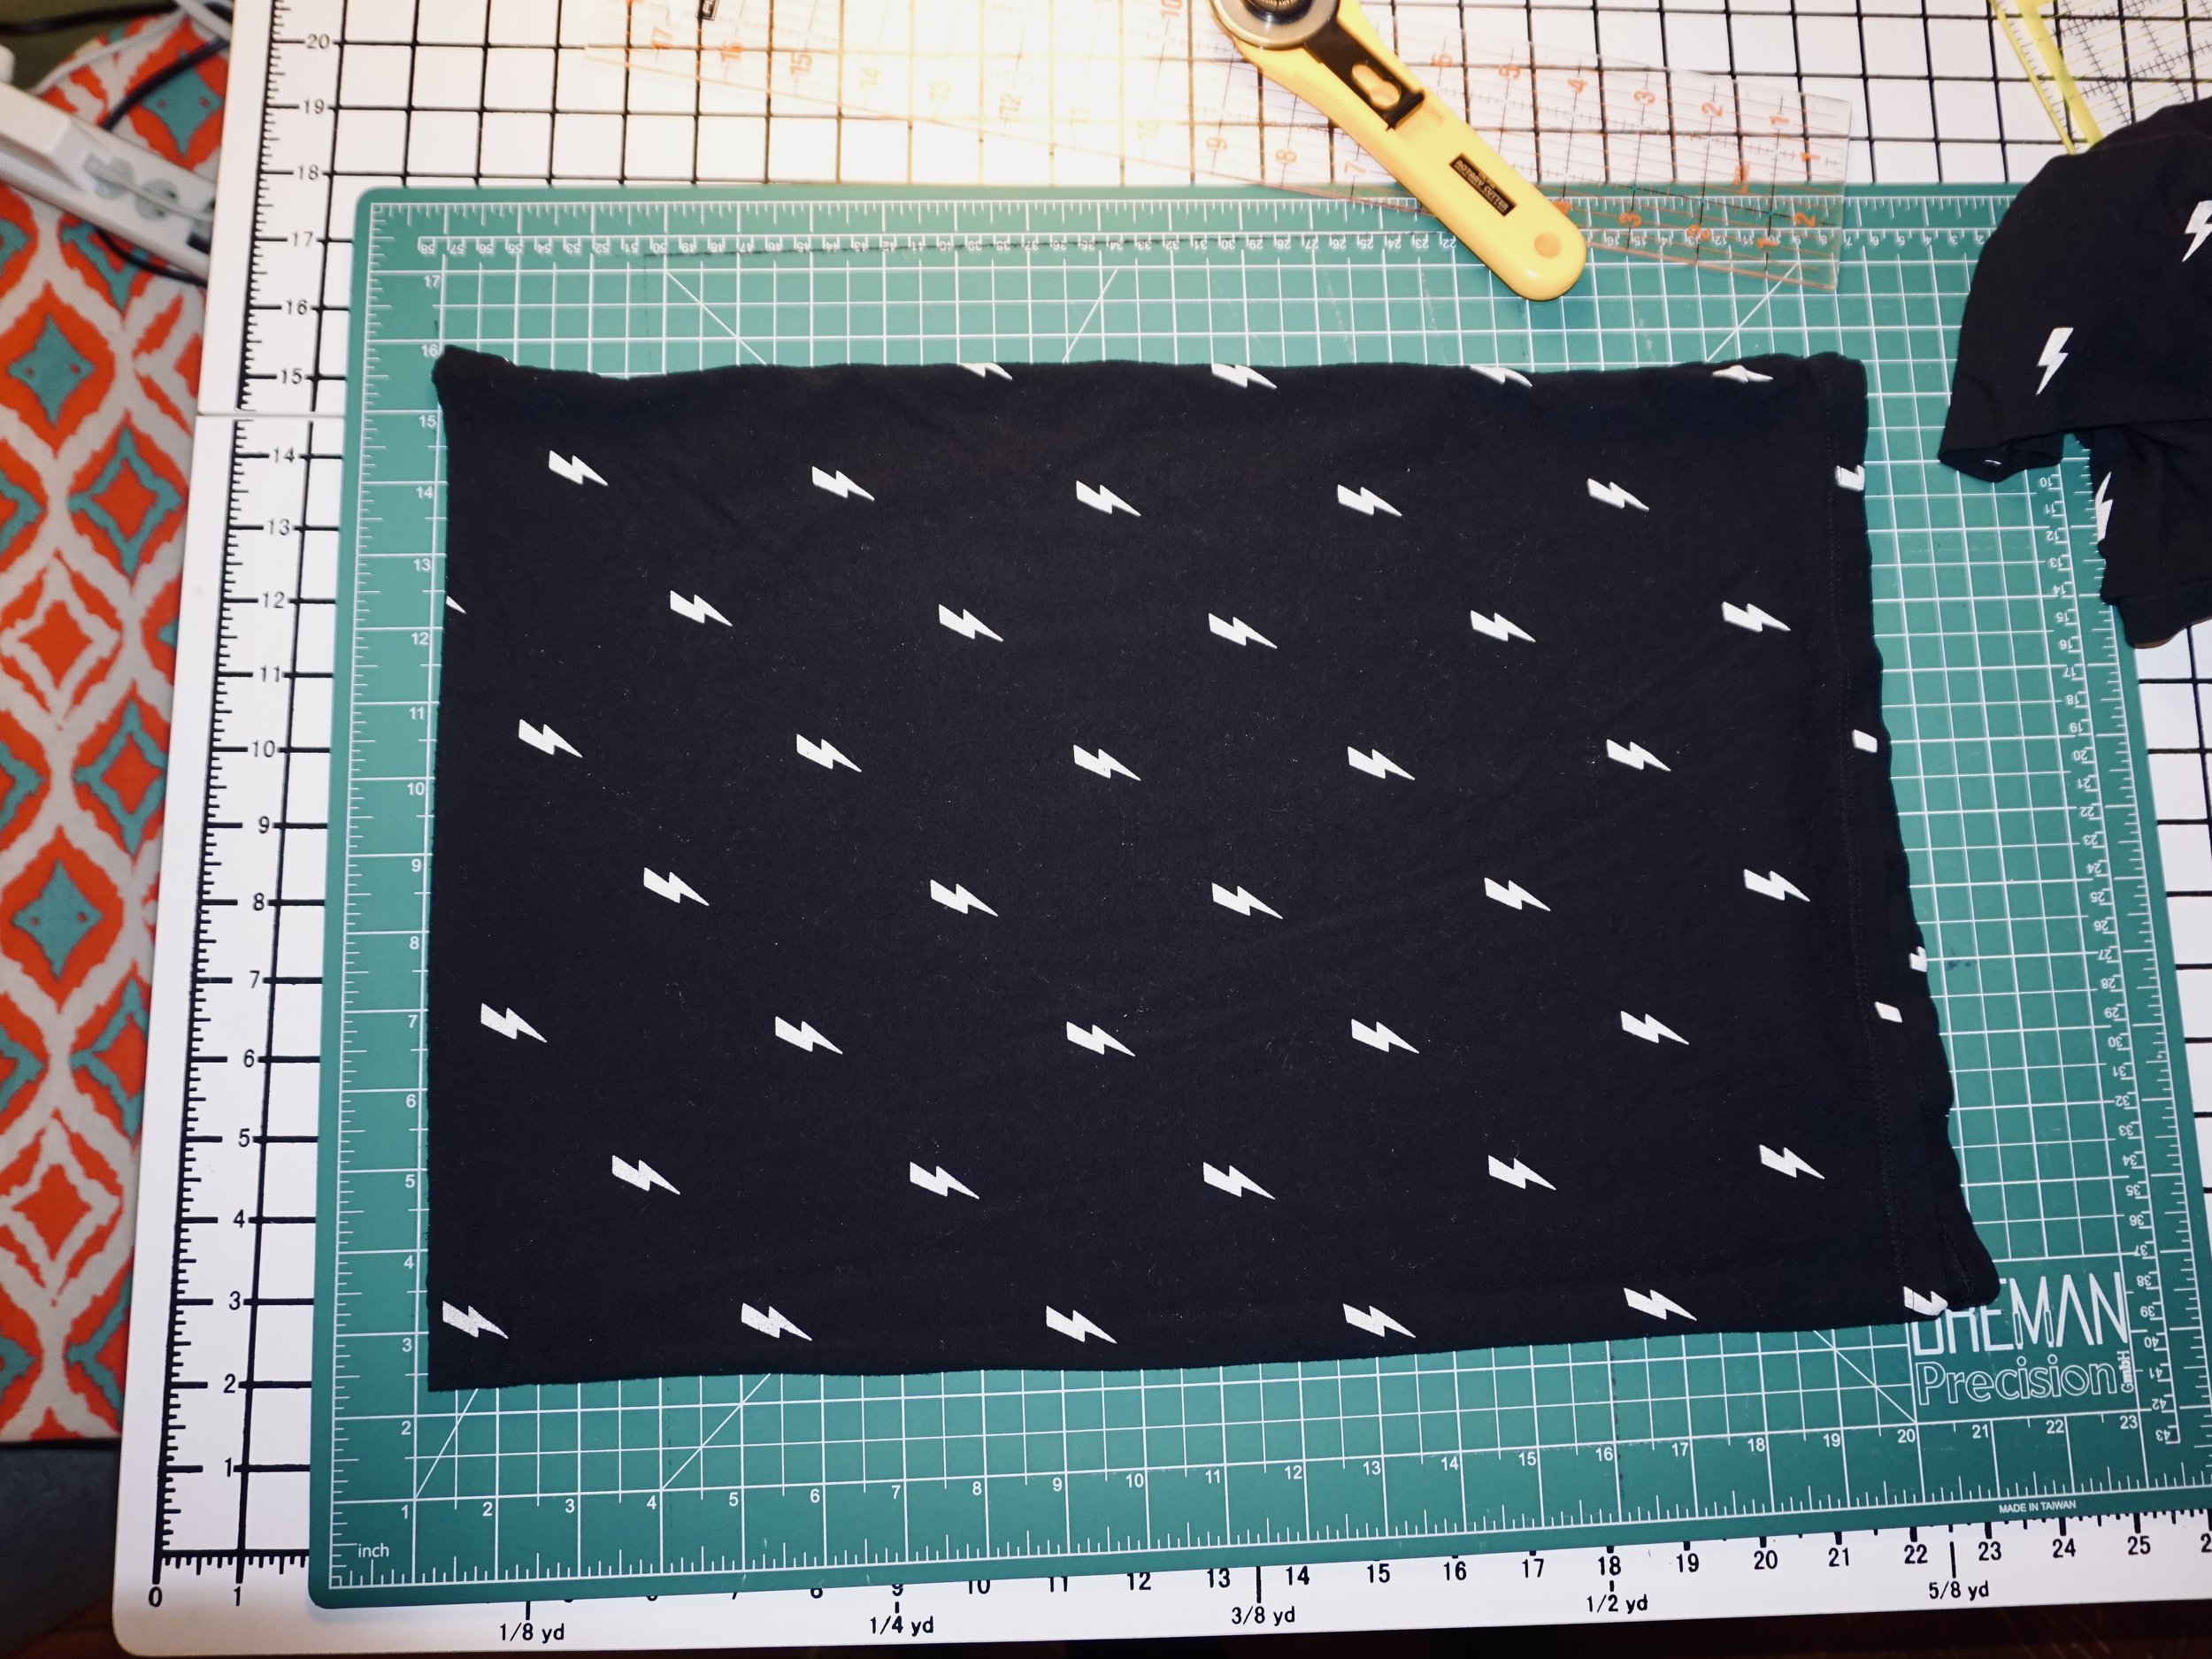
  8. Make fashion accessories! Sew basic scarves with fabric squares or upcycled clothes. Or make some basic drawstring backpacks. These items are great for the fashionistas in your life!

  9. Make emoticon pillows or other felt plushies. These are so easy to make, felt is really easy to work with because it doesn’t fray. Get creative with it!

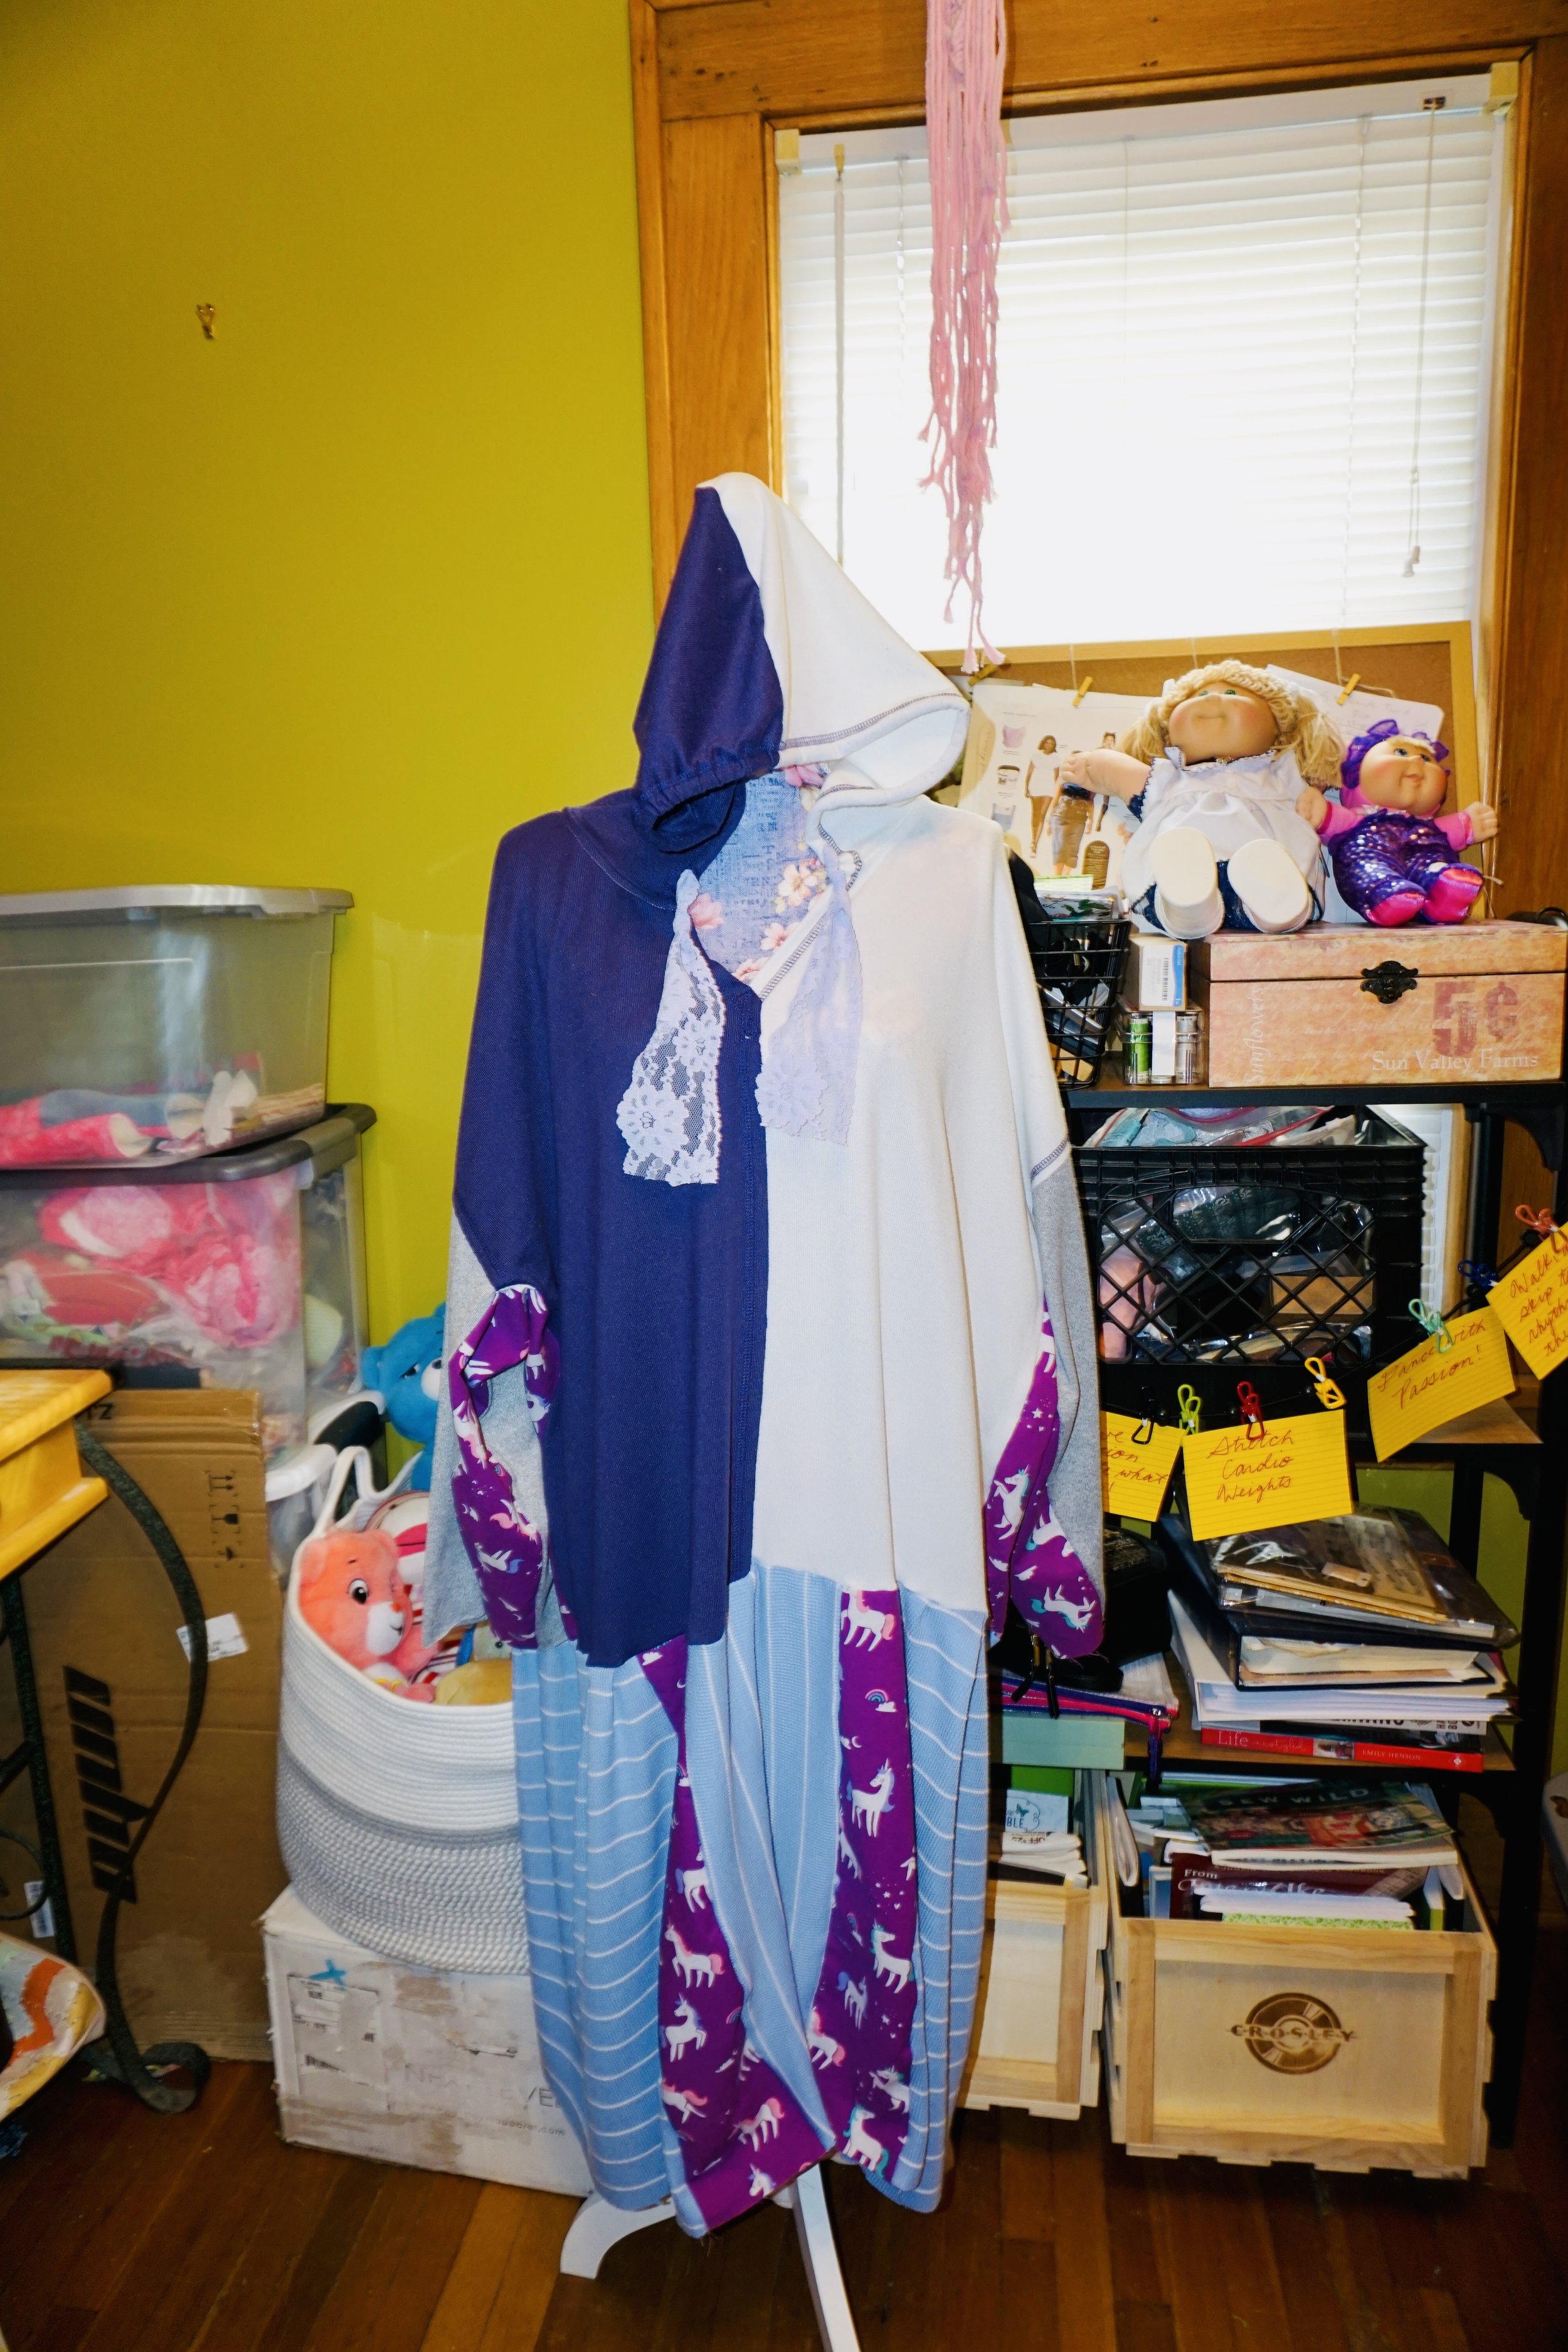
  10. Sew a pj set or sexy robe for your partner! Or embroider some bathroom towels with funny sayings on them. I did this one year and my husband and I got a huge laugh.

Basically the list is endless, and I hope some of these spark your imagination. Put some thought into what your recipients could use or what they already love! The best gifting advice I have is figure out what “they” like, instead of buying things “you” like. That way your gift will be super specific to the person you are giving it to.

Gifting is my love language, and I think that’s why I love Christmas so much! It can be a wonderful time to show someone how much you care. Happy gifting!!

Decorating Shenanigans!

My history with decorating is a sordid one…mostly because I’ve never been that into decorating at all! In college I had black curtains and scarves hung up on my windows. The curtains were a cut up sheet! In my college days I didn’t have money. And over the years I lived in squalor a lot of the time, so decorating was the furthest thing from my mind.

My Mom had always decorated in the house I grew up in. But that decor felt like it wasn’t meant to really be used or “lived in”, with adult spaces off limits to me and my sisters. After I got married, my husband and I had wealthy friends who lived in suburbia, and their home was immaculately decorated. I hated walking in to be overwhelmed by all the chemical perfume aromas and knick knacks that seemed trivial and meaningless.

Our wall of photography, all shot by my husband! We used to do adventures around our city and neighboring countryside. This wall commemorates our adventures. We were together when he took each of these photos!

Decorating used to seem like it was something only for the women with picture perfect lives and lots of money! And I didn’t have either. When I started sewing, I started making my own soft furnishings like pillows and blankets. And that started to give my space something of a cozy warm vibe. I collected knick knacks slowly over the years, usually gifted to me. And I developed a love of collecting stuffed animals and Eighties dolls like Cabbage Patch Dolls and Care Bears…nostalgia from my youth.

My living room soon after my husband and I moved into our current home. The desk in the far corner is where I do all my art and spend much of my time! This room has changed some since we initially moved in.

I moved from rural Iowa to downtown Des Moines about eleven years ago. Before that all my furniture was hand me downs from my husband’s and my parents. When we moved we decided to just not have furniture, so we could start fresh. We dreamed of being able to buy our own pieces. And in time we bought our first couch! It was exciting, I still remember when we got it!

I displayed these tapestries in the sewing room right after I moved in. The elephant symbolizes family to me! I have since changed the decor in that space nearly a dozen times over the course of a few years.

I decorate the sewing room, because I have free reign in there. My husband likes to approve of things that go in the main areas of the house, and we have a different sensibility about what belongs in our spaces. I love color and art everywhere, and he loves more of a minimalist vibe. He bought me a bunch of picture frames to frame some of my artwork for the living room. Yet we still can’t agree on which of my thousand works to frame.

My home is a work in progress, and I love moving stuff around to see how I can shift the energy in the space.

I’ve decked out my art table with some Halloween things that I got on a 70% off sale at Michaels right before Halloween, and I have a vision board on my art table. Somehow I’ve become really partial to Halloween because it is a low pressure holiday that is just meant for fun. I’m also creating some little spaces of joy here and there in nooks and crannies.

What does decorating mean to you? Are your spaces comfortable for you, or inviting to the people you share your spaces with at all? What could you do to make your space more functional or more of a soft place to land?

It's Tunic Time! Crop Top to Empire Tunic

This stretchy tunic is perfect for Plus Sizes! The gathers make it super comfortable, and the form fitting top accentuates curves. The style of this dress is perfect for women with bellies and hips, as the skirting is oversized to float away from curves you don’t want to show. My motto for plus size dressing is to show off my favorite attributes and play down the aspects of my body that make me self-conscious.

*Scroll down to see the step by step in pics!

Crop Top to Tunic

Materials:

Basic sewing kit and sewing machine

Rotary cutter and mat

Two t shirts and a crop top, ideally stretch velvet

  1. My crop top is made of stretch velvet, so I’m using two t shirts for the bottom part of the tunic. One has a decorative logo on the front and the other one has logos all over.

  2. Using a pair of scissors, cut along the seams of the t shirt with the logo. Then create a rectangle panel, so the logo will be front and center of the tunic.

  3. Grab the second t shirt, and using a ruler and rotary cutter, cut just below the armpits in a straight line. I folded mine seam to seam first and smoothed out wrinkles, then cut. Next, fold the front of the shirt in half so that the side seams are together with the front middle of the t shirt to the right. Using the ruler and rotary cutter, cut along the middle of the front. This will create an opening for the panel insert. Sew the panel into the second t shirt.

  4. Next, grab the crop top and put safety pins on each side seam and in the middle front and back. Do the same thing with the t shirt tube you created in step 3. The pins are to help you line everything up when sewing.

  5. Set your sewing machine to a narrow zig zag stitch, my machine is set to 4 for the length and 4 for the width. Start at a side seam and sew, while lining up the middle point pins. If you need to stretch one of the pieces to make the pins line up, do it as you sew. This will create gentle gathers in the tunic. Do the same for the back. If there is extra slack, try to get the extra material gathered evenly along the middle back.

  6. Hem if desired by either cutting off the bottom edge or with a double fold and zig zag stitch. And you are done!

The Smash Together Dress

I’m going to let you in on a secret…smashing together dresses is so easy anyone can do it! Above and beyond, of all the upcycles I have done I love the smash together dresses the most!

Go through your closet and find three tops with similar prints. For my smash together dress, I’m going with a star theme. I have two pajama tops with star designs and a tarot t shirt based on “The Star” tarot card. If you look in your closet it should be very simple to find three shirts with similar themed prints or colors. One thing I know for sure is that people are creatures of habit! But people also go through phases when they are buying clothes. I know in my own case I gravitate toward certain prints and colors at different times of my life, depending on my interests and the look I’m going for.

Once you have your three shirts, figure out which shirt will form the basis of the dress. I love to choose one for the top, the one with the best neckline and sleeves. In my case I really love the super soft thermal pajama top with the constellation print, it has a button placket and long sleeves that I like. So that will be the top of my dress.

After you have chosen the top portion, set it aside. Cut down the other two shirts into workable pieces of fabric. I typically cut along the seams so that the shirts have as much available fabric as possible. You can set aside the sleeves, just in case you want to make pockets for the dress.

If your shirts have decorative slogans or panels on them that you want to work into the design, use a rotary cutter and ruler to cut those out to create panels for the front and back of the dress. Measure along the top of the decorative front and back panels. Then cut off the hem of the shirt that you set aside for the top of the dress, and measure along the bottom edge of the top. Subtract the measurement of the panels being sure to include seam allowances. Divide that number by either two or four. Divide by two if you want two side panels that will connect the decorative panels, or four if you want each panel to have its own borders.

I wanted my dress to have patchwork, instead of just straight panels. When I measured the top I figured out that I would need 16 inch patchwork panels to go on either side of the decorative prints. That’s where shit got cray cray! I have a new cutting mat, and didn’t cut out the pieces right. This might happen to you if you sew on a wing and a prayer, like I do. So now I have odd sized pieces to fit together. The great thing about patchwork is there really is not a wrong way! If need be, you can always add another old t shirt to the mix for more fabric.

Start piecing together the side panels and make more pieces as you need them. My back panel was shorter than the front, so I added a lower trim to the back. Patchy makes perfect! If a piece isn’t long enough, work in another piece.

Once the front and back are sewed together, attach them to the top. You can choose to hem the bottom edge of the dress, use pinking shears or leave it raw edge. I kind of love a raw edge on the dresses! It lends to the handmade look of the dress. You can add a pocket or two if you want, or an applique for a really sweet look.

Here’s my finished smash together dress! It is perfect for the colder temps of Winter! I can’t wait to wear this!

The Star Dress by Kathryn Sturges

The Star Dress Back by Kathryn Sturges


Applique Your Sweatshirt Dress

Ok, so I bought some items of clothing last week and I am just totally let down by the things I got. I’m trying to upcycle my clothes instead, and my first upcycle completely bombed. :( It sucks when you have a closet full of clothes but nothing to wear. It can be so easy to just keep buying new things when the newness wears off from the things you acquire. But a more eco and super fun option can be to alter your clothes to turn them into pieces you are totally excited about! Going green does not have to be dreary and bleak, you can have fun along the way, learn some new life skills and figure out ways to live that totally jive with your values.

Last month I bought this sweatshirt dress and when I wore it my husband said it looked like a night gown. That is always the worst thing ever, when you are totally jazzed about something new and your partner doesn’t like it much. Instead of resigning this sweatshirt dress to dreamland, I leveled it up instead with some simple applique! Now I can’t wait to wear it!

Applique is really easy, and if you sew you have probably already tried it before. These patches can be sewn on by hand or machine, so even if you don’t have a sewing machine you can still do this upcycle. You don’t have to sew up to the edge all the way because the point is the fabrics will unravel a little on the edges to create a lived in look. Applique is so incredible for covering stains and holes on clothes. I actually did a similar project before with a holey black t shirt dress and muslin for leaves. It was my favorite item of clothing after that and I wore it all the time!

DSC09228.JPG
DSC09231.JPG
DSC09235.JPG
DSC09239.JPG
DSC09248.JPG

Here are a few tips for doing this project. It is pretty self-explanatory, but I did learn some things along the way.

  1. You can use pretty much any fabric for the fabric leaves. Just make sure the color contrasts enough so that the leaves pop.

  2. Pin the leaves onto the sweatshirt dress first before you sew! I just grabbed the pile of leaves and went to town, but had to go back in and add a few more to get a look I was happy with. If you pin them on first you will have a pretty good placement of everything before sewing. Once the fabric gets all bunched up at the machine, it can be challenging to see the overall design. So lay everything out first and pin with safety pins, then sew.

  3. When you are sewing on the leaves, always try to keep the sweatshirt material flat around the leaf shape you are sewing. I was fighting the sweatshirt the entire time, because it kept bunching up around the needle. So just take your time, go slow, pull the fabric taut around the leaf as you are sewing and you will rock this!

I am so excited to wear this dress everywhere I go! Applique is a great way to level up a basic top or dress. This only took me about an hour to finish, and I’m off to enjoy my new look!