Curiosity Comics Altered Dress

This dress is a shout out to Isaac Beltran of Curiosity Comics! I met him on Instagram, and he is an incredible guy who is astonishingly amazing at comic art! Isaac has been a huge inspiration to me lately, both for my art and spiritual life as well! You can find him on YouTube here. And follow him on Instagram @beltranomicon to see some really cool art!
What I love about Isaac’s comic style is that he has invented worlds all of his own with his comic characters. He breathes life into both horror and spiritual themes, weaving stories with his art that make you think. Isaac has a way of really tuning in to the pulse of what makes people unique, and his characterizations are a testament to people from all different walks of life.
I bought a bunch of t shirts from Isaac a couple of months ago, and I wanted to make a dress with the art panels on the t shirts. Each upcycle/fashion project I do is as much of a learning lesson as it is implementation. So I found this tutorial on the internet, and it is PERFECT for the kind of dress I had envisioned in my mind! Here is the link to the Youtube tutorial! The tutorial shows how to do simple irregular pleats! I did mine all going one direction, but in the tutorial she shows how to alternate the pleats. The dress is floor length, with a babydoll style shape that hits just below the bustline, instead of starting at the hips.
You will need about eight to ten t shirts for this, preferably with art or slogans on the front and back, or larger art panels on one side. The amount of panels you have will dictate the length of dress you can make, but you can always mix in t shirt material too. Leave enough room around the panels to create the length of skirt that you are going for!


For the first step I tried on the shirt that I chose to be the top, looked in a mirror and pinned a few inches below my bust, at the narrowest part of my waist. Next I cut just below that line by about a half inch to inch, to allow room for seams. Then I grabbed a pair of pinking shears, and cut off the neckline to create an off the shoulder look, and cut a line in the middle about an inch and a half long, to open up the neckline a bit. I also cut off the hems on the sleeves, and using my rotary cutter and mat I created cuts that were about and inch and a half long at a spacing of about an inch along the top of the sleeves. Remember that the sleeve is folded, so whatever length you choose to make the cuts it will be double that on the sleeves, along your shoulders and upper arms.

Now for the patchwork! Trim off the side seams, neckline and bottom hem on the t shirts, and then create patchwork panels with the elements of the shirts that I want included on the front of the dress. Figure out the length of the skirting, by measuring another dress that fits how you want. Then sew all the panels together to create a sheet of patchwork. Trim all the edges so that they are leveled off, to create a big rectangle.


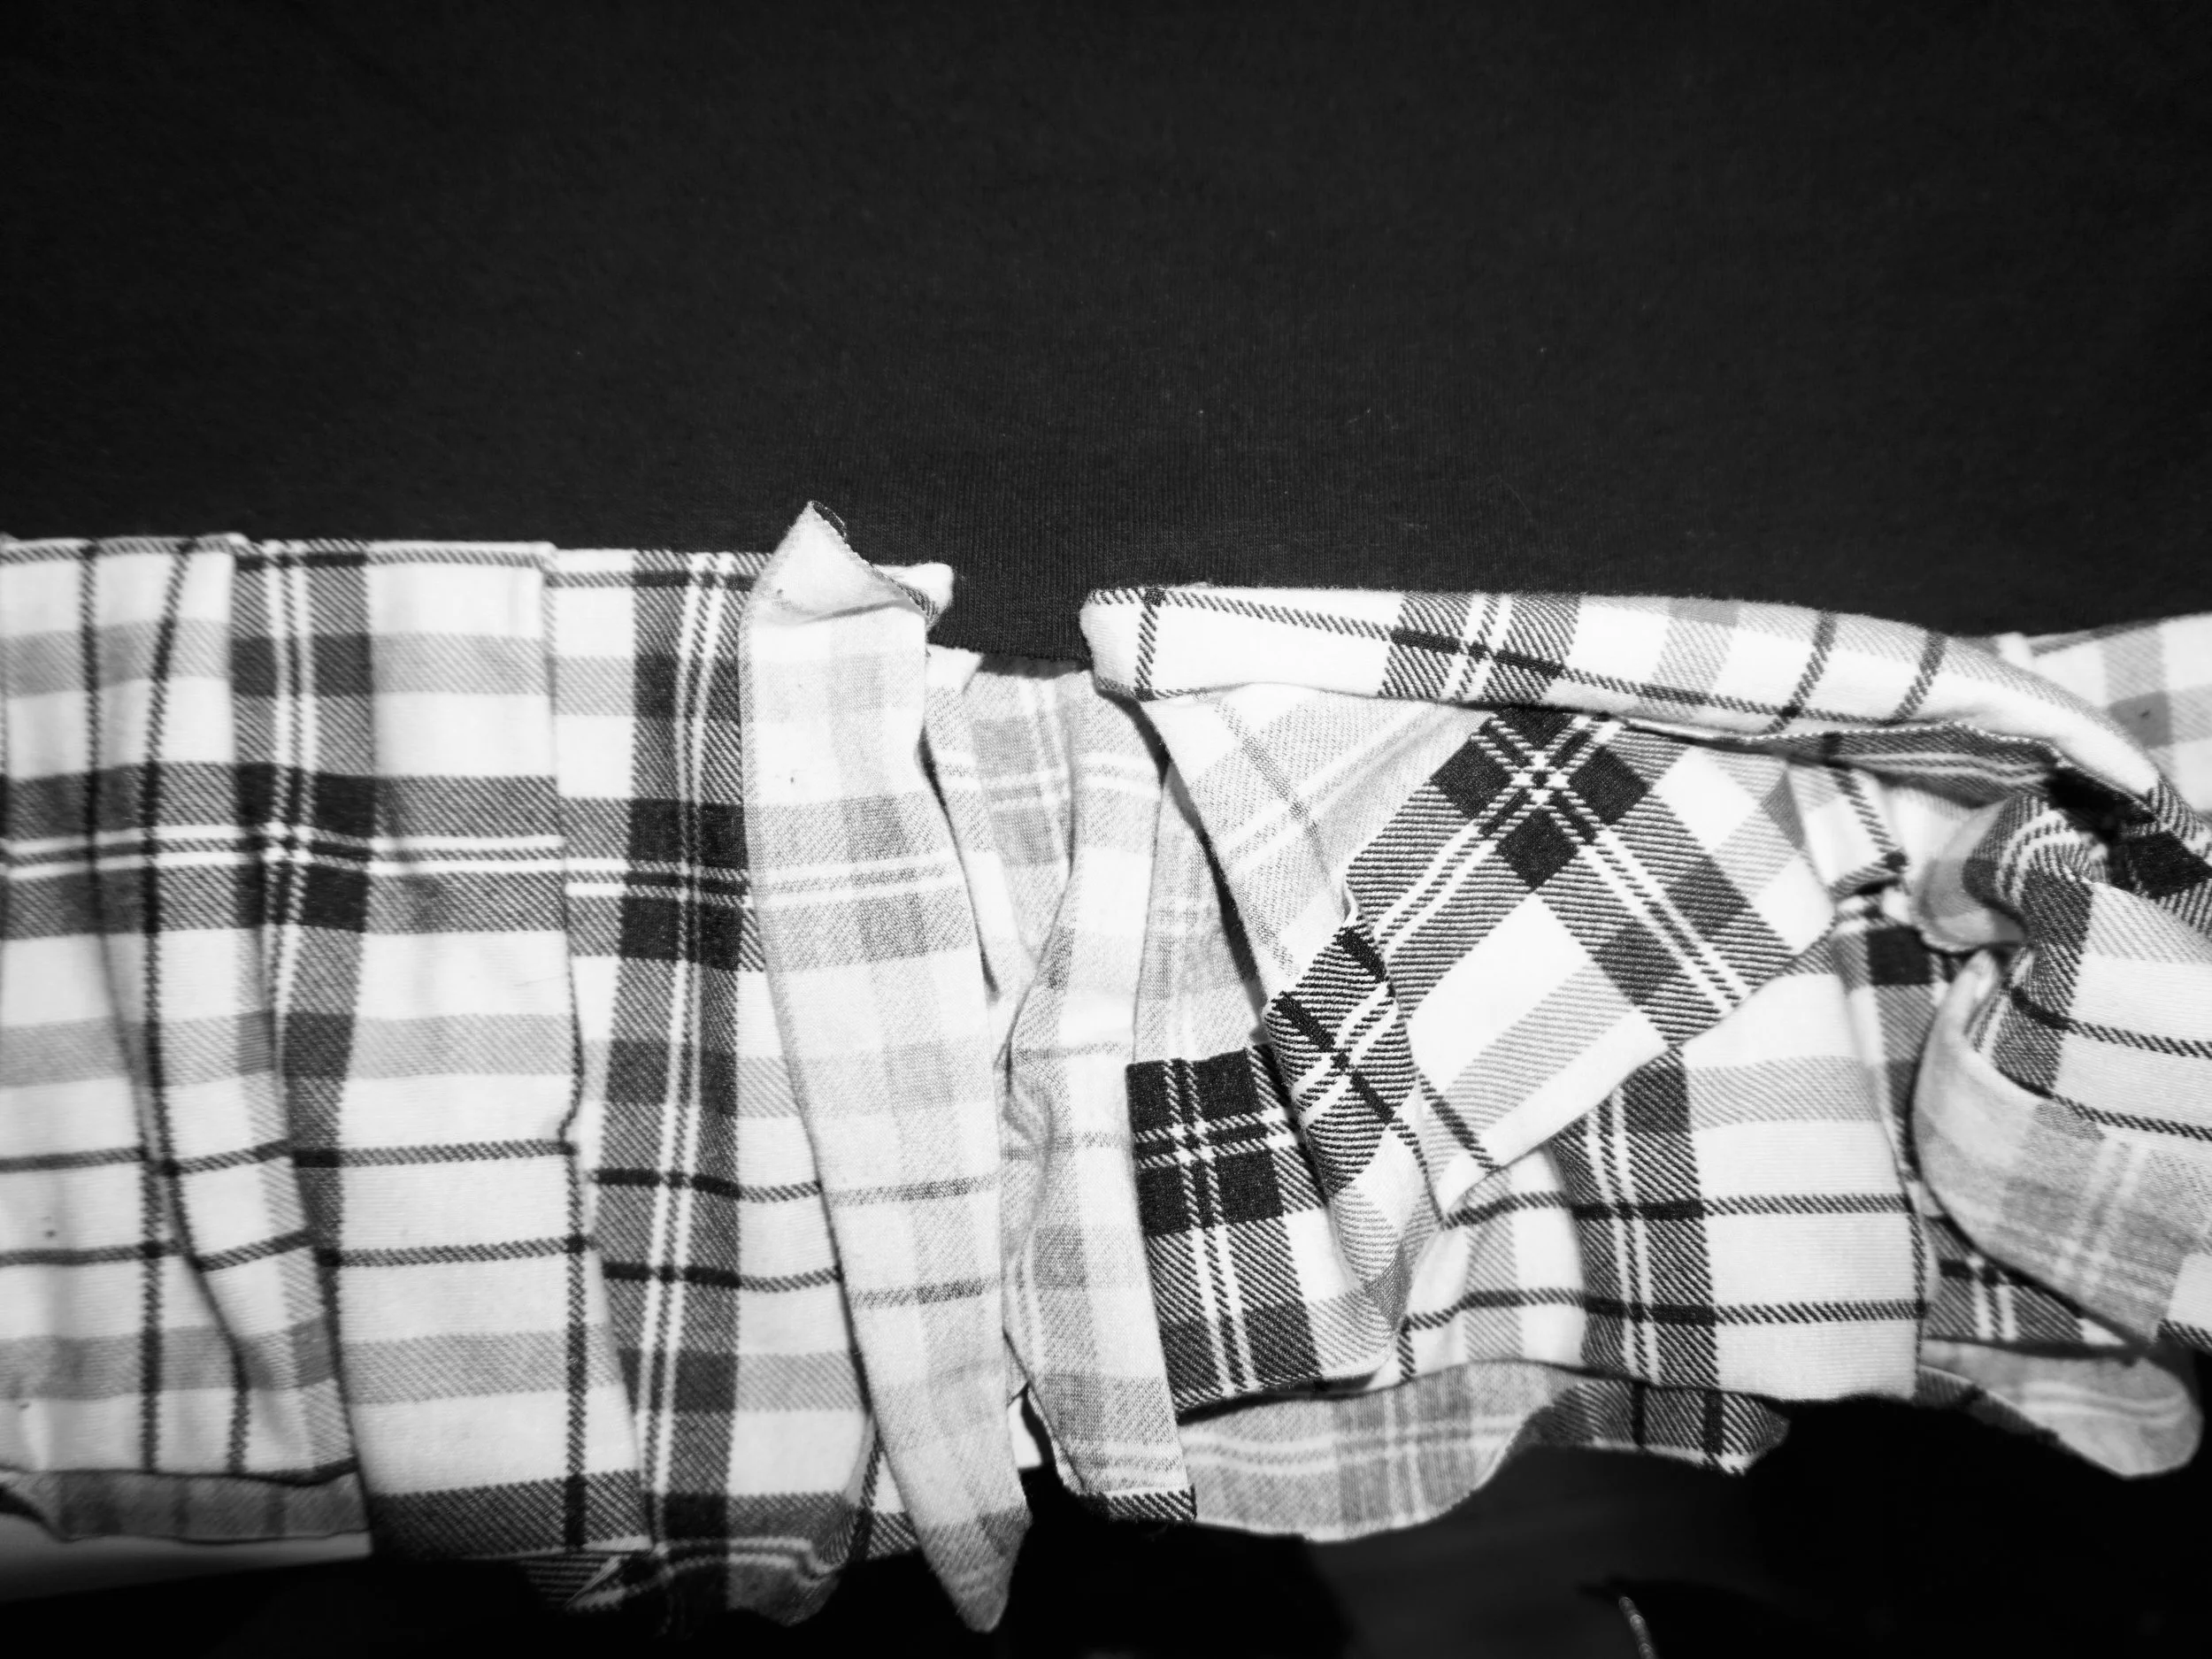

Next, I cut out a long strip of plaid knit fabric about five to six inches wide. I used the lines on the plaid as my ruler, and cut it out with scissors. The length of the strip should be double the measurement at the bottom hem of the top portion of the dress. Next, following the above youtube tutorial, I sewed irregular pleats. I left about an inch of fabric at the start of sewing, since I didn’t know exactly how much fabric I would need to go all the way around. It was really easy! I just folded the fabric about every inch, and sewed over the folds. All my pleats were folded in the same direction, which looks really good close up! Once I got to the end, I pinned then sewed the ends of the plaid strip so that it was connected in the middle, then finished attaching the strip to the dress.
Finally, I sewed the patchwork panel onto the plaid strip. Again I left a little fabric unsewn at the start and then finished by sewing a long seam down the back of the panel.
And here is the final dress!

